In this post, I’ll show you how to setup Autopilot Device Preparation in Intune. Windows Autopilot Device Preparation (also known as Autopilot v2) is Microsoft’s newer, streamlined approach to provisioning Windows 11 PCs. It delivers a faster, more consistent setup experience with near real-time reporting and simpler troubleshooting.
The official Microsoft name for this feature is Windows Autopilot Device Preparation. In the tech community, it’s sometimes referred to as Autopilot v2, but both terms describe the same solution. You may be already familiar with Windows Autopilot, often called Autopilot v1. It’s important to understand that these are two separate solutions aimed at achieving the same goal but with different use cases. Windows Autopilot Device Preparation is not an extension or direct successor to Windows Autopilot.
For detailed step-by-step guide on Windows Autopilot (v1) setup. See: Windows Autopilot Setup Guide [Step-by-Step].
In the following sections of this post, I’ll highlight Autopilot device preparation core features, and review the prerequisites and move to the setup and configuration steps.
Contents
Features of Windows Autopilot Device Preparation
Windows Autopilot Device Preparation is a provisioning method for Windows 11 devices which streamlines the Out-of-Box Experience (OOBE) for users. Users have better on-boarding experience and can get to the desktop faster when compared with Windows Autopilot. Below are some core features of Windows Autopilot Device Preparation method.
- Simplified OOBE: While it is not a replacement for the Windows Autopilot ESP, the process is much more streamlined. During setup, you will see a percentage-based progress indicator for app and script installations, followed by a message stating Required setup is complete.
- Enrollment Time Grouping: When a user signs in during OOBE, the device is automatically added to a special Entra security group (we will create this group during setup/configure stage). Any applications or scripts assigned to this group are installed on the device immediately, before the user reaches the desktop.
- Support for PowerShell scripts: You can run up to 10 PowerShell scripts during the OOBE process. This is useful for configuring devices and apps that require registry changes, custom file permissions, or enabling and disabling specific Windows features.
- Near Real time reporting: Near real-time reporting shows per-app and per-script status with easy diagnostics export.
- Standard User Default: By default, the profile sets up the user with standard rights. You can switch this to administrator using a toggle, but it is recommended to keep the default setting and use Intune Endpoint Privilege Management for on-demand elevation.
- Autopilot Device Preparation works only on supported Windows 11 builds and should not be mixed with classic Autopilot on the same device. If a device is assigned both an Autopilot deployment profile and an Autopilot Device Preparation profile, the Autopilot profile will take precedence.
- Support for Government Community Cloud (GCC): Windows Autopilot Device preparation method supports both commercial and government (Government Community Cloud (GCC) High, and U.S. Department of Defense (DoD)) organizations and agencies.
- Microsoft Entra Join only: Autopilot Device Preparation works only with Microsoft Entra Join devices, As of now Microsoft Entra hybrid join is not supported. If you want to Entra hybrid join then you can use Windows Autopilot (v1).
Prerequisites
Let’s look at the prerequisites for implementing Autopilot device preparation.
- Windows OS version:
- Windows 11, version 24H2 or later.
- Windows 11, version 23H2 with KB5035942 or later (Windows 11, version 23H2 installation media dated April 2024 or later has KB5035942 included).
- Windows 11, version 22H2 with KB5035942 or later (Windows 11, version 22H2 installation media dated April 2024 or later has KB5035942 included). For more details, refer here: software#windows-11.
Autopilot device preparation does not support Windows 10 devices.
- License Requirements:
- Microsoft 365 Business Premium subscription
- Microsoft 365 F1 or F3 subscription
- Microsoft 365 Academic A1, A3, or A5 subscription
- Microsoft 365 Enterprise E3 or E5 subscription
- Enterprise Mobility + Security E3 or E5 subscription
- Intune for Education subscription.
- Microsoft Entra ID P1 or P2 and Microsoft Intune subscription. For more details, refer here: #licensing-requirements.
- Networking requirements: See the page, #networking-requirements.
- RBAC requirements: See the page, #rbac-requirements. For creating a custom role in Intune, see Creating custom role in intune.
Setup and Configure Autopilot Device Preparation
Follow below steps to setup and configure Autopilot device preparation in Intune.
1. Create a User Group
You’ll need to create an Entra security group that includes the users who will receive the Autopilot Device Preparation profile. For example, I have created a group called DP-Autopilot-Users.
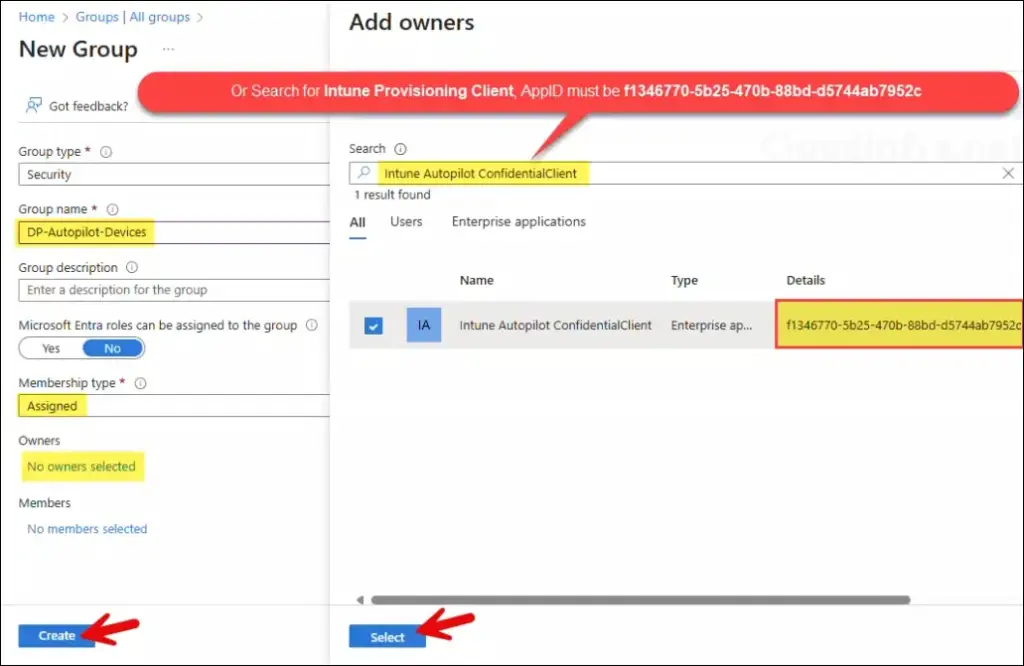
2. Create a Device Group
You’ll need a Microsoft Entra device security group, let’s call it DP-Autopilot-Devices. Add the owner of this device object to Intune Autopilot ConfidentialClient or Intune Provisioning Client. Just make sure the AppId is showing as f1346770-5b25-470b-88bd-d5744ab7952c.
3. Assign Applications and Scripts to the Device Group
Windows Autopilot Device Preparation deployments allow you to install up to 10 applications and run up to 10 scripts during the out-of-box experience (OOBE). Decide which essential apps and scripts you want delivered to users before their first sign-in.
Assuming the Intune deployments for those apps and scripts already exist, go to each app, edit the assignments, and add the device group (DP-Autopilot-Devices) created in step 1 to the Required section. Do the same for the scripts.
4. Create Autopilot Device Preparation Profile
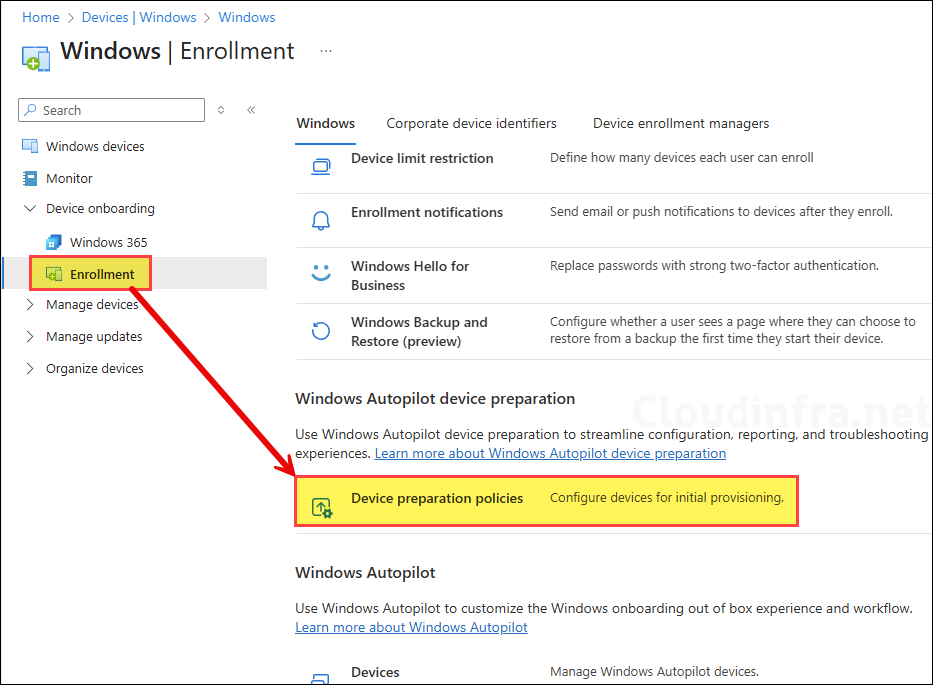
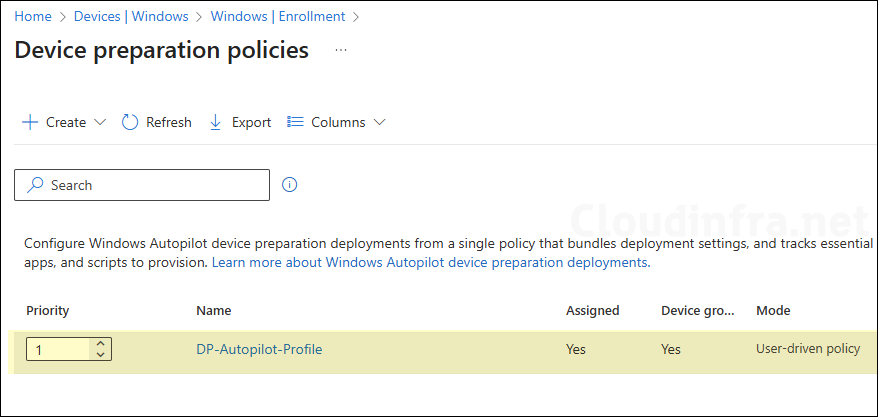
- Sign in to the Intune admin center > Devices > Windows > Enrollment > click on Device preparation policies.
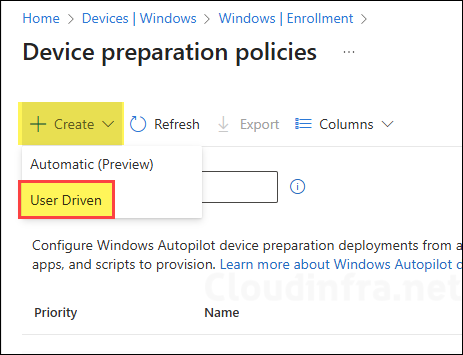
- Click Create > User Driven.
- On the Introduction page, click Next.
- On Basics tab, provide a name and description of the deployment profile. For example: DP-Autopilot-Profile.
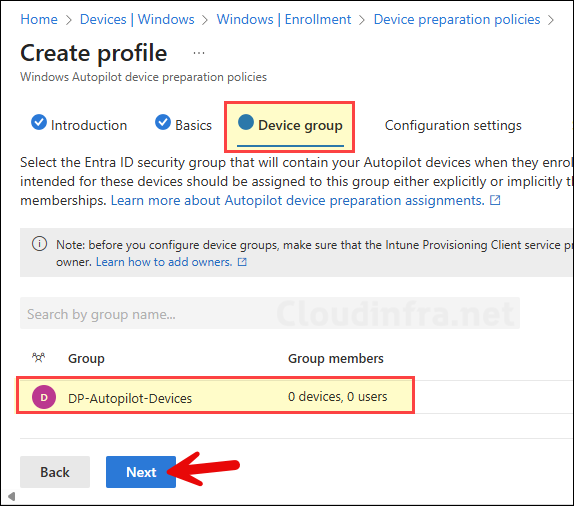
- Device group: Search and add the special device group we created in the previous steps.
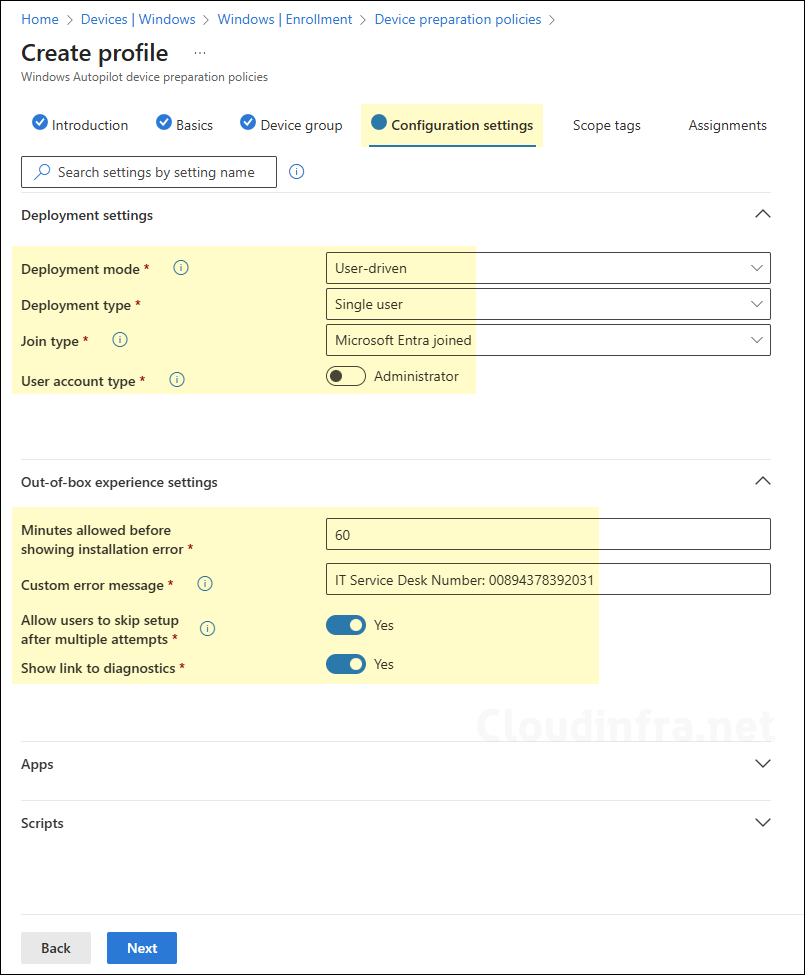
- Configuration settings:
- Deployment mode: User-driven
- Deployment type: Single user
- Join type: Microsoft Entra joined
- User account type: The toggle switch is off by default, which means user enrolling the device will be set as a standard user. If you want the user to have administrator rights, enable the switch. I recommend keeping it off.
- Out-of-box-settings:
- Minutes allowed before showing installation error: Enter the number of minutes allowed before a deployment is considered failed. This value applies to the entire deployment, not to individual application installations or PowerShell scripts. The acceptable range is an integer between 15 and 720.
- Custom error message: Provide a custom error message to display when the deployment fails. For example, you can add service desk/help desk number.
- Allow users to skip setup after multiple attempts: Keep it enabled.
Use the toggle switch and either set it to Yes or No. After a deployment failure, a Retry button is normally displayed, allowing the end user to attempt the deployment again. If this option is set to Yes, a Continue anyway button is also shown, which lets the user skip the deployment, sign in, and continue to the desktop.
Allow users to skip setup after multiple attempts
- Show link to diagnostics: Set this to Yes, it will display a link to collect diagnostic logs when a deployment fails. If it’s set to No, the link for diagnostics will not be shown to the user.
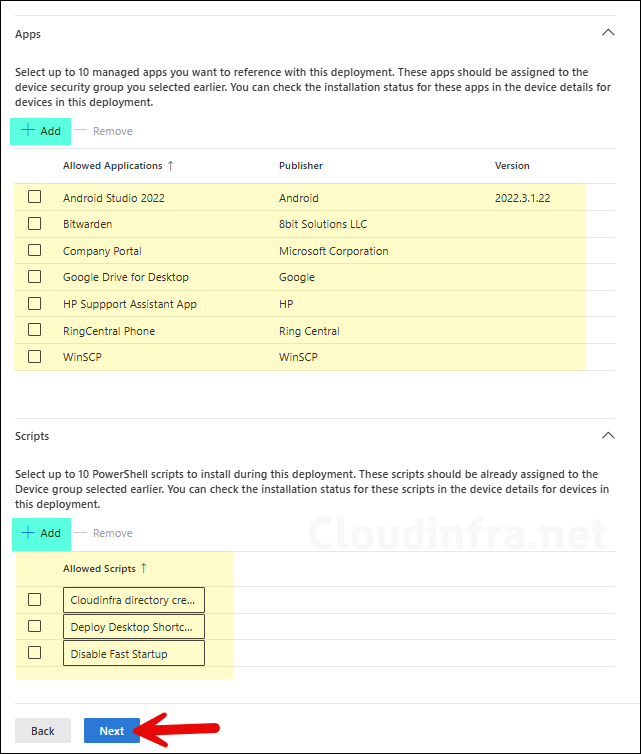
- You can add up to 10 managed applications and scripts that you want to install on the device during OOBE. Decide on which apps and scripts are most essential in your organization and add them to the Autopilot device preparation profile.
As per the January 30, 2026 update, you can now configure up to 25 apps to install during Autopilot device preparation. For more information, refer to the link: What’s new in Windows Autopilot device preparation | Microsoft Learn.
Applications and scripts added to the Autopilot Device Preparation profile must be assigned to the special device group created earlier (DP-Autopilot-Devices). Also, ensure that the apps and scripts are deployed in the system context.
- Scope tags (optional): A scope tag in Intune is an RBAC label you add to resources (policies, apps, devices) to limit which admins can see and manage them. For more Information, read: How to use Scope tags in Intune.
- Assignments: Assign the deployment profile to DP-Autopilot-Users group.
- Review + create: Review the deployment summary and click Save.
End User Experience
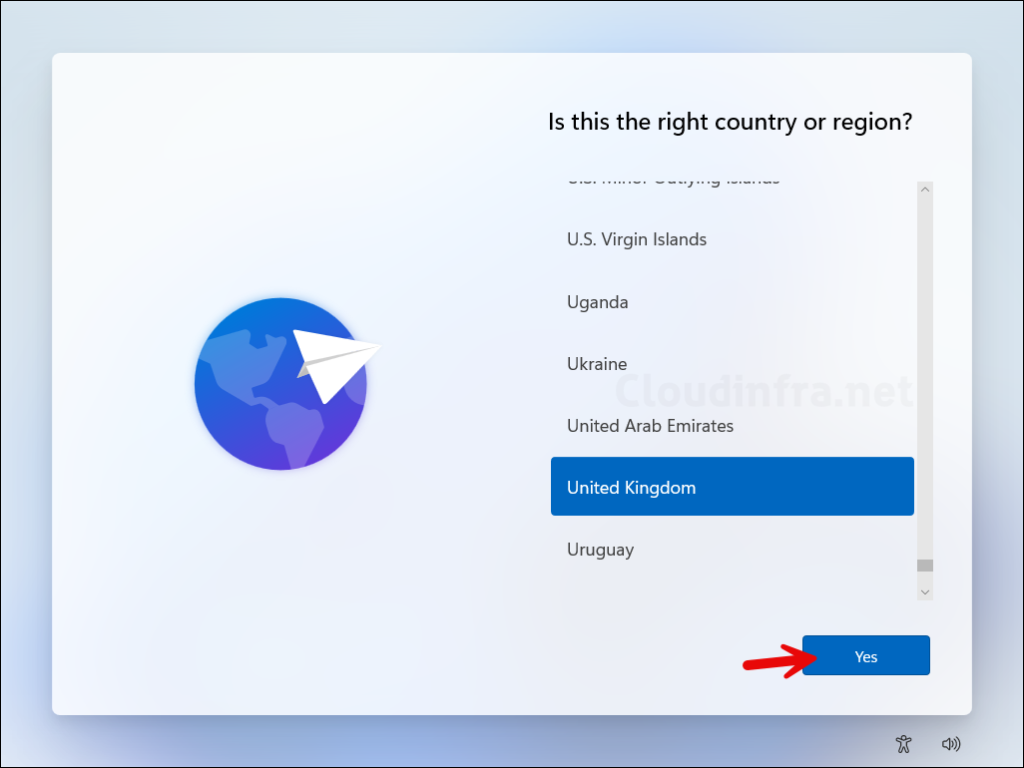
Let’s go through the Out-of-Box Experience (OOBE) from an end user’s perspective.
- Select your country or region.
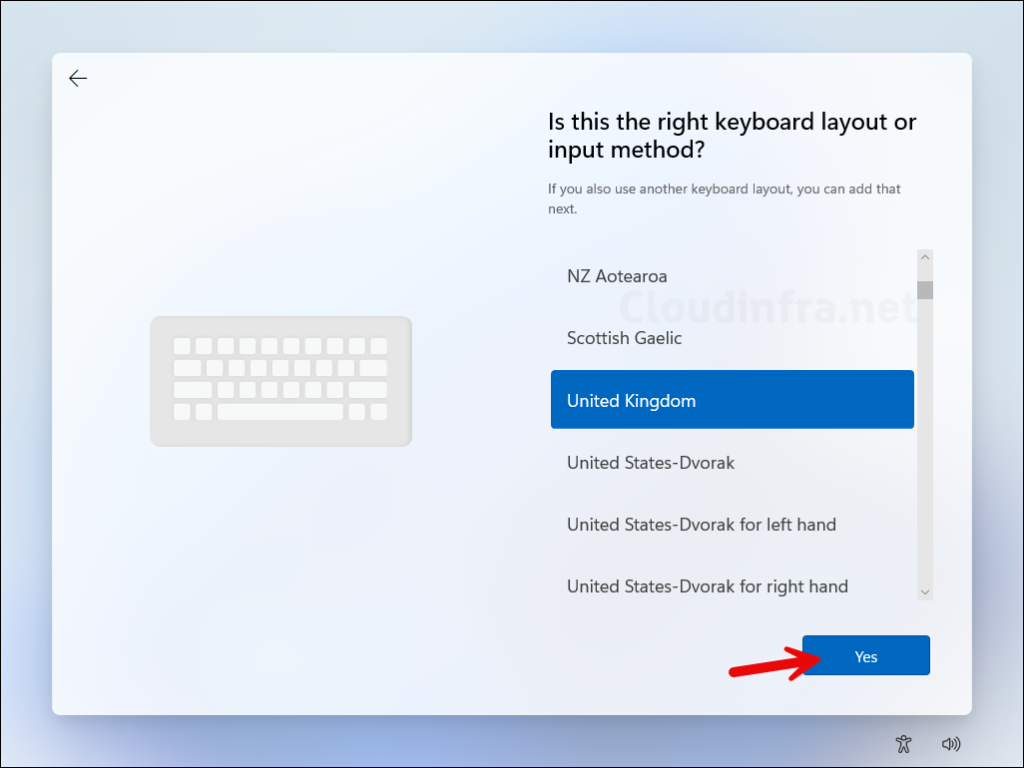
- Select a keyboard layout.
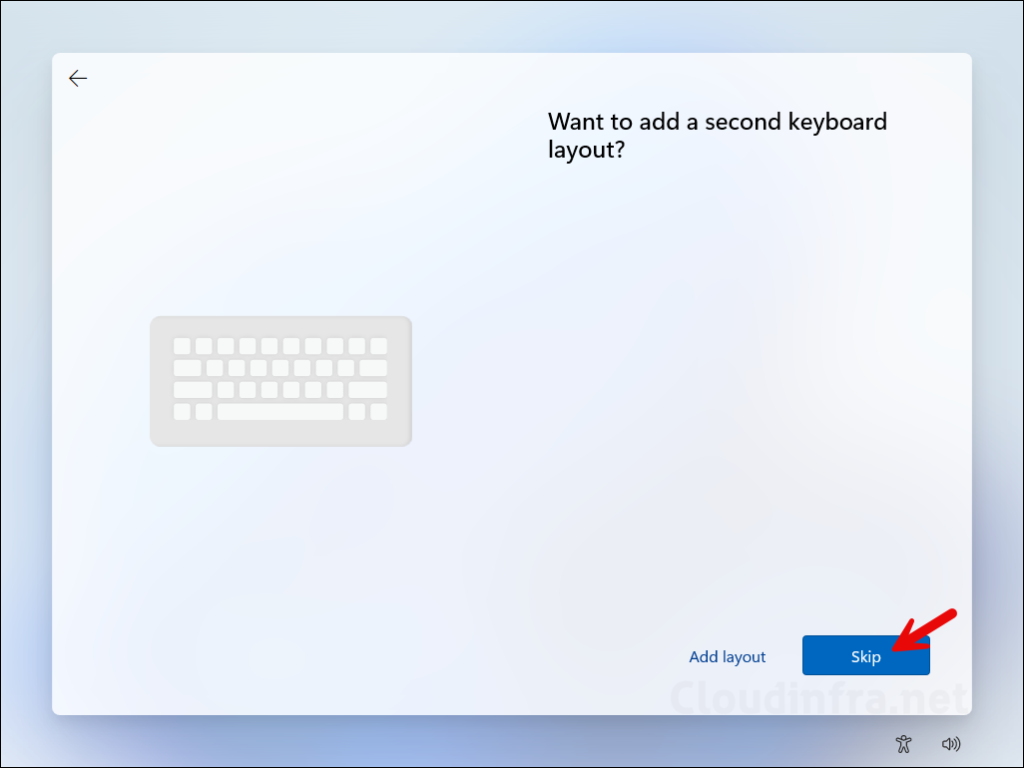
- Add a second keyboard layout or click on Skip to proceed to the next step.
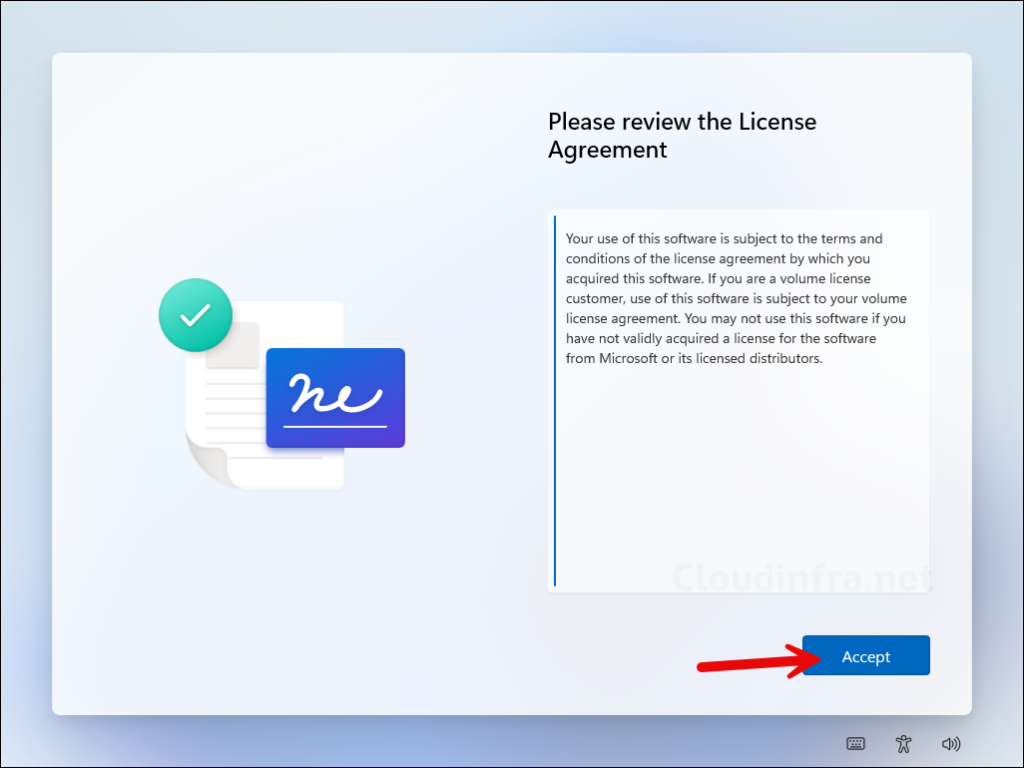
- Click Accept on Please review the license agreement screen.
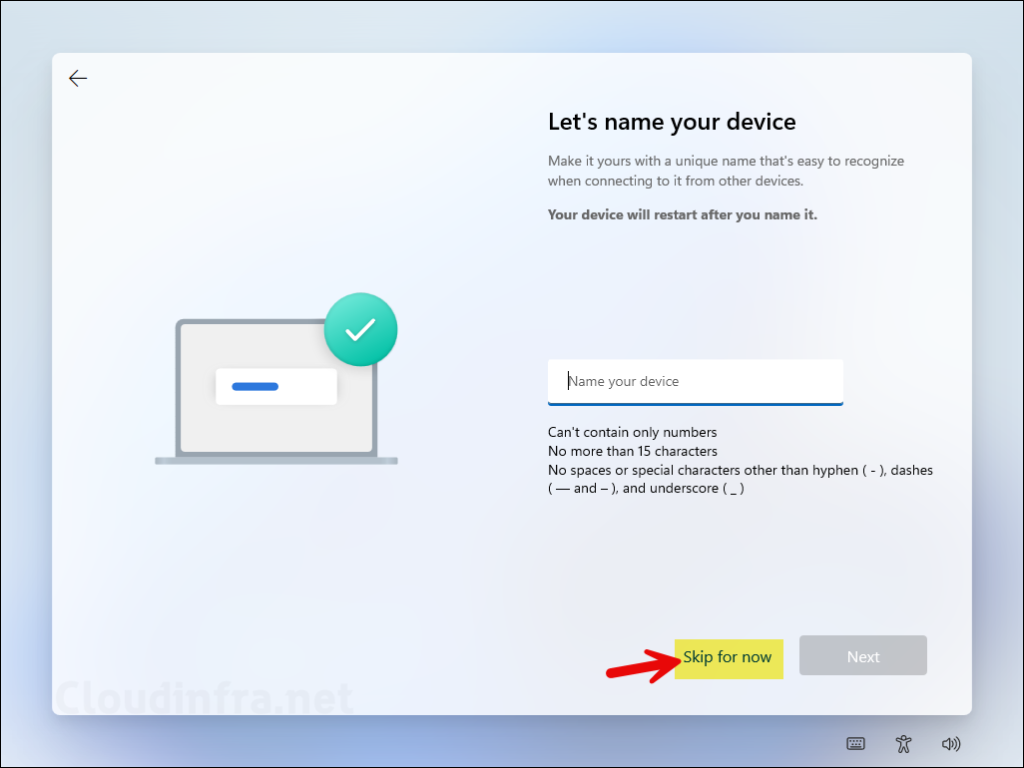
- Do not provide a device name, click Skip for now.
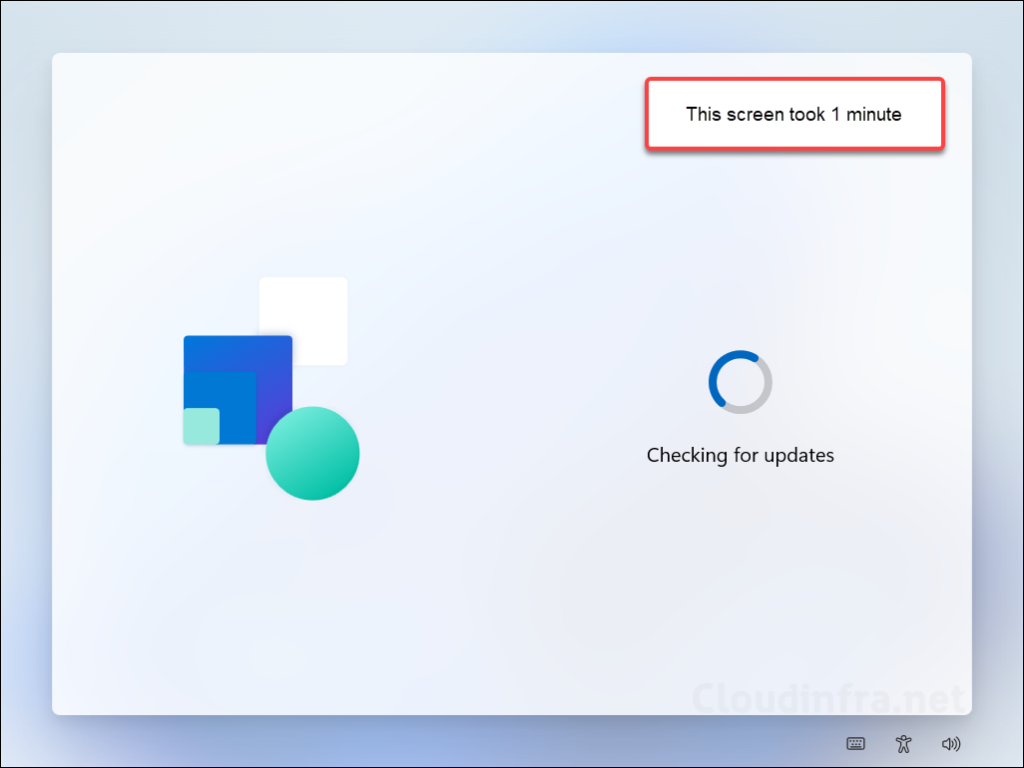
- Check for updates screen. This screen took around a minute for me and automatically proceeded further without any action.
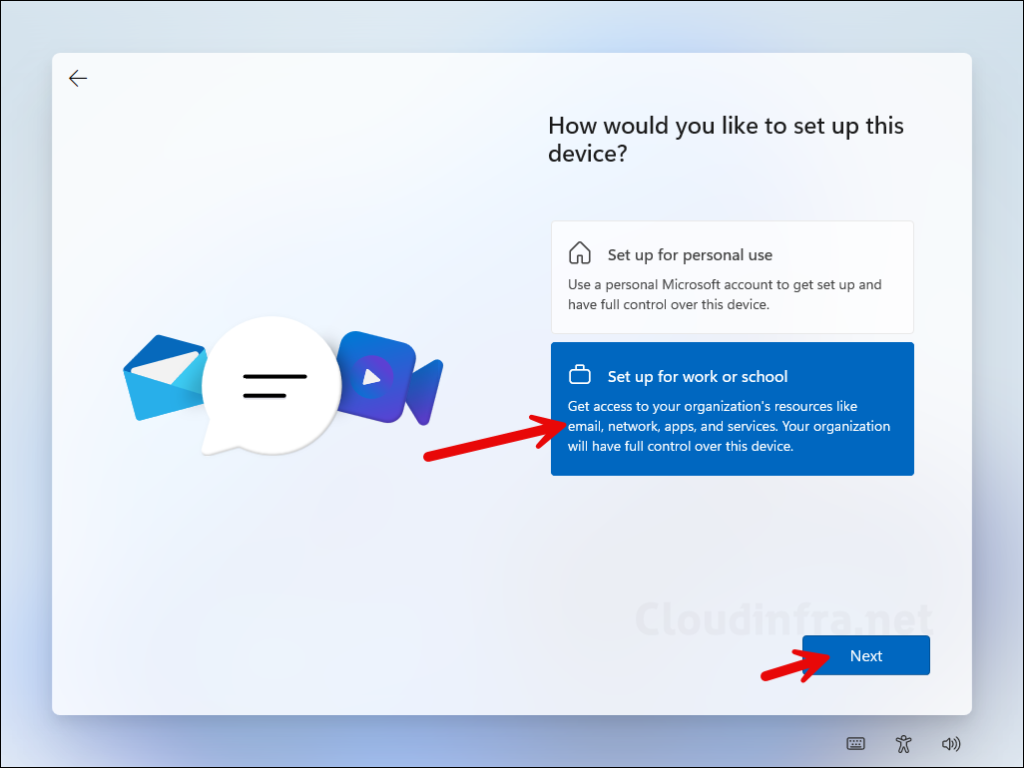
- Do not enter your name, instead click on, Even better, use an online account link.

- If you get below screen, select Set up for work or school. Do not select Set up for personal use.
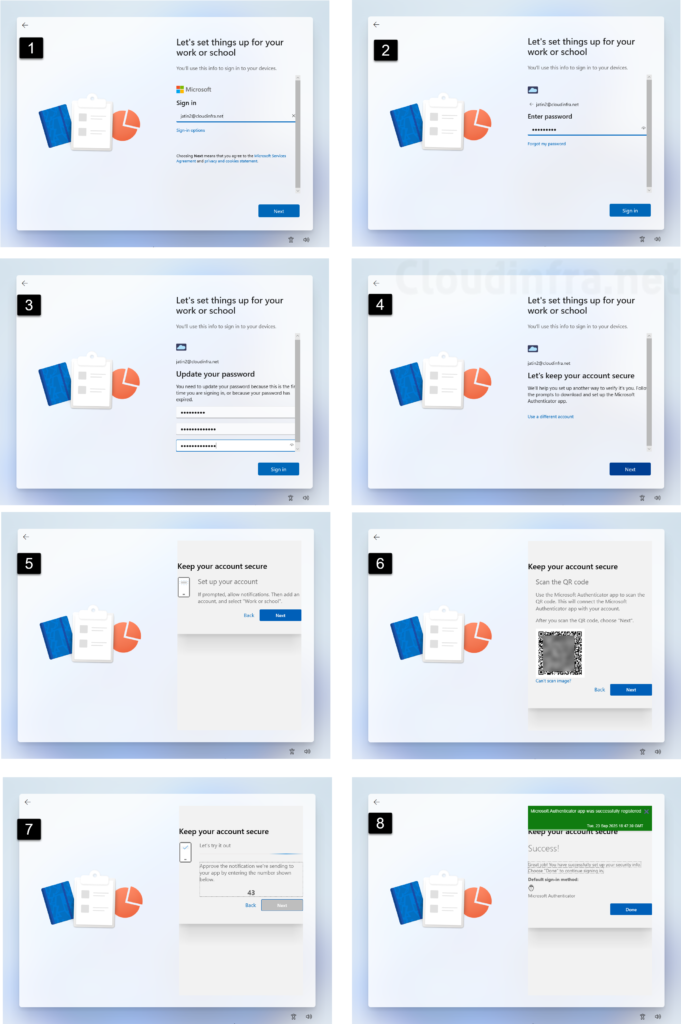
- In the next screen, you will be asked to enter your credentials. Enter your email address, for example: jatin2@cloudinfra.net and password.
- You may see different screens depending on your account. For example, if your password has expired or an administrator has reset it and requires you to change it at the next logon, you will be prompted with the Update your password screen.
- If it’s a brand-new account that has never signed in to any service before, you will be prompted to set up multi-factor authentication (MFA). Follow the steps to configure and complete the authentication process.
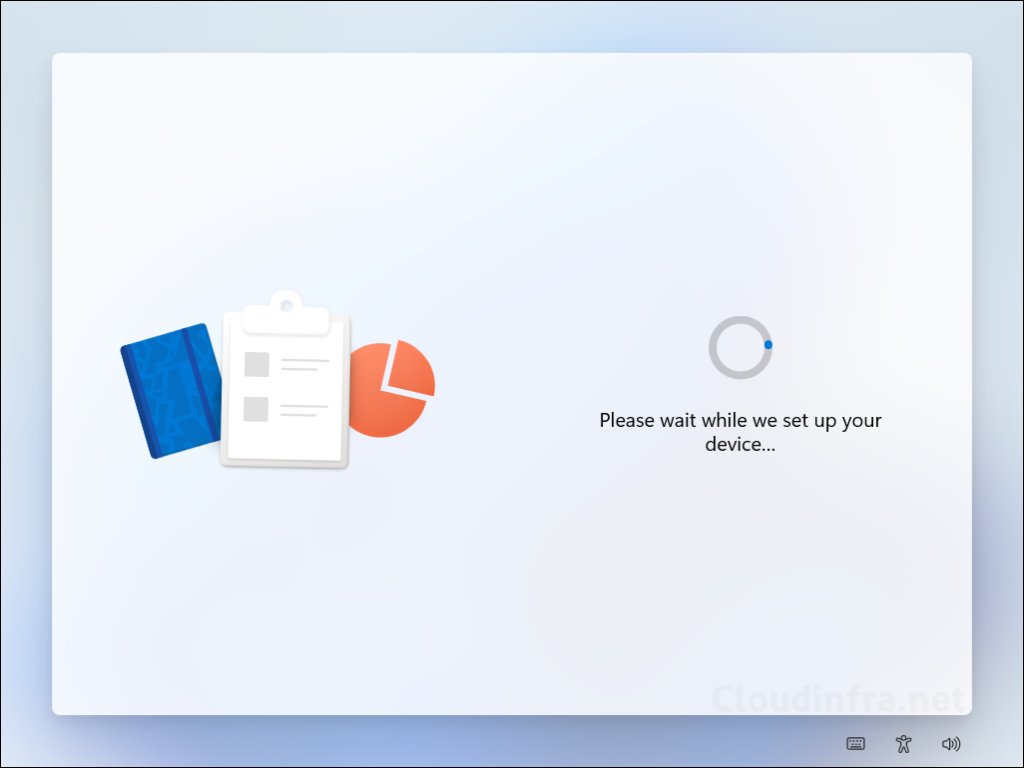
- Please wait while we set up your device screen.
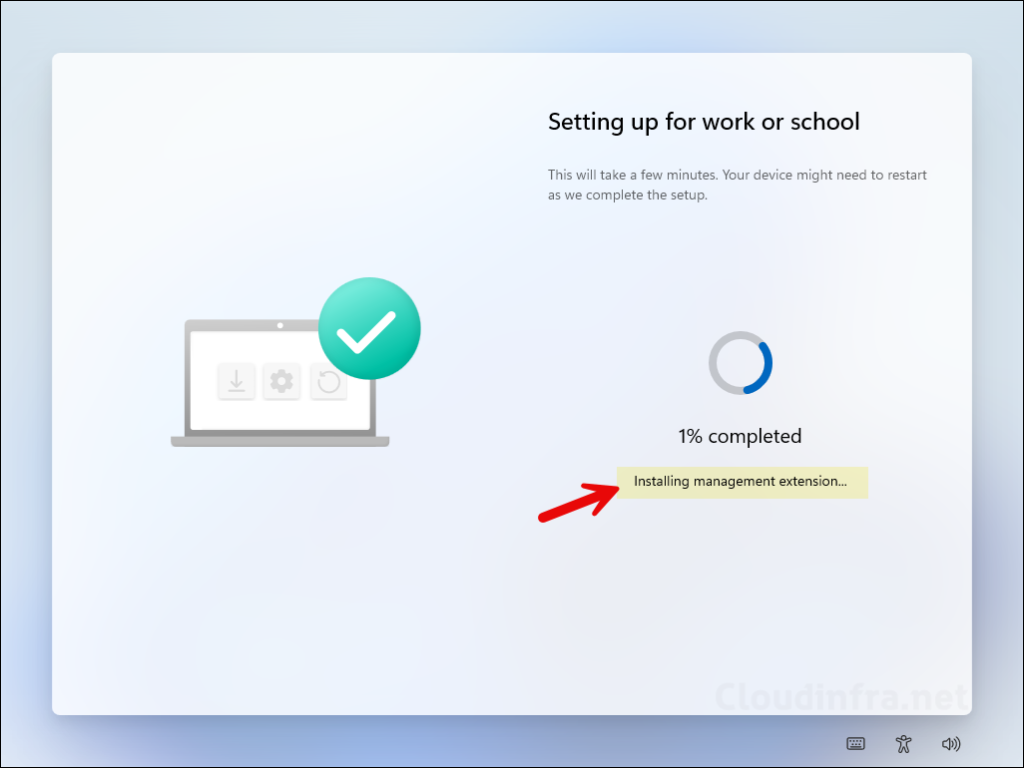
- The Autopilot device preparation process started and will show the percentage progress screen. It will start with Installing Intune management extension first.
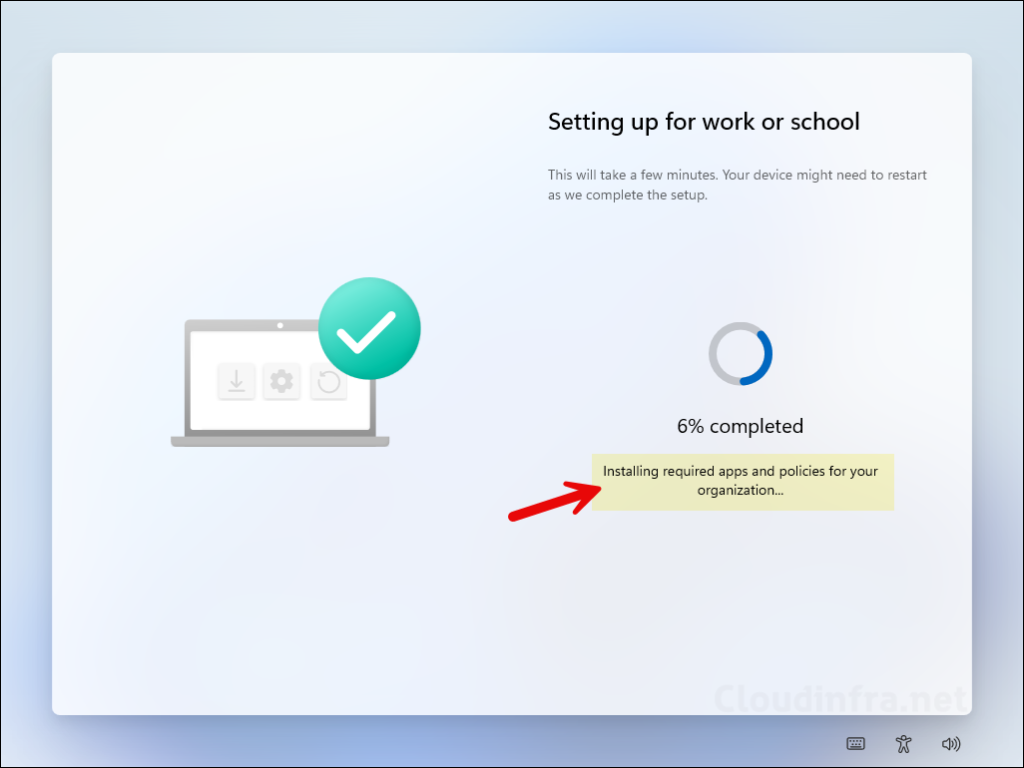
- After Intune management extension is installed, it will proceed with installing all the apps and scripts which you added in the Autopilot device preparation profile.
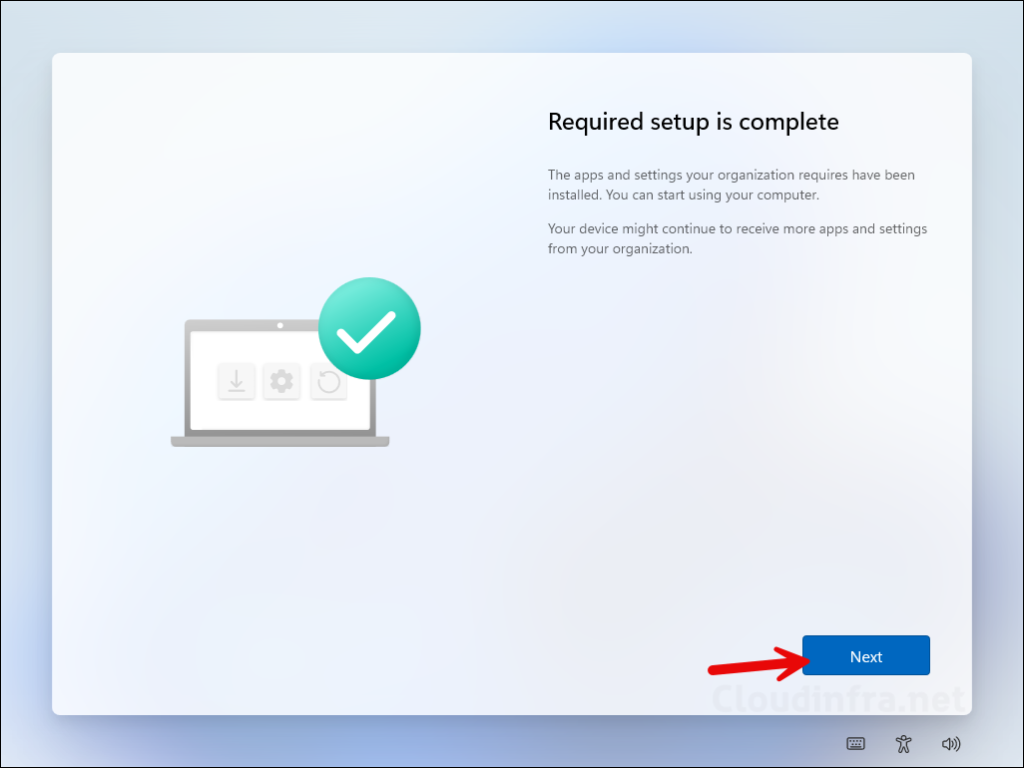
- After all the apps and scripts are installed successfully. You will get Required setup is complete screen.
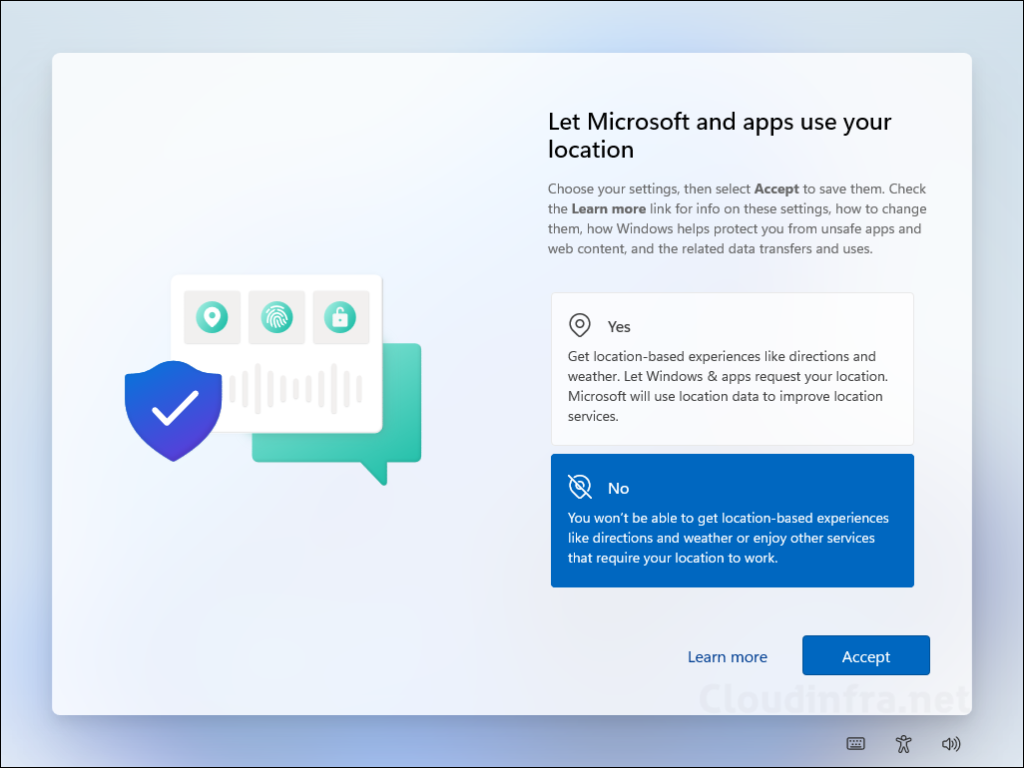
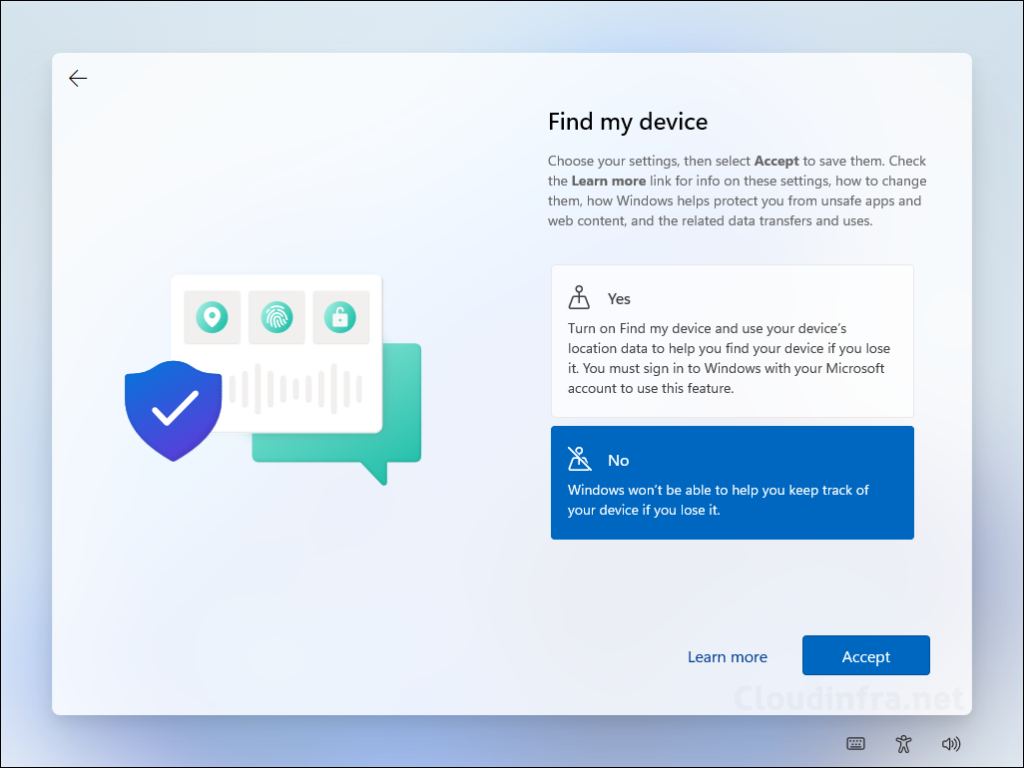
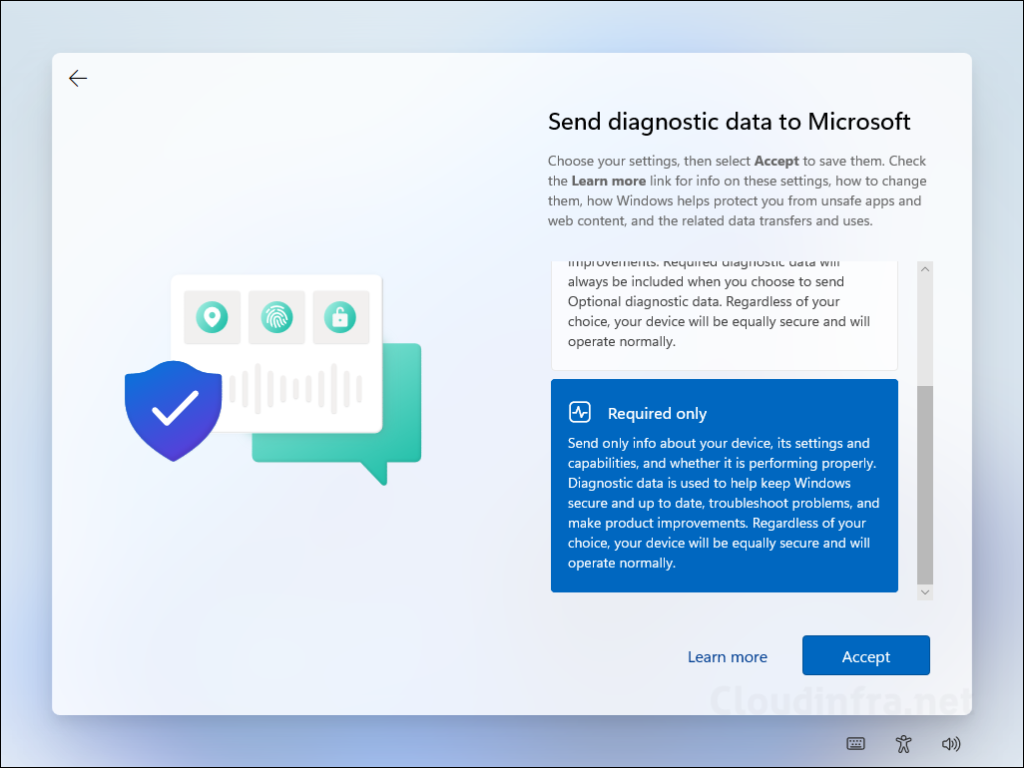
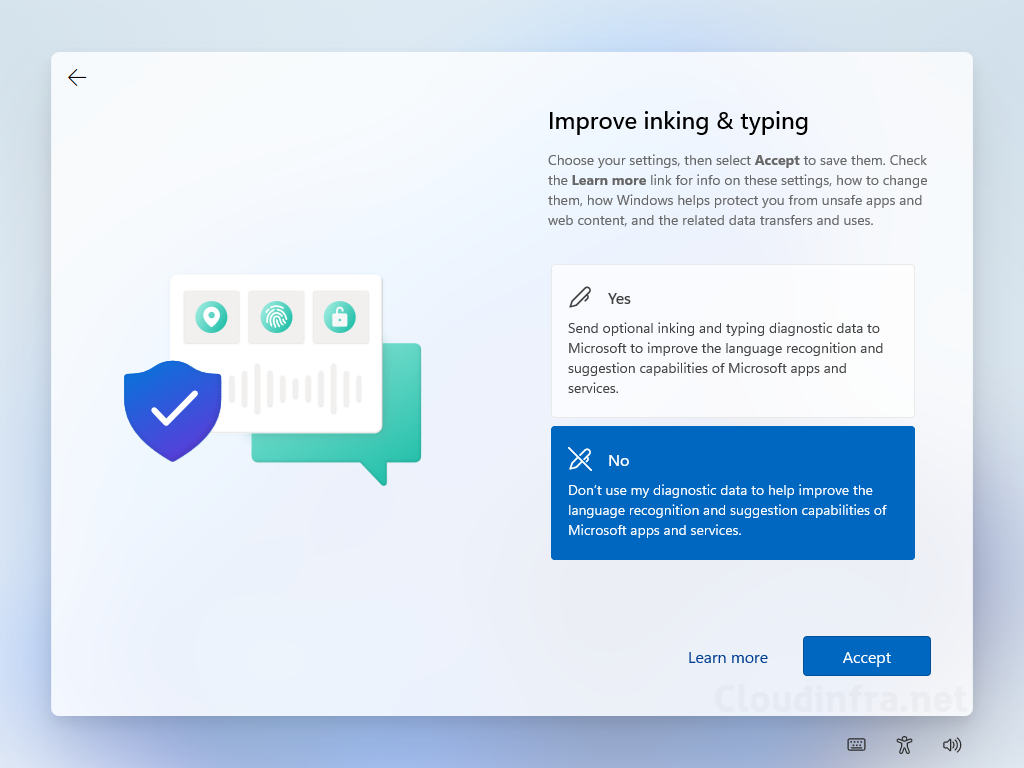
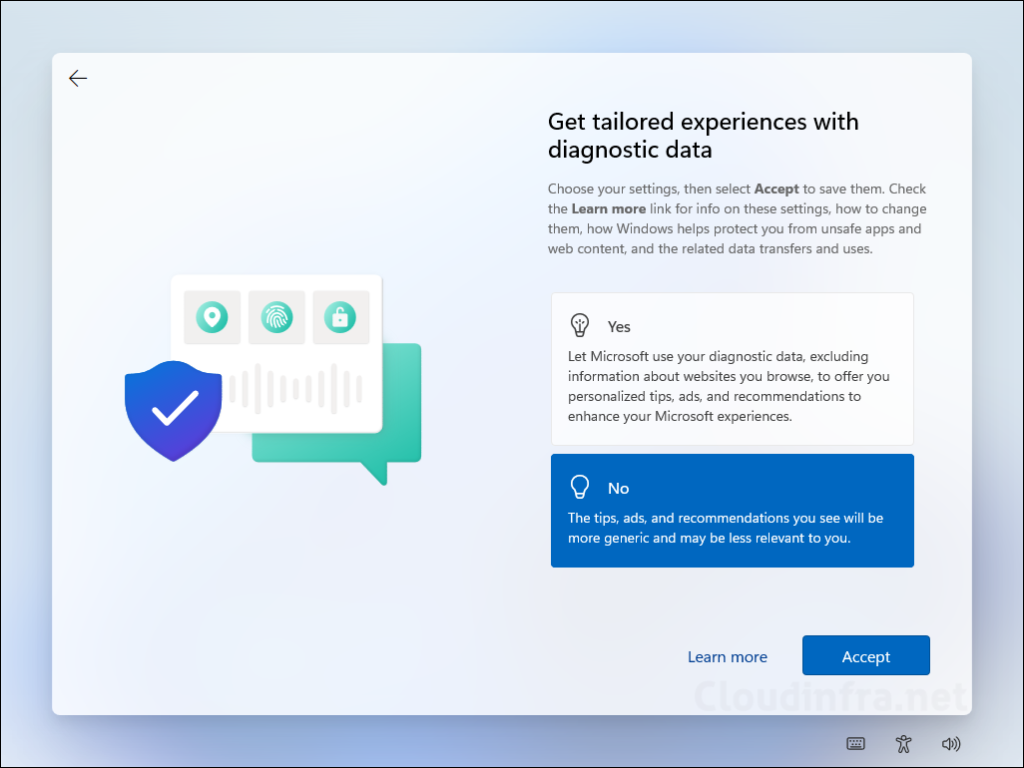
- In the next set of screens, you will be prompted to enable or disable certain Windows features. Review each screen, configure the settings, and click Accept. I will select these options based on my requirements, but you should refer to the documentation provided by your IT administrator and configure them accordingly.
- Let Microsoft and apps use your location: No
- Find my device: No
- Send diagnostic data to Microsoft: Required only.
- Improve inking & typing: No
- Get tailored experiences with diagnostic data: No
- Windows will start setting up the user profile and you will see below screens.

- Windows is setting up your user profile. Please wait.

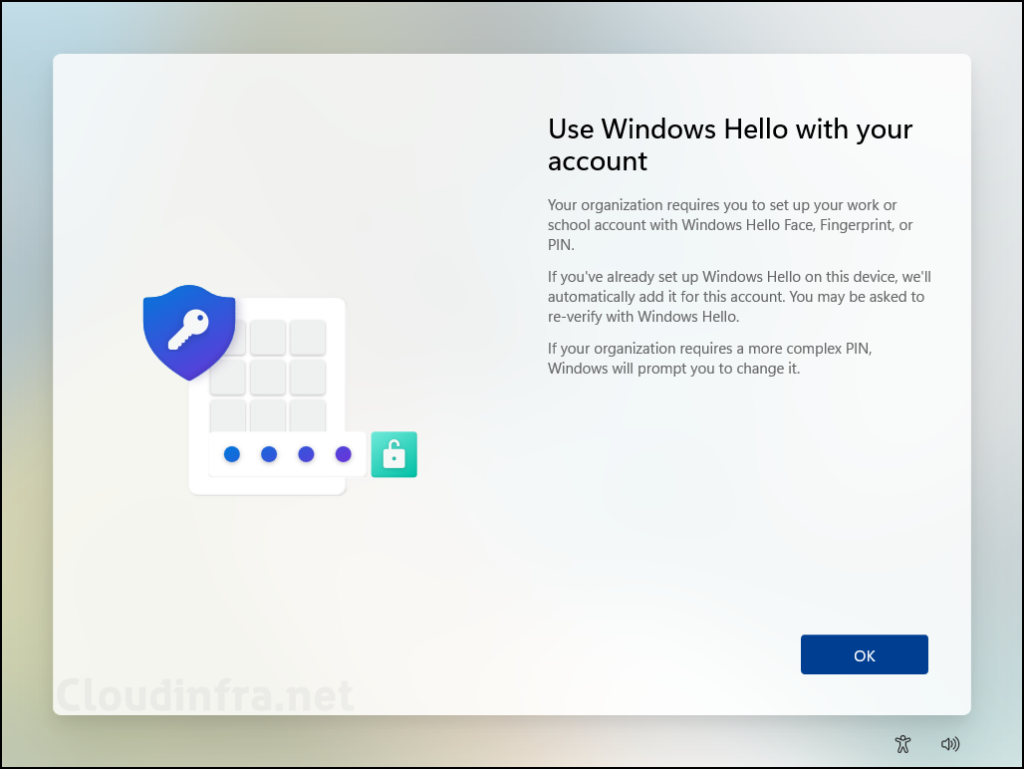
- If your organization has enabled Windows hello, then you will be presented with below screens. Click on Ok button to on Use Windows Hello with your account screen to proceed to the next step.
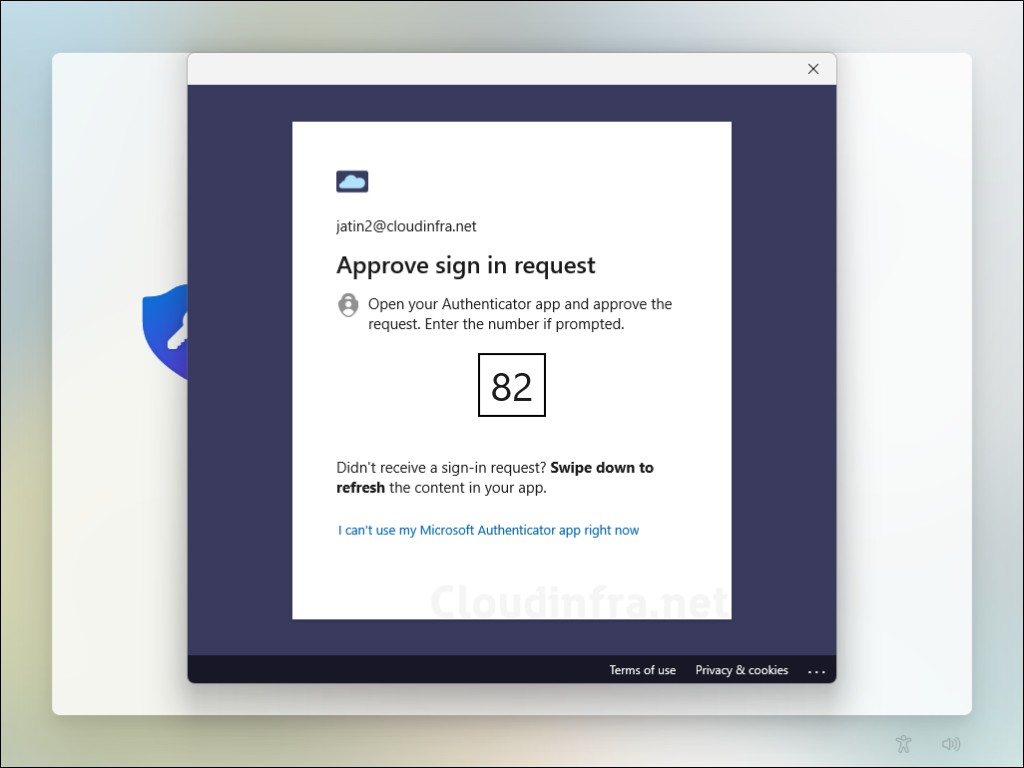
- A pop-up will appear asking for your credentials. Enter your account information and password and complete the MFA authentication process.
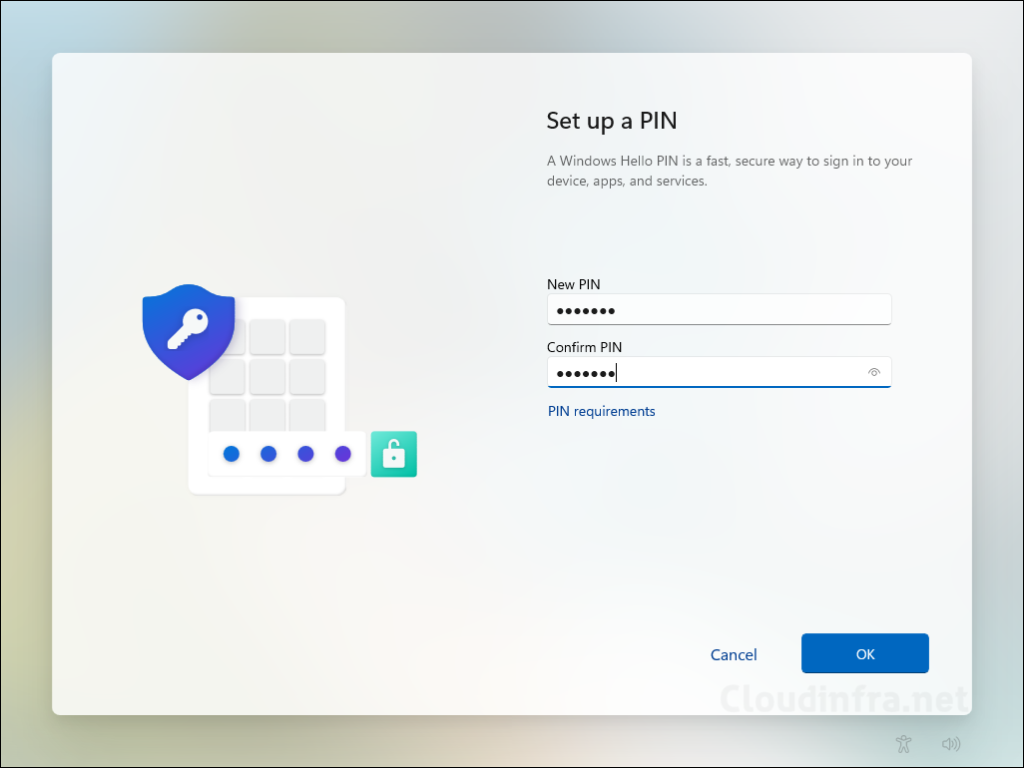
- Setup your device PIN and click Ok.
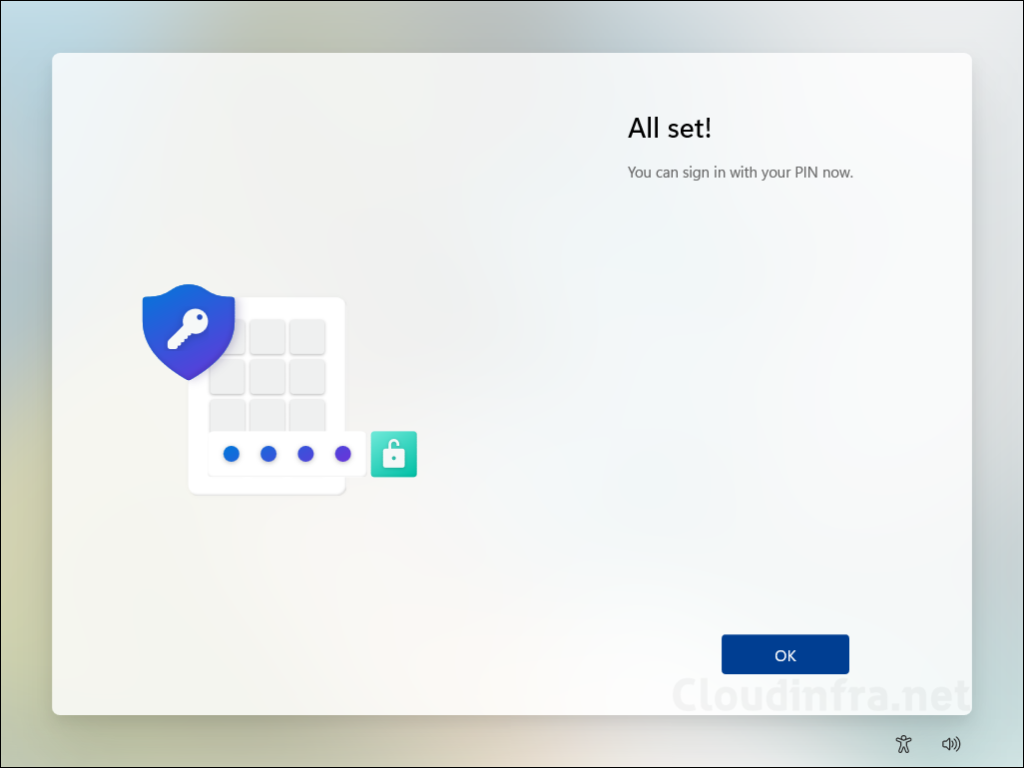
- Windows Hello configuration is completed.
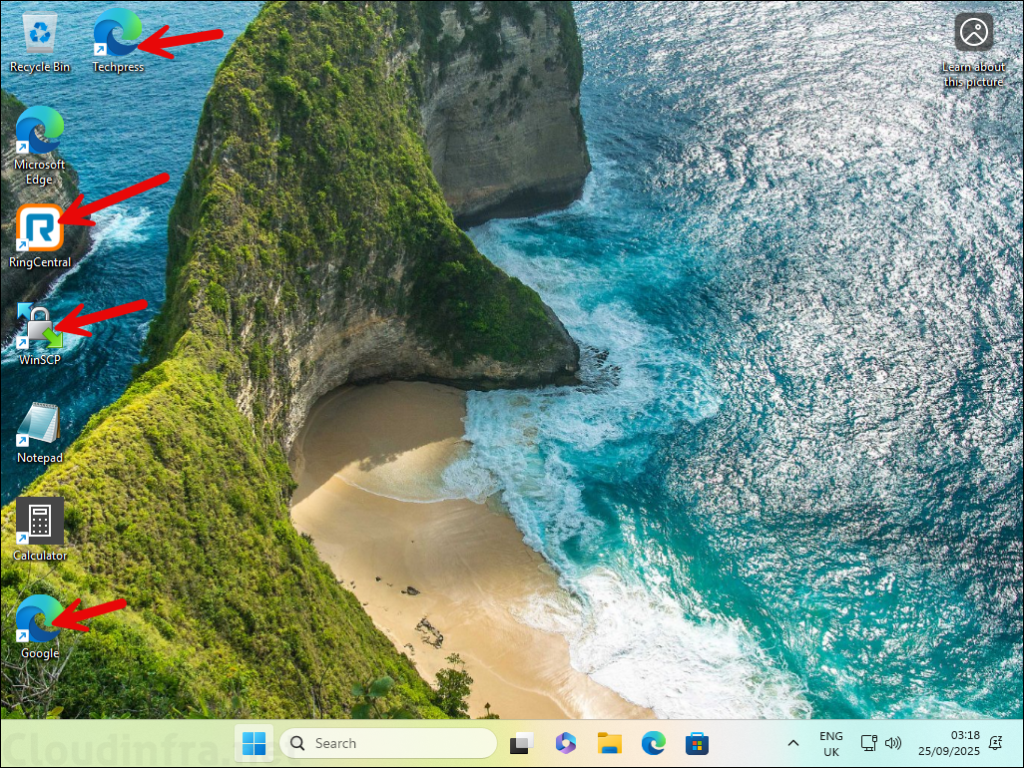
- Finally, you will arrive at the desktop, where all your essential apps will already be installed by the Autopilot Device Preparation profile. In the screenshot below, you can see a few apps with desktop shortcuts, such as RingCentral and WinSCP. Additional shortcuts were added by the PowerShell script that also ran during OOBE.
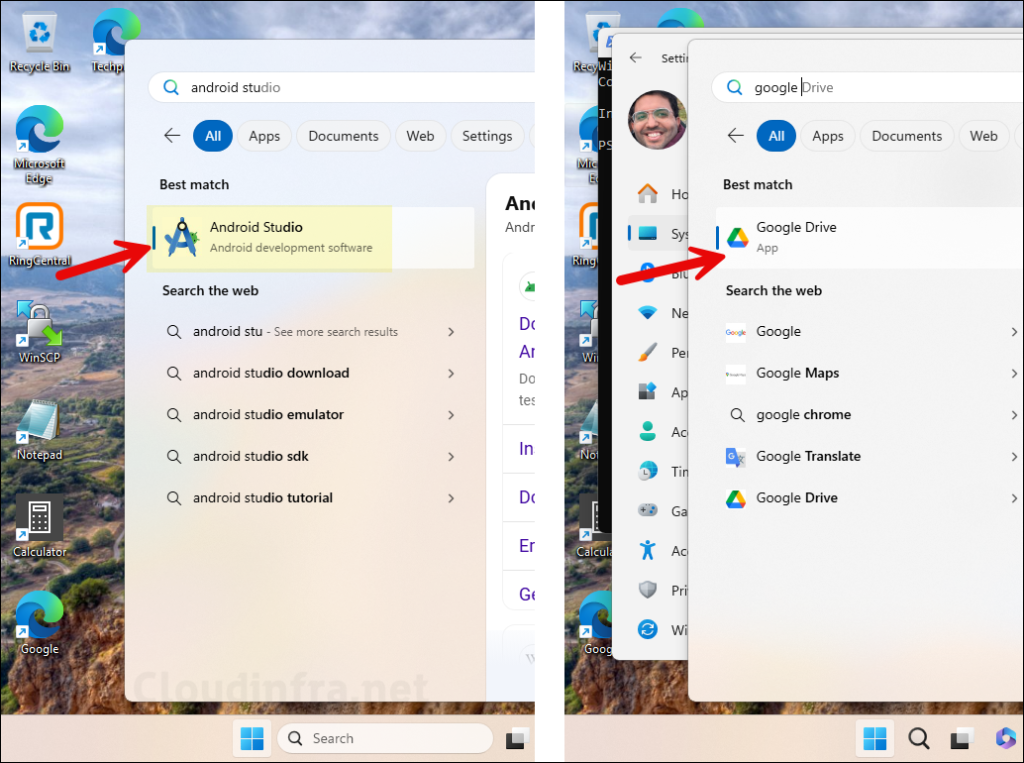
- Not all applications create a desktop shortcut, so you may need to search for other apps in the Start menu, such as Android Studio or Google Drive. All of these applications are installed successfully.
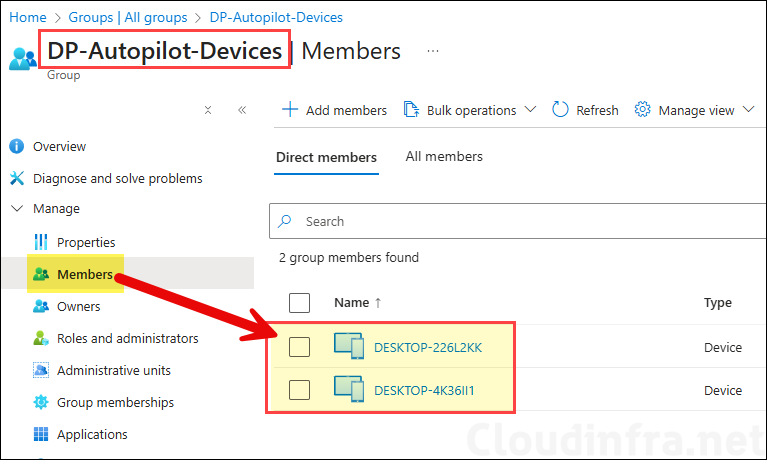
- I have provisioned two desktops with Autopilot device preparation profile and both of these desktops are added to DP-Autopilot-Devices group automatically.
Conclusion
In this post, we walked through the step-by-step process of setting up and configuring an Autopilot Device Preparation profile. The overall experience was smooth, with a quick and streamlined OOBE process. One key advantage of this method is that you can install both LOB and Win32 apps during OOBE. This is not possible with Windows Autopilot (v1), where mixing LOB and Win32 apps is not supported. For a detailed comparison between Windows Autopilot and Windows Autopilot Device Preparation, refer to the guide: Windows Autopilot Vs. Windows Autopilot Device Preparation.