This post is about learning how to deploy Remote Help app on Windows via Intune. Remote help is a cloud-based solution which provides a secure connection to your managed devices through Intune. When using Remote Help, there are two roles: helpers and sharers. Simply put, helpers are the users who provide assistance, while sharers are the users who share their screen to receive help.
This solution requires the Remote Help app to be installed on each user device in order to provide remote assistance. If you choose not to use the app, an alternative is the Remote Help web app. However, it offers limited functionality, allowing only view-only access and not full control.
Now, let’s go through the steps to deploy this app on Intune-managed Windows devices. Since the app is available as an EXE file, we will use the Win32 app deployment method (Microsoft’s recommended method).
To deploy Remote Help app on macOS, see: Remote Help app deployment on macOS.
Contents
1. Download Remote Help App
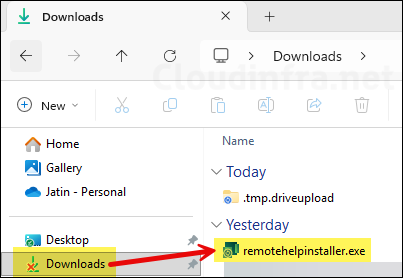
- Click the link: aka.ms/downloadremotehelp (direct download link) to download the latest version of the Remote Help app. This will download an EXE file with a name similar to remotehelpinstaller_bd142b4c833c024a512ed124a1f9058461e18cab.exe. By default, it will be downloaded in your Downloads folder. Rename it to a simpler name remotehelpinstaller.exe.
2. Repackage Remote Help App into IntuneWin file
As we would be using Win32 app deployment method to deploy Remote help app, it requires the app to be repackaged into .intunewin file format (remotehelper.exe –> remotehelper.intune). Let’s look at the steps:
Step 1: Organize Files Before Starting
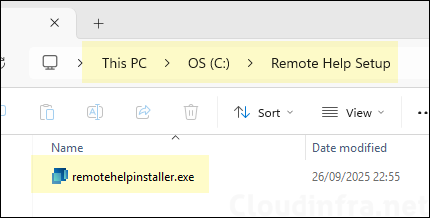
- Create a folder, C:\Remote Help Setup and Copy remotehelpinstaller.exe into this folder.
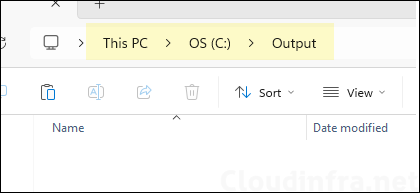
- Create a folder C:\Output. This folder is used for the Output file (.intunewin), which will be generated. (you can use any folder location you like, it’s just for the tool to create intunewin file).
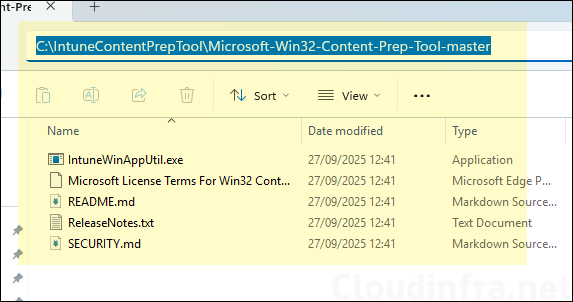
- Download the Microsoft Win32 Content Prep tool and extract it into the C:\IntuneContentPrepTool folder.
Step 2: Create IntuneWin File
Now that we have arranged our files and folders as we want, we can proceed to use Win32 content prep tool and create an Intunewin file.
- Right-click PowerShell and run as administrator. Navigate to C:\IntuneContentPrepTool\Microsoft-Win32-Content-Prep-Tool-master folder. You can use below command to set that location on the console.
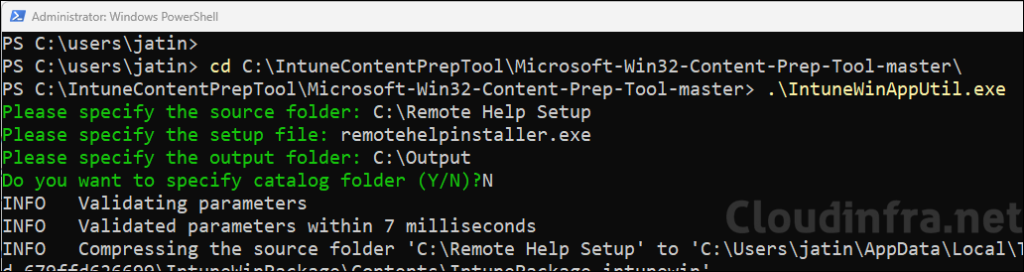
cd C:\IntuneContentPrepTool\Microsoft-Win32-Content-Prep-Tool-master\- Run .\IntunewinAppUtil.exe and provide below information.
- Source Folder: Enter the folder path where you have stored your setup files. In this case, C:\Remote Help Setup.
- Setup File: remotehelpinstaller.exe
- Output folder: C:\Output
- Catalog folder: Type N and press Enter.
I like the interactive way to create the intunewinfile, however you can also use one single command to create an .intunewin file. The command is .\IntuneWinAppUtil.exe -c <setup_folder> -s <setup_file> -o <output_folder>. In this case, you could type: .\IntuneWinAppUtil.exe -c C:\Remote Help Setup -s remotehelpinstaller.exe -o C:\Output
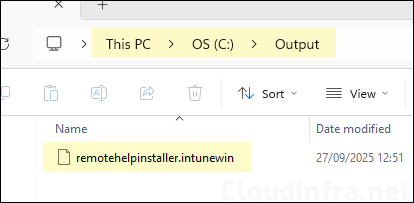
- remotehelpderinstaller.intunewin file has been created in the output folder we specified. This is the file we will use to create our Win32 app deployment.
3. Create Win32 App Deployment for Remote Help App
Once you have created .intunewin file, you can deploy it using Win32 app deployment method from Intune admin center.
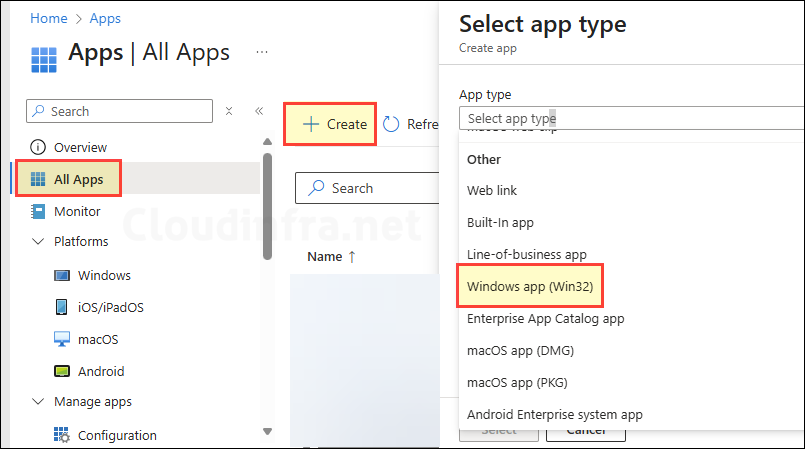
- Sign in to the Intune admin center > Apps > All Apps > click + Create and select Windows app (Win32) from the app type drop-down.
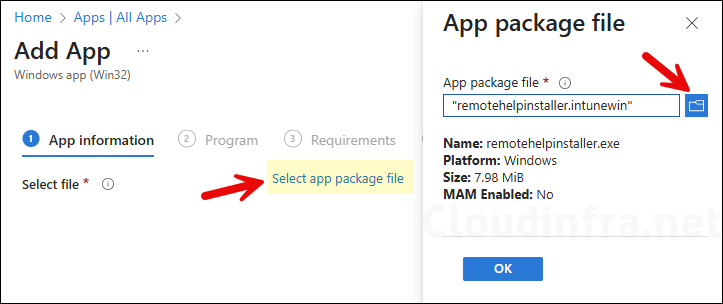
- App Information: Click on Select app package file and browse the Intunewin file.
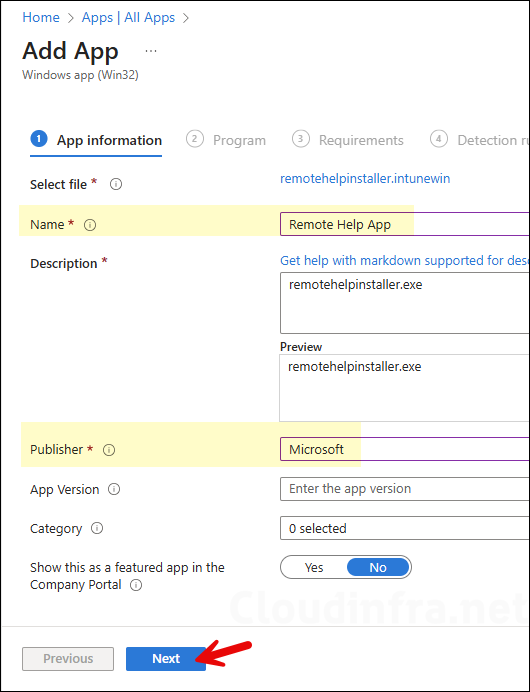
- Change the app name and add Publisher information. Rest of the fields are optional, but could be helpful for troubleshooting purposes.
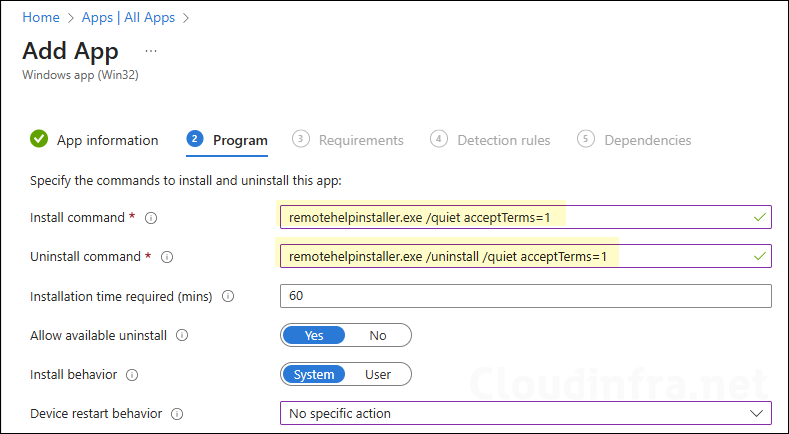
- Program:
- Install command: remotehelpinstaller.exe /quiet acceptTerms=1
- Uninstall command: remotehelpinstaller.exe /uninstall /quiet acceptTerms=1
- Installation time required (mins): Keep default
- Allow available uninstall: Keep default
- Install behavior: System
- Device restart behavior: No specific Action
- Specify return codes to indicate post-installation behavior: Keep default
To opt out of automatic updates, add enableAutoUpdates=0 to the install command, for example: remotehelpinstaller.exe /quiet acceptTerms=1 enableAutoUpdates=0. When the app updates, there is no need to remove previous versions, as the update process performs an in-place upgrade. I recommend keeping automatic updates enabled unless you have a specific reason to manage app versions manually. This ensures users always receive the latest features and bug fixes.
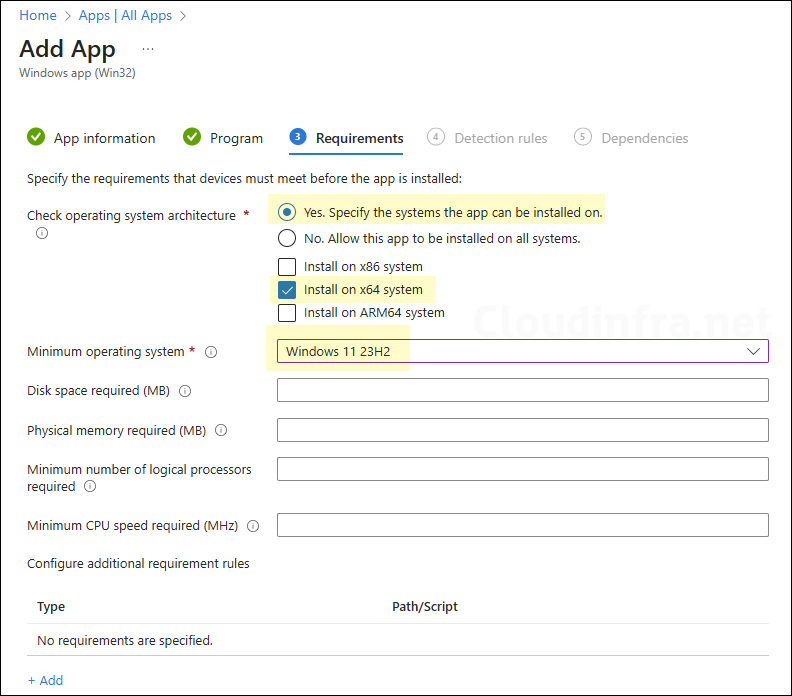
- Requirements: On the requirements tab, you can specify the requirements that devices must meet to deploy the app.
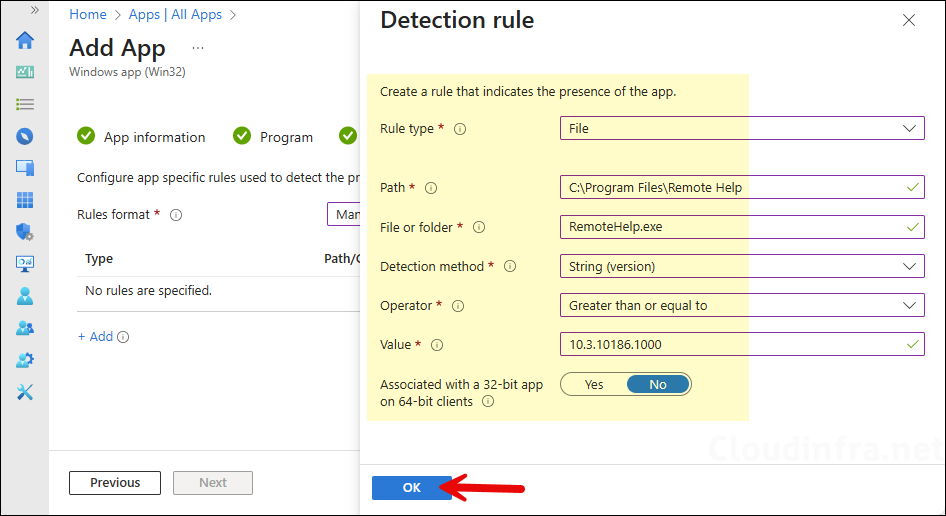
- Detection Rules: Select Manually configure detection rules and click on +Add to add a detection rule.
- For Rule type, select File
- For Path, specify C:\Program Files\Remote Help
- For File or folder, specify RemoteHelp.exe
- For Detection method, select String (version)
- For Operator, select Greater than or equal to
- For Value, specify the Remote Help version that you’re deploying. For example,10.3.10186.1000.
- Leave Associated with a 32-bit app on 64-bit clients set to No.
To get the Remote help version information, download the app (link) Install it on a test device manually. Then open a PowerShell console on the device where you have installed the app and run below command to get the version information.
(Get-Item "$env:ProgramFiles\Remote Help\RemoteHelp.exe").VersionInfo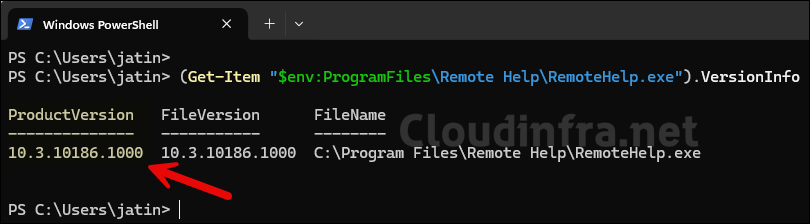
- Dependencies: Click Next.
- Supersedence: Click Next.
- Scope tags (optional): A scope tag in Intune is an RBAC label you add to resources (policies, apps, devices) to limit which admins can see and manage them. For more Information, read: How to use Scope tags in Intune.
- Assignments: Assign the app to Entra security groups that contain the target users or devices. As a best practice, pilot with a small set first; once validated, roll it out more broadly. For guidance on assignment strategy, see Intune assignments: User groups vs. Device groups.
- Review + create: Review the deployment summary and click Create.
Update Intune Policies
The device check-in process might not begin immediately. If you’re testing this policy on a test device, you can manually kickstart Intune sync from the device itself or remotely through the Intune admin center.
Alternatively, you can use PowerShell to force the Intune sync on Windows devices. Restarting the device is another way to trigger the Intune device check-in process.
End User Experience
Once the application has been installed on the target devices, you can sign in to one of the user’s devices and follow these steps to ensure the application is installed.
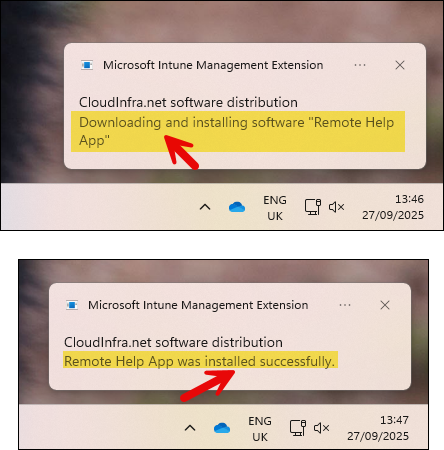
User will see the following pop-up messages on their desktop: the first appears while the app is downloading and installing on the device, and the second confirms that the Remote Help app has been installed successfully.
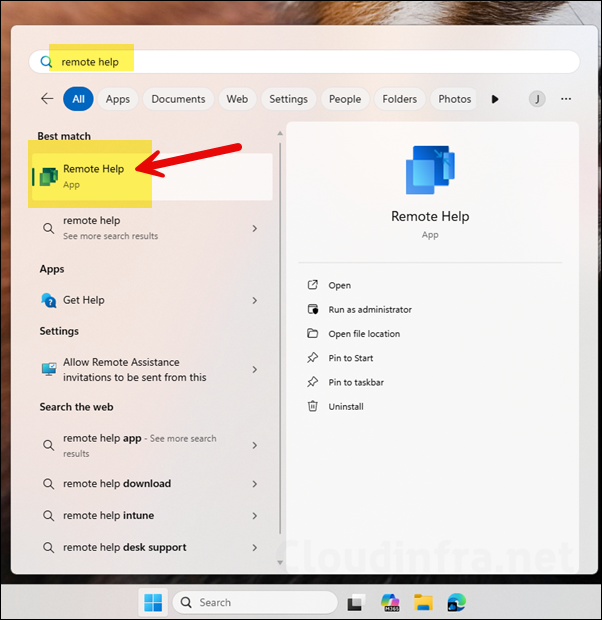
Search for the Remote Help app in the Start menu to locate it. You can also open Programs and Features to verify that the app is listed there, confirming it has been installed on the device.
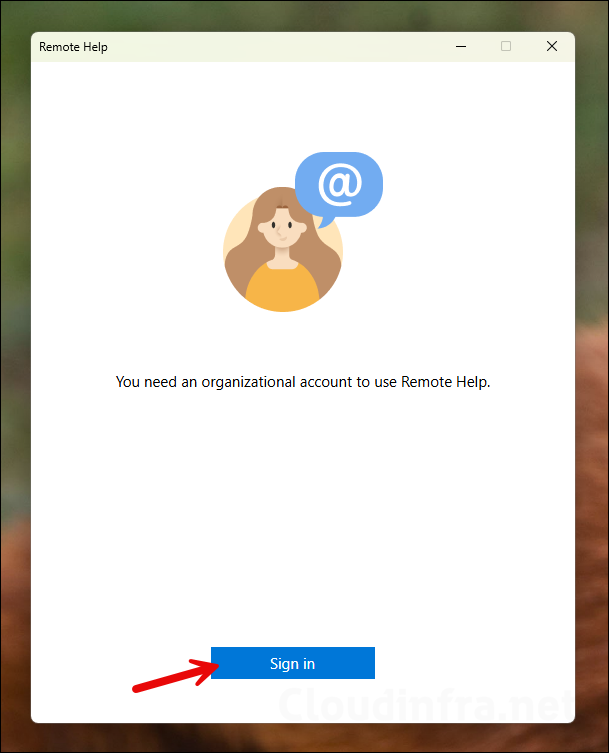
When you launch the app, it will ask you to Sign in. Use your Organization provided credentials to use this app.