In this guide, I will show you the steps to force upgrade to Windows 11 24H2 manually. Microsoft has released the Windows 11 24H2 feature update, also known as the Windows 11 2024 update. You can find more information about the new features of 24H2 on techcommunity.microsoft.com and learn.microsoft.com links.
Microsoft has released preview of Windows 11 25H2 feature update. To install it on your Windows 11 devices manually, refer to the guide: Force Upgrade to Windows 11 25H2 Manually.
For organizations using Intune, they can create a feature update policy and deploy 24H2 on Windows 11 devices. However, you might be facing some challenges or issues during the remote deployment of this feature update and the update might not be available on your device.
If you want to install this latest feature update as soon as possible, then you can force install it manually. Please note that 24H2 is a major feature update and not an enablement package. This means it’s a full OS swap which brings a lot of new changes to the OS, while the enablement package simply enables the features already deployed on the devices during previous Windows updates.
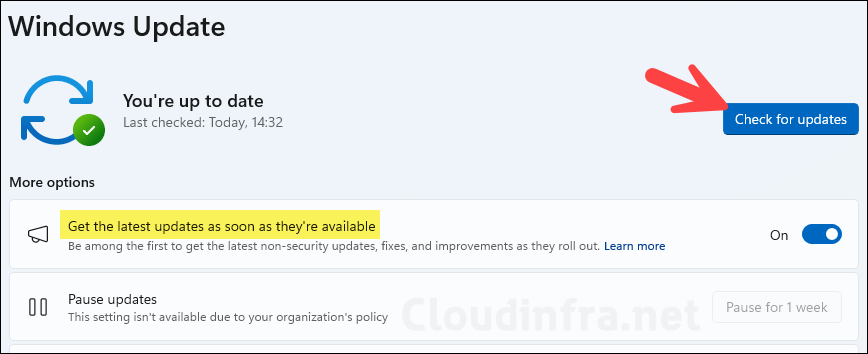
Users may have selected the below options in the Settings app and also clicked on Check for updates, but Windows 11 24H2 is not offered for download and Installation.
Force Install Windows 11 24H2 Manually
Let’s check the steps to Install Windows 11 24H2 feature update manually on the device:
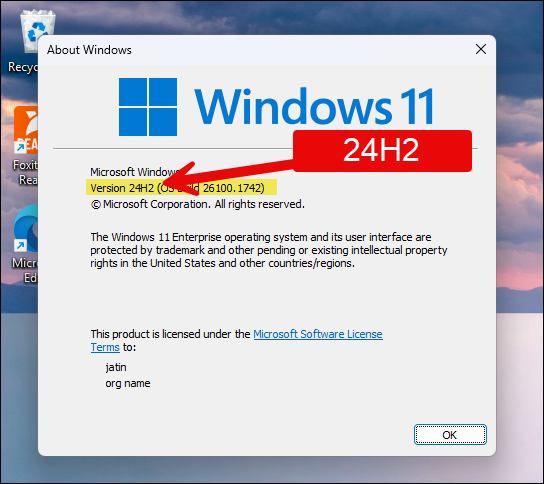
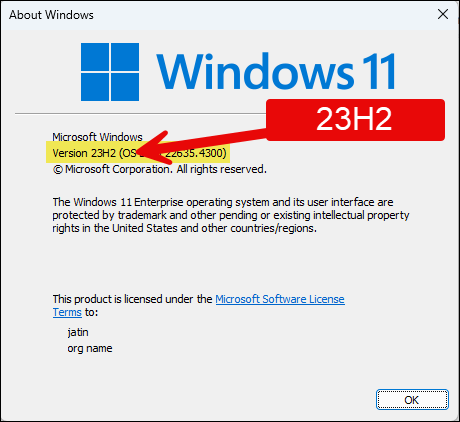
- Check the current feature pack installed on Windows 11.
- Press Win + R keys to open the Run dialog box.
- Type
winverand press Enter.
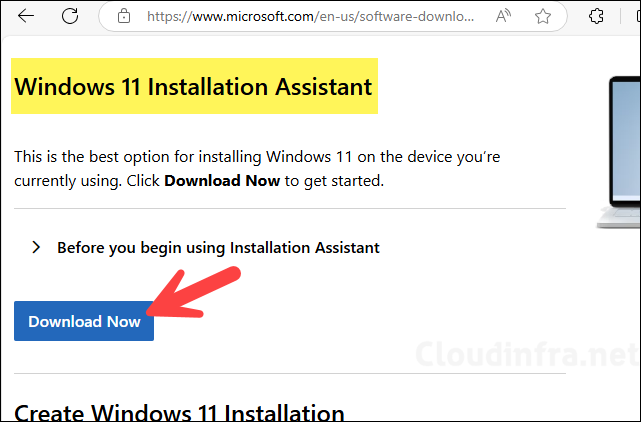
- Download Windows 11 Installation Assistant from Microsoft website.
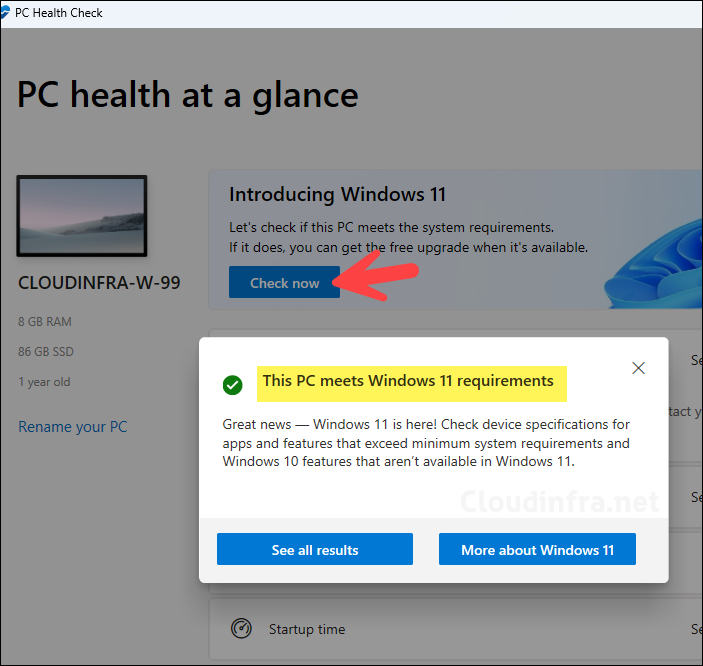
- Get Windows PC Health Check App: Download link and install it on the device.
- Launch PC health check app and click on Check now to check if your device meets the requirements for upgrading to the Windows 11 24H2.
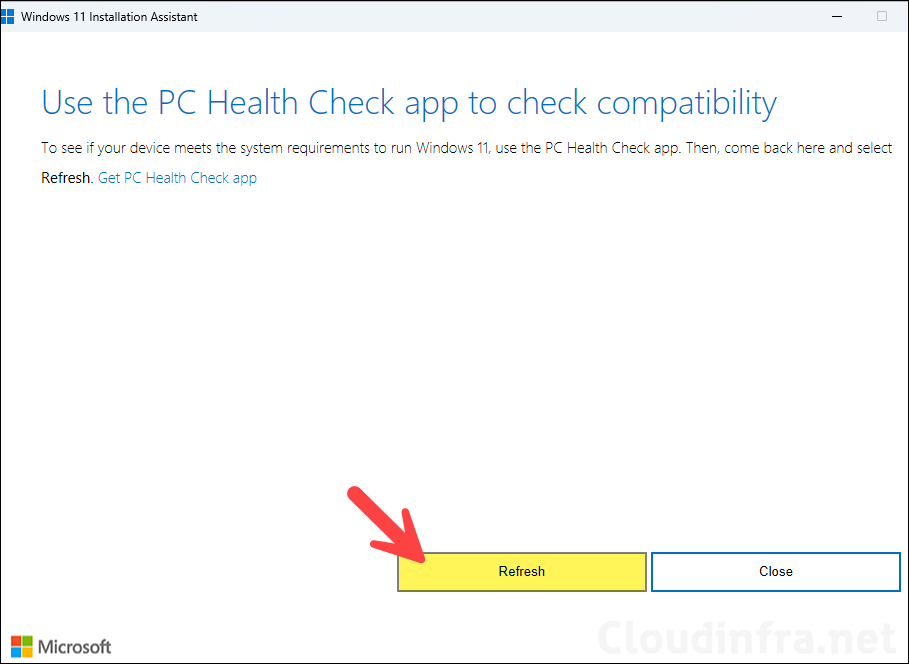
- After you have used PC health check app and confirmed that your system meetings the requirement for upgrade. Launch Windows 11 Installation Assistant and click on Refresh button.
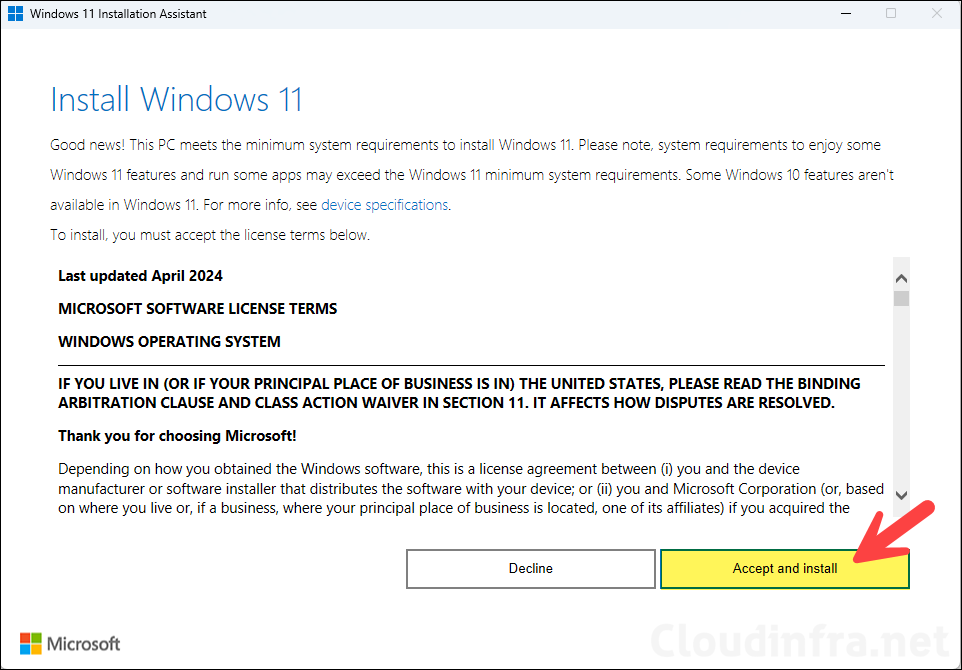
- Click on Accept and Install.
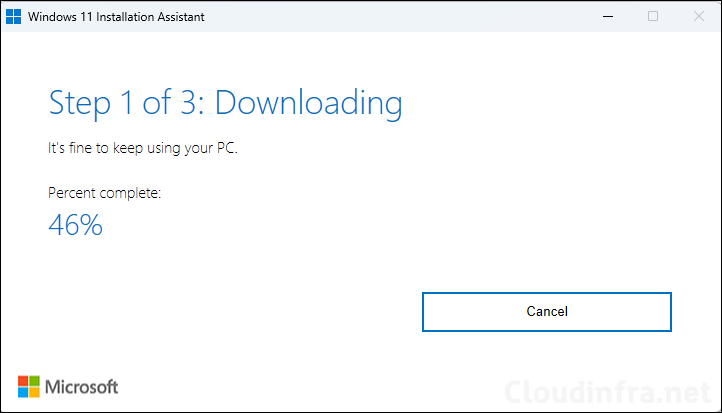
- Download of the latest Windows 11 OS feature update will start on your device.
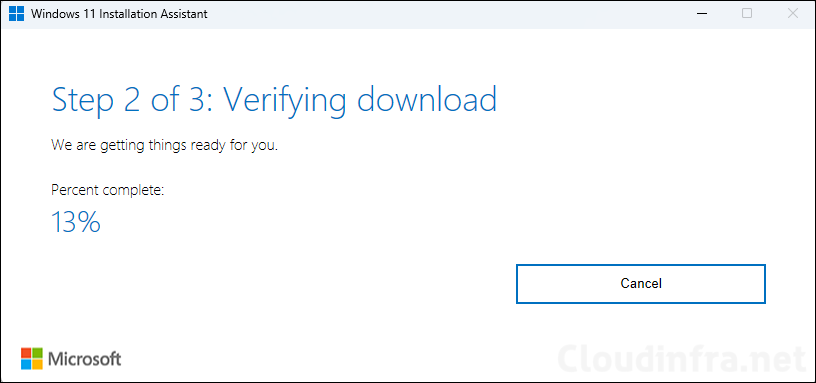
- Verifying download.
- Installing latest feature update on Windows 11.
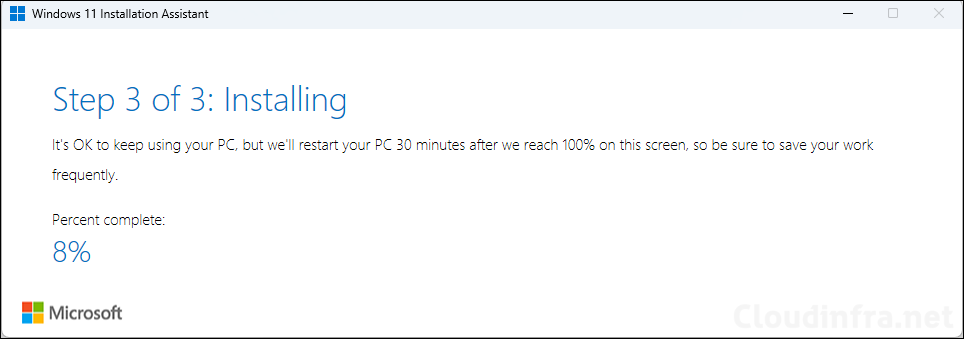
- It may take up to 30 minutes and few device reboots to update the operating system to feature update 24H2. To check and confirm if your device is successfully upgraded, you can run
winvercommand once again.- Press Win + R keys to open the Run dialog box.
- Type
winverand press Enter.