This post is about demonstrating the steps to setup Kiosk mode on Windows 11 devices. Kiosk Mode on Windows 11 locks a device to run only a specific app (single-app kiosk) or a selected set of apps (multi-app kiosk). It is ideal for shared, task-focused devices like reception desks, point-of-sale, digital signage, exam stations, or self-service terminals.
Contents
Single-app Kiosk mode
Single-app kiosk mode runs only one application in full screen mode. Users cannot open any other app on the device. You can configure the device for autologon and configure an application to launch automatically. There are two features of single app kiosk mode:
- Assigned access: Launches a UWP or Microsoft Edge app in full screen and runs above the lock screen. When a user signs in, the configured app will launch automatically. If a user closes that app, it will automatically restart.
- Shell Launcher: Using this method, you can configure a desktop application to launch. This application will replace the default Windows shell (explore.exe). The app will not run above the lock screen.
Multi-app Kiosk mode
Multi-app kiosk mode is also referred to as restricted user experience. Unlike single-app kiosk mode, this mode allows you to run multiple applications. It shows a minimum/restricted Start menu with only the apps that are allowed. You can configure a locked-down experience for different account types. This mode is suitable for shared devices that need a multiple tools, like front desk or labs.
Difference between Single-app and Multi-app kiosk mode
| Capability | Single-app Kiosk mode | Multi-app Kiosk mode |
|---|---|---|
| Primary use case | Run one app in full screen | Run defined set of apps |
| User shell | Locked to a single app window | Restricted Start menu with allowed apps |
| App types | UWP and Microsoft Edge kiosk; limited Win32 via Shell Launcher instead | UWP, Edge, and selected Win32 desktop apps |
| App switching | Not allowed | Allowed only among listed apps |
| Start menu | Hidden | Minimal Start Menu with only allowed tiles |
| Taskbar | Hidden | Optional, can be shown or hidden |
| File Explorer | Not available | Can be blocked or selectively allowed |
| System Settings | Blocked | Can be limited with device restrictions |
| Notifications | Suppressed | Can be suppressed or limited |
| Keyboard shortcuts | Most system keys blocked | More configurable; use Keyboard filter as needed |
| Printing | App-controlled only | Allowed if the permitted app supports it and policy allows |
| Sign-in model | Local User and Entra ID user or group | Local user, Entra ID user or group, and HoloLens Visitor |
| Data persistence | Data is cleared between sessions | Configurable per app and policy |
| Peripherals | App determines; OS dialogs usually blocked | Can allow specific peripherals via policy |
| Power and sleep | Must be adjusted to prevent timeouts | Adjustable; common to disable sleep and display off |
| XML required | No, unless advanced requirements | Required, must provide an Assigned Access XML and deploy via CSP/Intune/PPKG/MDM Bridge |
| Shell Launcher needed | Only if you require a Win32 app/Desktop app as the shell | Not required; use Shell Launcher only for true custom shells |
| Exit method | Ctrl+Alt+Del and switch to admin | Sign out or Ctrl+Alt+Del; admin account to exit |
| Best for | Digital signage, web terminal, exam browser, POS single app | Front desk terminals, shared worker devices, light multi-tool stations |
| Typical limitations | One app, no Start, no switching | More setup effort; ensure each allowed app is installed and stable |
Setup Kiosk Mode on Windows 11 Manually
Now, let’s look at the steps to enable, configure and manage kiosk mode on Windows 11 manually.
- Open the Settings app > Acounts > Other Users.
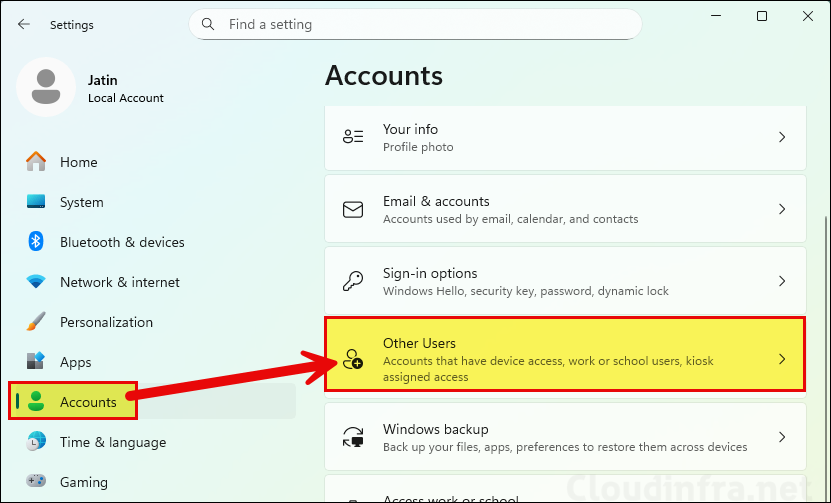
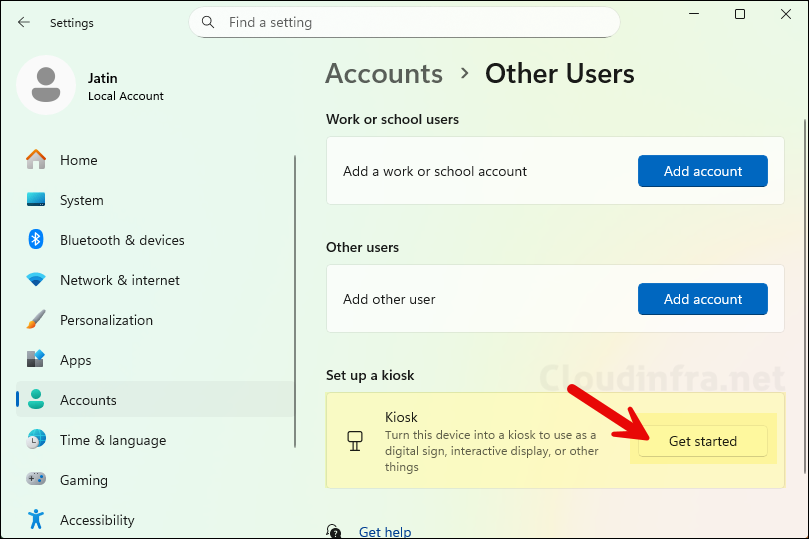
- Under Set up a kiosk, click Get started button.
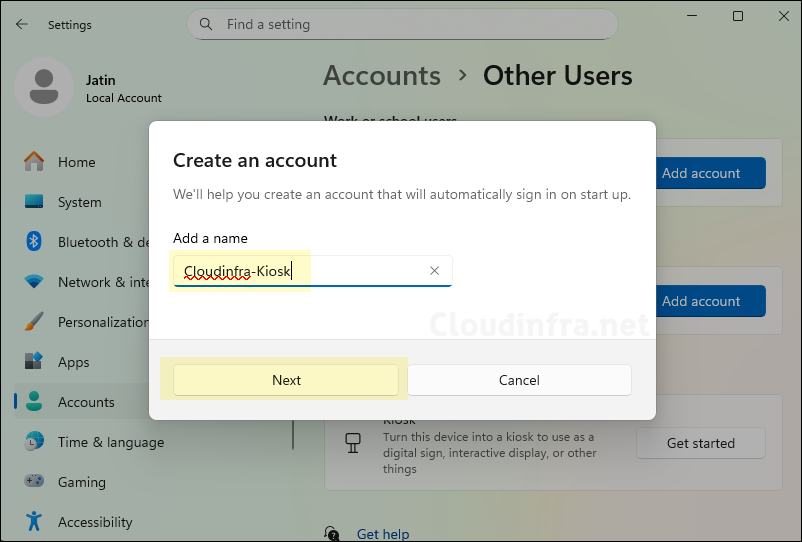
- Provide a name of the standard local user account. For example: I have provided Cloudinfra-Kiosk.
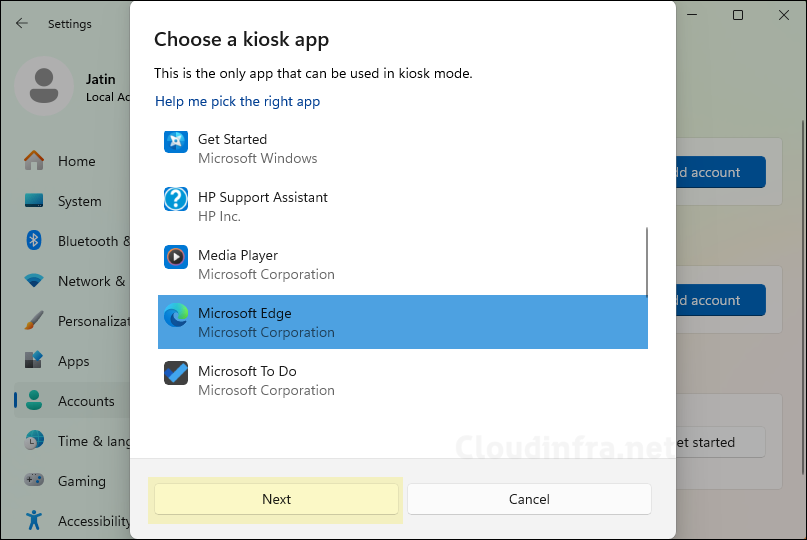
- On the next screen, you can choose either a UWP app or a browser. The most common scenario is to use Microsoft Edge browser to launch a specific URL, so in this case, I will select Microsoft Edge and click Next.
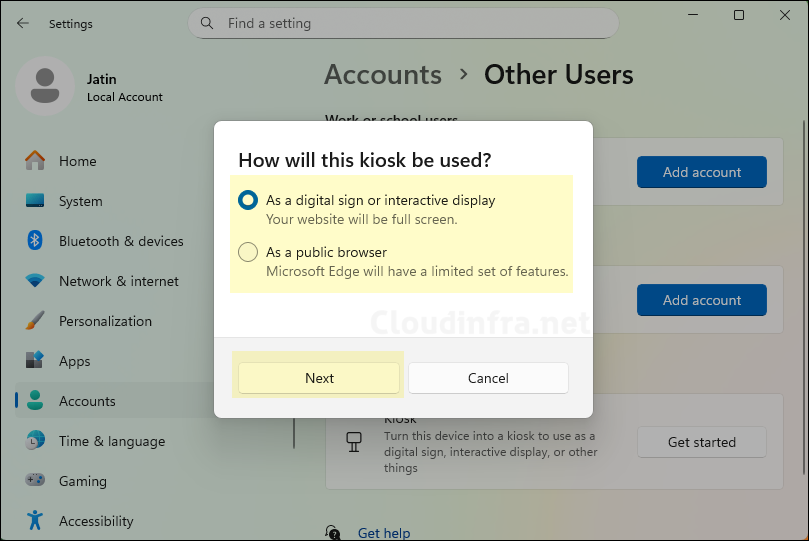
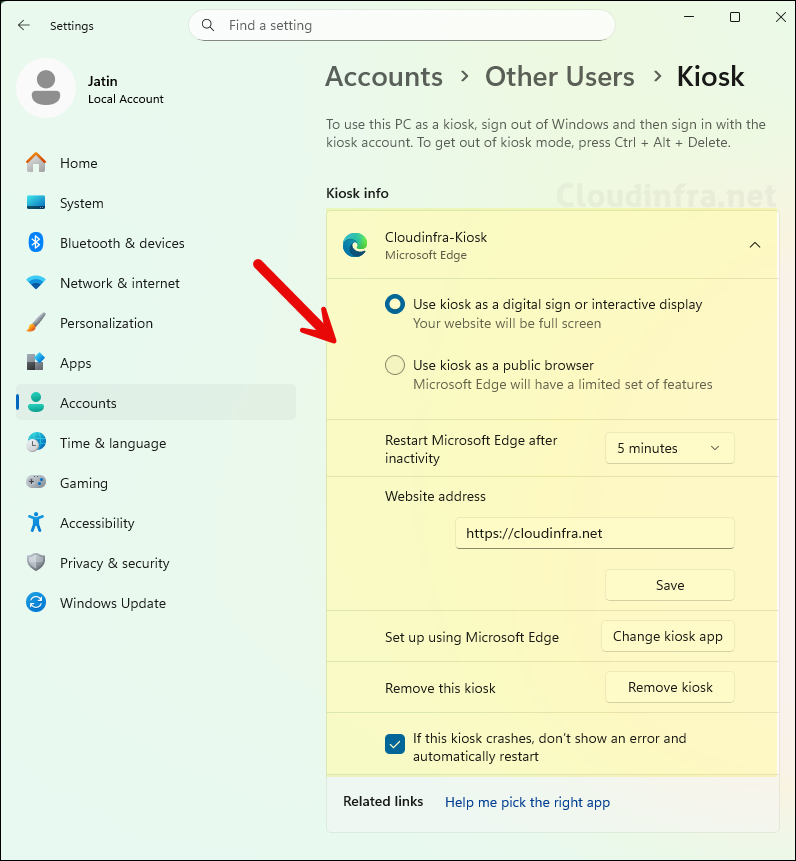
- On the next screen, How will this kiosk be used?, you’ll see two options: As a digital sign or interactive display and As a public browser.
- As a digital sign or interactive display: When you select this option, kiosk mode is configured to open a URL in full-screen mode by default. The URL you specify in the next step will automatically launch when the kiosk session starts.
- As a public browser: When you select this option, it launches a limited multi-tab version of Microsoft Edge. Unlike the Digital/Interactive Signage option, this mode allows users to browse other public websites. If the browser is closed, it will automatically restart and load the URL you have configured.
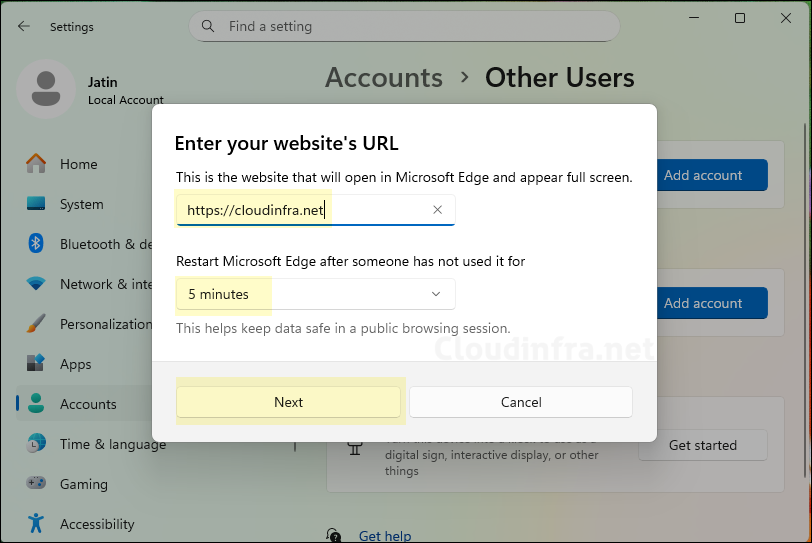
- Enter the URL you want Microsoft Edge to open automatically, and specify the idle timer duration, after which Edge will automatically restart if the session remains inactive. I have kept the default time of 5 minutes, but you can adjust this value based on your requirements.
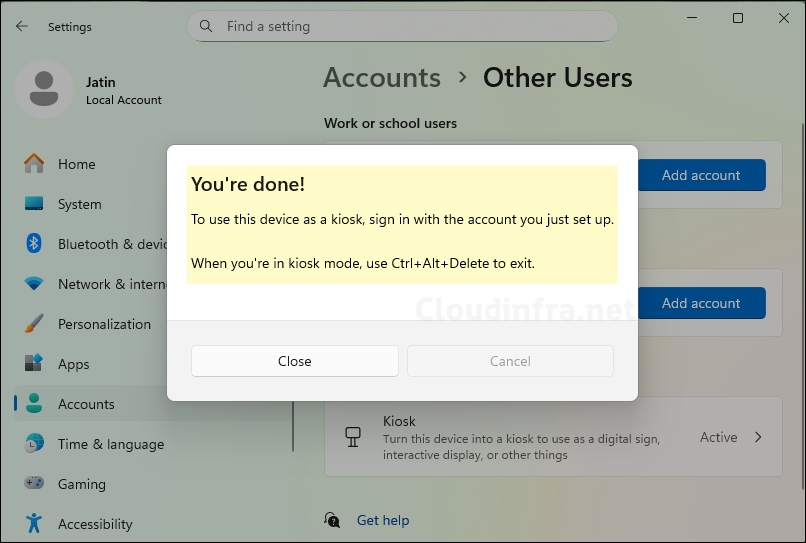
- That’s it! kiosk setup is now complete. You can restart your device to verify that everything is working correctly. After the restart, the device should automatically sign in using the kiosk standard local user account and launch Microsoft Edge in full-screen mode, loading the configured URL automatically.
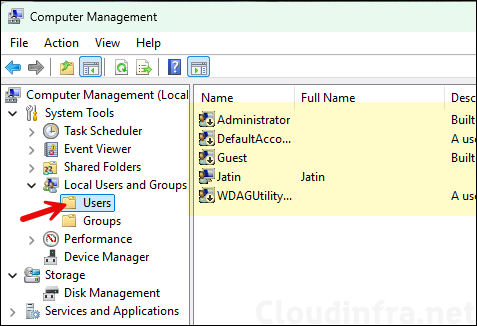
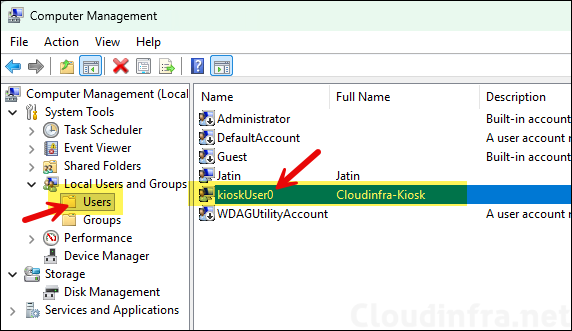
- When Kiosk mode is configured on a Windows 11 device, it automatically creates an account named kioskUser0, with the display name you specified during profile setup. To verify this, open Computer Management > Local Users and Groups > Users, and check if the kioskUser0 account is listed.
Testing Kiosk Mode Setup
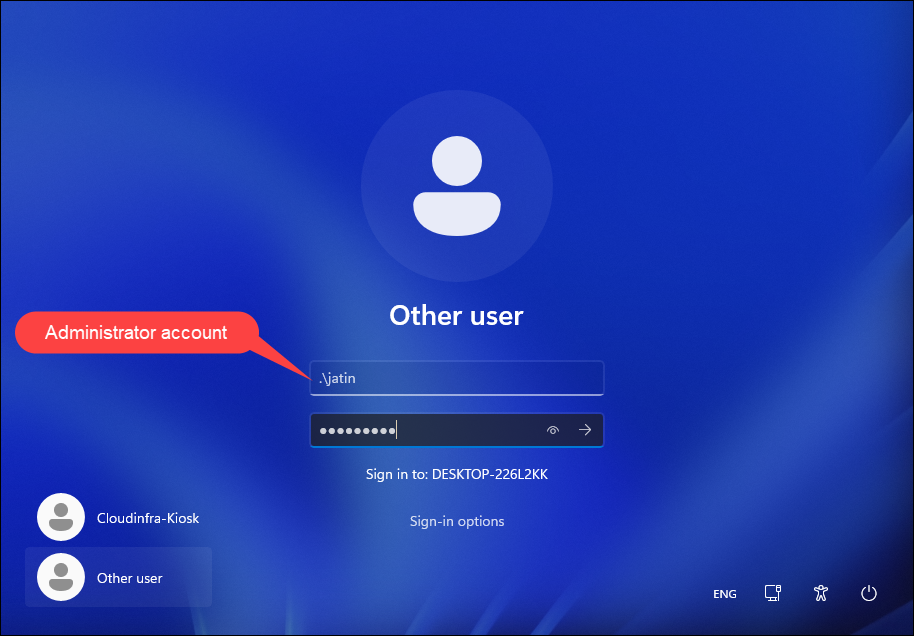
Each time the system is restarted, it will automatically sign in using the kioskUser0 account. The screenshot below shows the account automatically signing in to the system after a reboot.

After the autologon process completes, the system will open the configured URL in full-screen mode. Users can interact only with this website and cannot access any other URLs or websites, as the kiosk has been configured using the As a digital sign or interactive display option.

Manage Kiosk Mode
Now that the kiosk mode setup is complete, if you later need to change the URL or modify the kiosk mode profile, you can exit kiosk mode by pressing Ctrl + Alt + Del and then signing in with your administrator credentials.
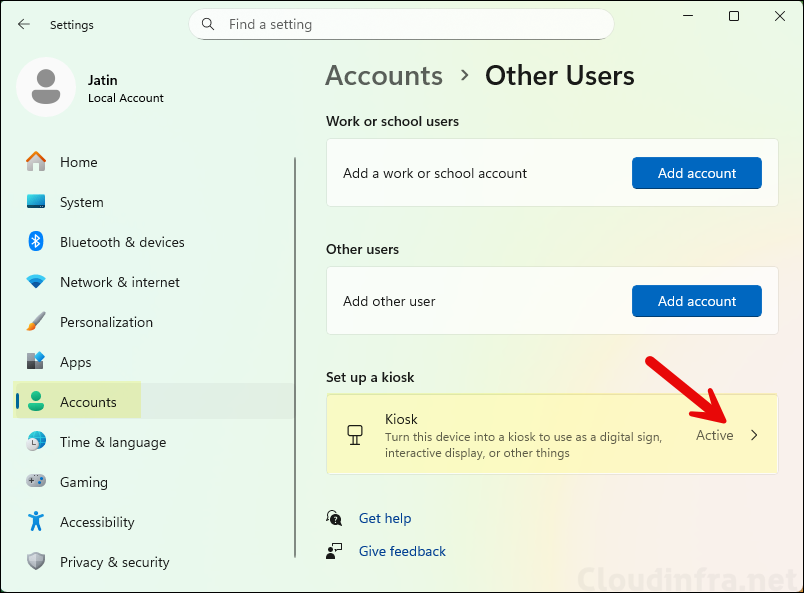
- Go to the Settings app > Accounts > Other users. Here, you’ll see that the Kiosk mode is shown as Active. Click on it to view or modify its configuration.
- Here, you can view the configured and active kiosk profile. You can reconfigure the kiosk setup as needed. For example, if you want to change the default website address that opens automatically, you can update it here. You can also switch to a different app or modify the idle session time for Microsoft Edge to restart, depending on your requirements.
Remove or Disable Kiosk Mode
You can easily remove or disable Kiosk mode on your device by opening the Settings app > Accounts > Other users, then selecting the Kiosk profile and clicking Remove kiosk. A confirmation pop-up will appear asking if you want to delete the kiosk profile. Once you click Remove, all kiosk settings will be deleted, and the kiosk account will be signed out.

- kioskUser0 account will also be removed automatically once you delete the kiosk profile from the system.