In this post, I’ll demonstrate the steps to deploy Google Chrome on Windows using Intune. Chrome is available in both Personal and Enterprise editions. While the browser engine is identical, the Enterprise build comes as an MSI installer and includes policy templates for management of the app. Use Enterprise version for an organization and Personal one for your home computer.
We’ll begin by downloading the Chrome Enterprise browser and then use the Intune Line-of-Business app method to deploy it to Intune-managed devices. Let’s get started.
Download Google Chrome Enterprise
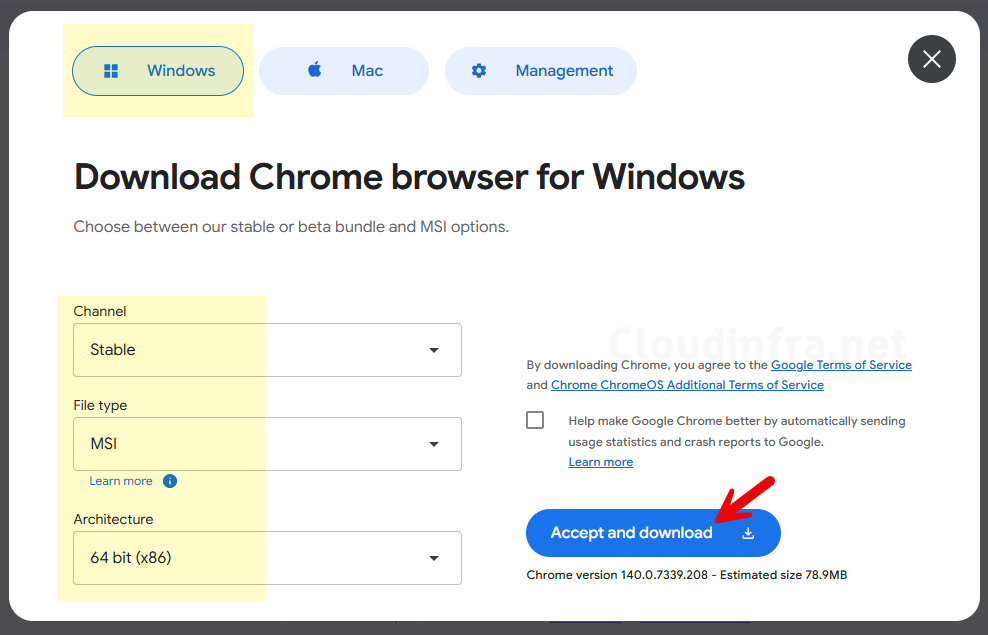
- Visit the website: Enterprise browser download for Windows and Mac – Chrome Enterprise, and click on Download chrome button.
- A pop-up will appear; select Channel: Stable, File type: MSI, and Architecture: 64-bit, then click Accept and Download. This will download the file googlechromestandaloneenterprise64.msi to your Downloads folder.
Please note that if you’re deploying the Google Chrome browser on ARM-based (x64) devices, you should select 64-bit (ARM) from the Architecture drop-down when downloading the app.
Create Intune App Deployment for Chrome
Now, we will create an Intune app deployment for chrome using line-of-business app deployment method. Line-of-Business (LOB) app method supports .msi, .appx, and .appxbundle file extensions and one of the easiest methods for deployment of MSI apps via Intune. Let’s get to the steps:
- Sign in to the Intune admin center > Apps > Windows > Windows apps > + Create.
- Using the App type drop-down, Select the Line-of-business app option.
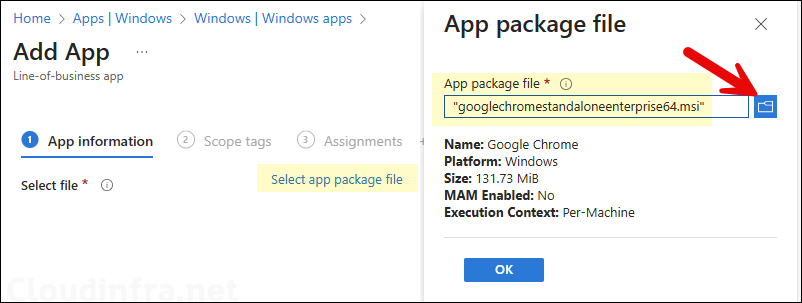
- Click Select app package file and browse to the Google Chrome enterprise installer file downloaded in the previous step.
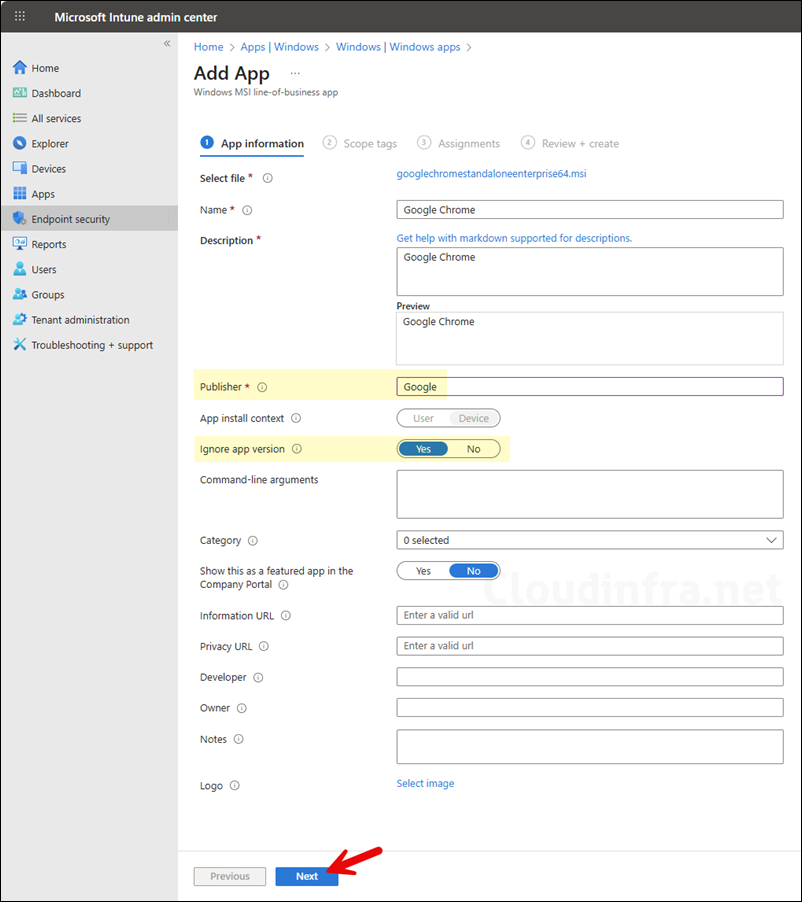
- On App information page, provide Publisher information and keep Ignore app version as Yes. The rest of the information is optional but useful to provide as it can help the other team members during troubleshooting.
- Scope tags (optional): A scope tag in Intune is an RBAC label you add to resources (policies, apps, devices) to limit which admins can see and manage them. For more Information, read: How to use Scope tags in Intune.
- Assignments: Assign the app to Entra security groups that contain the target users or devices. As a best practice, pilot with a small set first; once validated, roll it out more broadly. For guidance on assignment strategy, see Intune assignments: User groups vs. Device groups.
- Review + create: Review the deployment summary and click Create.
Sync Intune Policies
The device check-in process might not begin immediately. If you’re testing this policy on a test device, you can manually kickstart Intune sync from the device itself or remotely through the Intune admin center.
Alternatively, you can use PowerShell to force the Intune sync on Windows devices. Restarting the device is another way to trigger the Intune device check-in process.
Monitoring Chrome App Deployment
- Sign in to the Intune admin center > Apps > All apps.
- Click on the app deployment and check the Overview tab to find the deployment status.
- Click on Device install status and User install status under monitor to get the status of app deployment per device and user.
End User Experience
It didn’t take long to deploy this application to the target devices. Within a few minutes, the app was installed on my device. Once installed successfully, you’ll see the Google Chrome icon on your desktop.

To keep Google Chrome up to date, enforce the Chrome auto-update policy via Intune. For more details, refer to the guide: Enable Auto Updates in Google Chrome Using Intune.
If you are looking to deploy Google Chrome on macOS via Intune, refer to the guide: Deploy Google Chrome On macOS Using Intune.