In this blog post, I will demonstrate two ways to export Windows 365 Cloud PC Inventory to CSV file. These details include Cloud PC Names, Provisioning policies, Azure network connections (ANC), and additional information that can help with the management of Windows 365.
Contents
Method 1: Export Cloud PC Inventory from Intune
- Sign in to the Intune admin center > Devices > Windows 365 > All Cloud PCs.
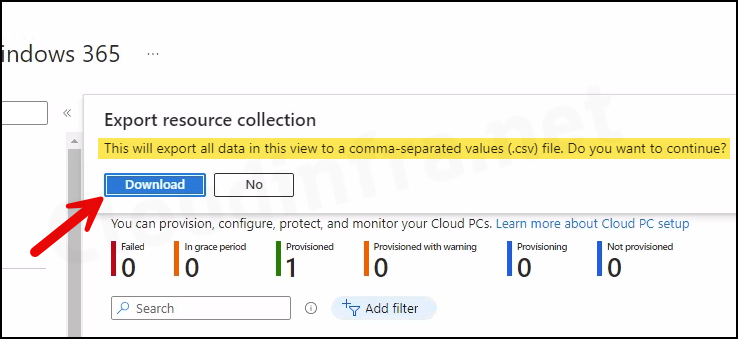
- Click on Export and then click on Download.

- Click on Download to start the Export process.
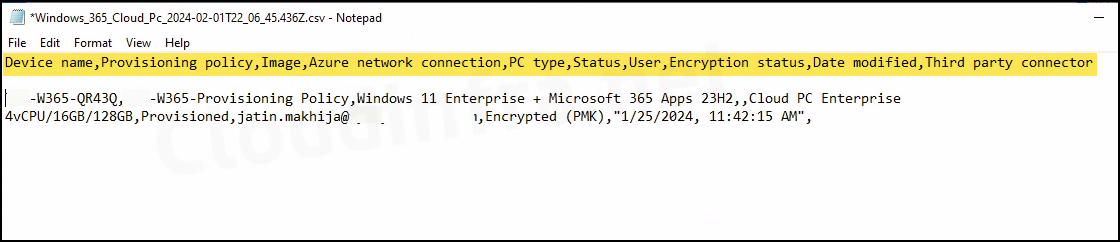
- CSV file will be downloaded on your PC’s default Downloads folder. Open the file to review the exported information about Cloud PCs. Following details are included:
- Cloud PC Device Name
- Provisioning Policy Name
- Image
- Azure Network connection
- PC type
- Status
- Date Modified
- Third-Party connector
- If you prefer not to include all the information about Cloud PCs in the CSV file, click on Columns and filter to select only the information you want.
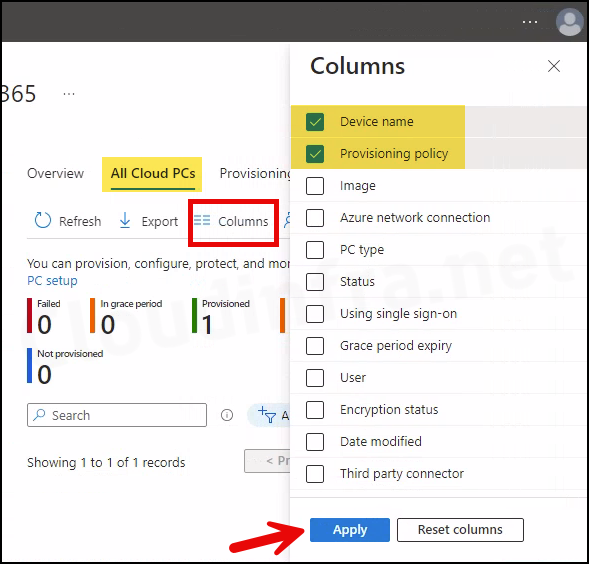
- After filtering the columns, it will display only the columns you selected. Click on Export and then Download. This will export only the columns you have selected for the Cloud PCs.
Method 2: Export Cloud PC Inventory using PowerShell
Install Microsoft Graph PowerShell Module
Install-Module Microsoft.Graph -Scope CurrentUserAfter executing the above command to install Microsoft Graph, you may encounter following prompts: Press Y to proceed with the Installation of the NuGet Provider. You may not get this prompt if the NuGet Provider is already installed on your system.
NuGet provider is required to continue PowerShellGet requires NuGet provider version ‘2.8.5.201’ or newer to interact with NuGet-based repositories. The NuGet provider must be available in ‘C:\Program Files\PackageManagement\ProviderAssemblies’ or ‘C:\Users\jatin\AppData\Local\PackageManagement\ProviderAssemblies’. You can also install the NuGet provider by running ‘Install-PackageProvider -Name NuGet -MinimumVersion 2.8.5.201 -Force’. Do you want PowerShellGet to install and import the NuGet provider now? [Y] Yes [N] No [S] Suspend [?] Help (default is “Y”): Y
Microsoft Graph module will be downloaded and installed from the PowerShell Gallery. As PowerShell Gallery is an untrusted repository by default, you will receive another prompt to confirm the installation – Press A or Y on the keyboard.
Untrusted repository
You are installing the modules from an untrusted repository. If you trust this repository, change its
InstallationPolicy value by running the Set-PSRepository cmdlet. Are you sure you want to install the modules from
'PSGallery'?
[Y] Yes  [A] Yes to All  [N] No  [L] No to All  [S] Suspend  [?] Help (default is "N"): A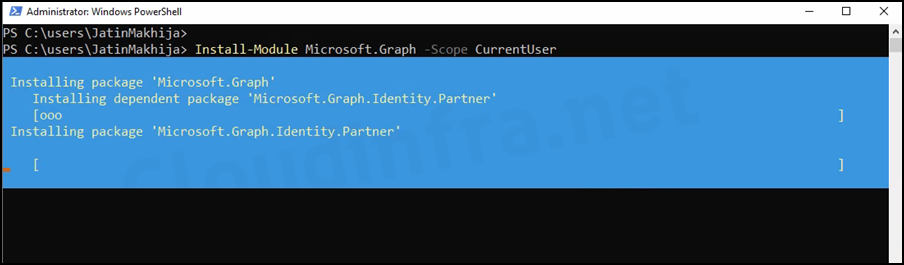
After installing Microsoft Graph PowerShell module, run a PowerShell script that exports the names of Cloud PCs into a CSV file. Copy below code and paste it into the notepad, and save the file as Get-CloudPCNames.ps1. This code is from Microsoft docs: Export Cloud PC names for Windows 365 | Microsoft Learn.
Get-CloudPCNames.ps1
param(
[Parameter(Mandatory)]
[string]$Output
)
Select-MgProfile -Name "beta"
Connect-MgGraph -Scopes "CloudPC.Read.All"
$CloudPCs = Get-MgDeviceManagementVirtualEndpointCloudPC -Property "DisplayName"
$DisplayNames = $CloudPCs | Select -ExpandProperty DisplayName
Write-Output $DisplayNames
$Outarray = @()
foreach ( $Name in $DisplayNames )
{
$Outarray += New-Object PsObject -property @{
'DisplayName' = $Name
}
}
$Outarray | Export-Csv -Path $Output -NoTypeInformation
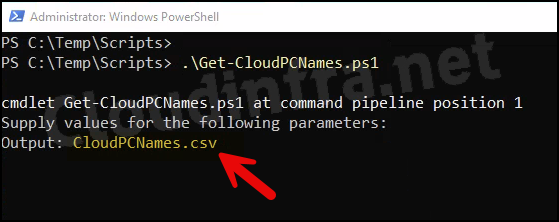
Disconnect-MgGraphOpen PowerShell console and execute this script. It will prompt you to enter the desired name for the CSV file. Provide any file name with the extension .csv and press Enter. You may be prompted for authentication; complete the authentication process, and CloudPCNames.csv file will be exported.
As we are executing the script with in the C:\Temp\Scripts directory. The exported file will be saved at the same location.
Note