In this blog post, I will show you the steps to deploy Bitwarden app using Intune. Bitwarden is a freemium open-source password management service that is used to store and manage passwords. It can be used to create secure notes and other sensitive information. All information stored in Bitwarden is encrypted using AES 256-bit encryption.
Create Bitwarden App Deployment
Follow below steps to create Bitwarden app deployment on Intune admin center. This deployment can be assigned to Intune managed Windows 10/11 devices. Let’s check the steps:
- Sign in to the Intune admin center > Apps > Windows > Add.
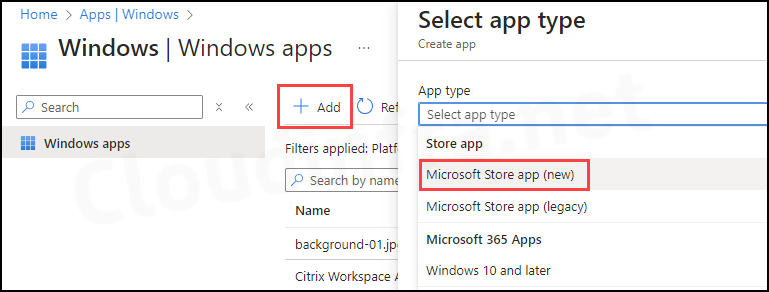
- On App Information tab, Click on Search the Microsoft Store app (new) and search for Bitwarden app. Select the app to proceed to the next step.
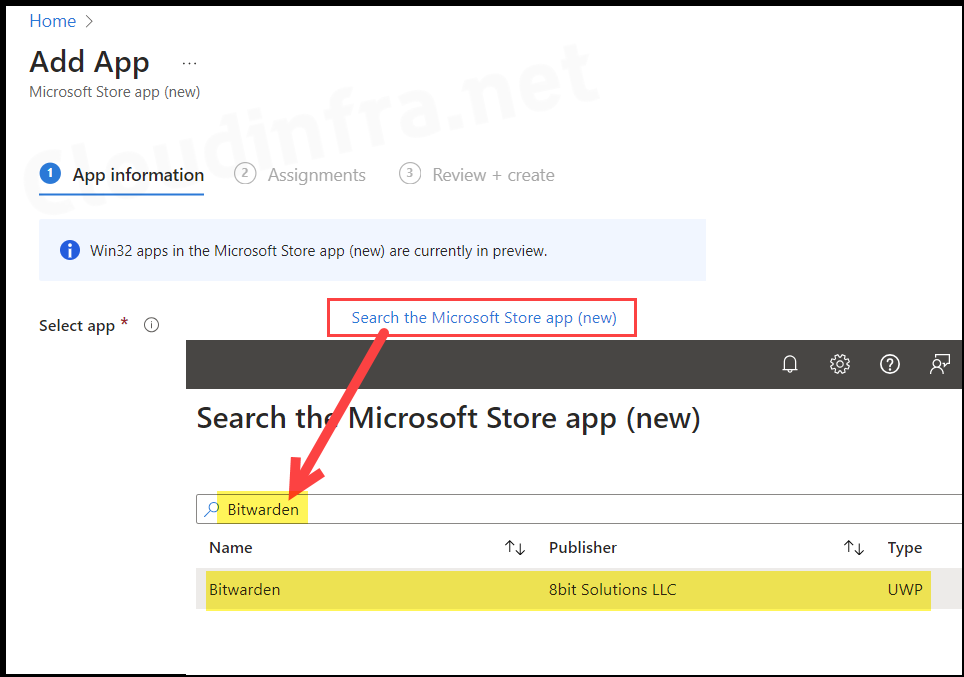
- After you select the app, Most of the Information will be populated for you. You can choose the Installation behavior as System or User. Depending upon the type of deployment you want to create.
- System: When you select system as Install behavior, it will install the application in System context, making it available for all users on the target device.
- User: When you select user as Install behavior, the application will be installed in user context and will be available only for the currently Signed-in user.

- Assignments: Assign the app deployment to Entra security groups that contain the target users or devices. As a best practice, pilot with a small set first; once validated, roll it out more broadly. For guidance on assignment strategy, see Intune assignments: User groups vs. Device groups.
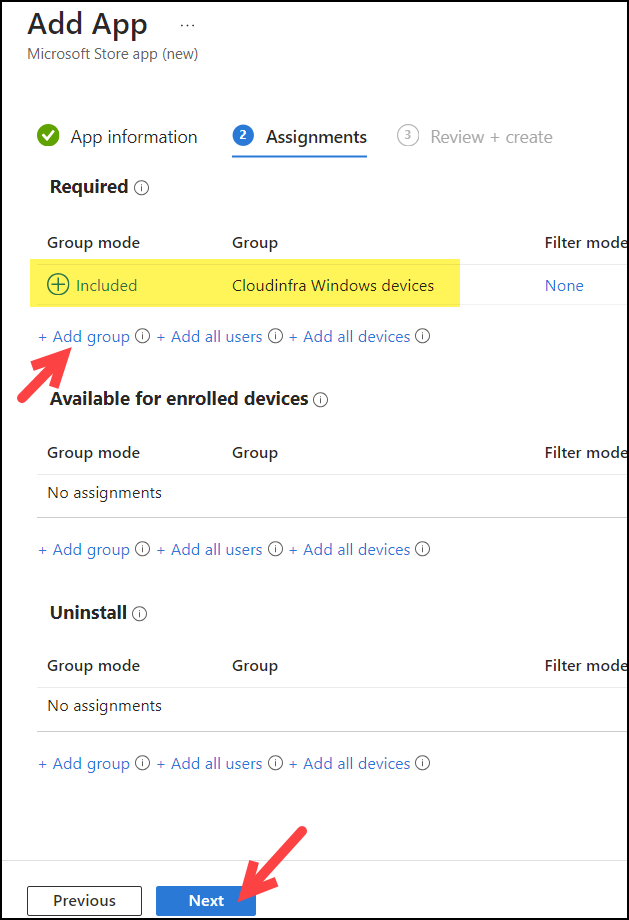
- Click Create on Review + create tab to create the App deployment.
Sync Intune Policies
The device check-in process might not begin immediately. If you’re testing this policy on a test device, you can manually kickstart Intune sync from the device itself or remotely through the Intune admin center.
Alternatively, you can use PowerShell to force the Intune sync on Windows devices. Restarting the device is another way to trigger the Intune device check-in process.
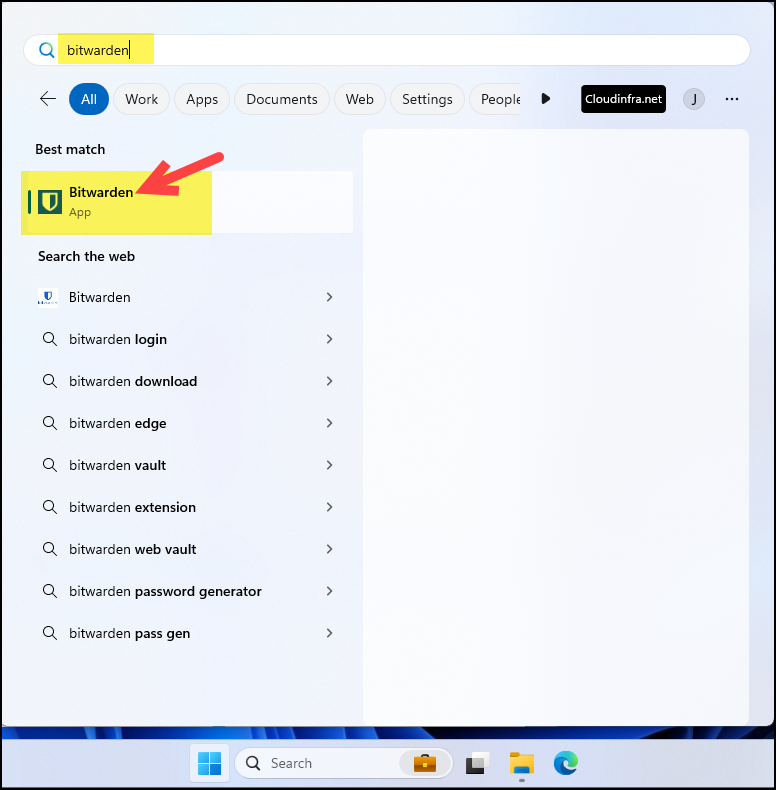
End User Experience
After the application is assigned to target devices and Intune sync has been completed. The application will be installed. To find the application, Simply search for the application in start menu.