In this blog post, I will show you the policies to enable/disable Spell check in Edge browser. Edge browser comes with a built-in spell checker that helps correct spelling and grammar mistakes. By default, the Spell Check feature is enabled.
Microsoft Edge offers two levels of writing assistance: Basic and Microsoft Editor. Here’s a quick overview:
- Basic: This is the default setting available under edge://settings/languages. It performs local spellchecking directly on your device, ensuring that no typed data is sent to the Microsoft cloud for spellchecking services.
- Microsoft Editor: This AI-powered tool provides advanced writing assistance in over 20 languages, offering spellchecking, grammar checking, and text predictions to enhance your writing experience. However, when you use Microsoft Editor, your typed text is sent to a Microsoft cloud service for analysis. It’s important to note that this data is not stored and is deleted after processing.
- Text Prediction: An additional writing assistance feature called text prediction can also be enabled in Edge. When activated, typed characters in certain text boxes on the web are sent to the Microsoft cloud to provide predictive text suggestions.
If you’re concerned about data privacy and prefer not to send typed data from Microsoft Edge to the Microsoft cloud for spellchecking or grammar checking, you can opt for Basic spell checking. This option provides local spellchecking, ensuring that your typed data remains on your device and is not transmitted to the cloud.
Contents
1. Enable/Disable Spell Check in Edge Manually
First option to enable or disable Spell check in Microsoft Edge browser is by using the browser settings. Let’s check the steps:
- Launch Edge browser.
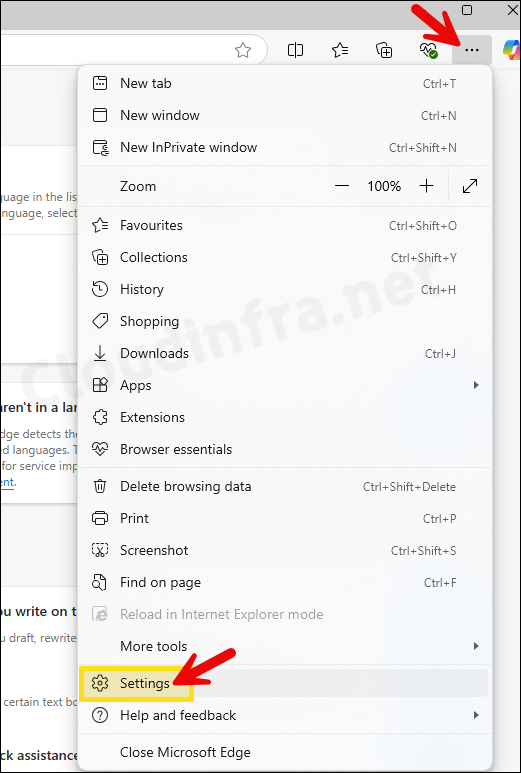
- Click on three dots (…) on the top-right hand side corner and go to Settings.
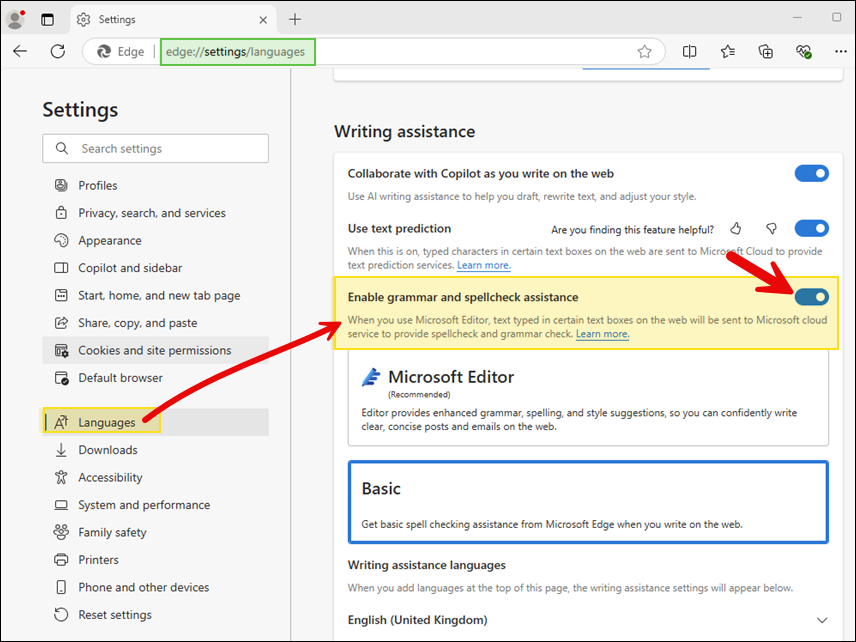
- Click on Languages and Find Enable grammar and spellcheck assistance under Writing assistance. It’s enabled by default, you can use this toggle switch to disable/turn off the spell check services. You can also change the level of Spell check services from Basic to Microsoft Editor.
2. Enable/Disable Spell Check in Edge using Group Policy
Another option to enable or disable Spell check in Edge is by using Active directory group policy. If your devices are Active directory domain joined or Entry hybrid joined, you can manage Spell check services by creating a GPO. Let’s check the steps:
- Login to a Domain controller and open Group Policy Management Console (gpmc.msc).
- Create a new GPO or open an existing one.
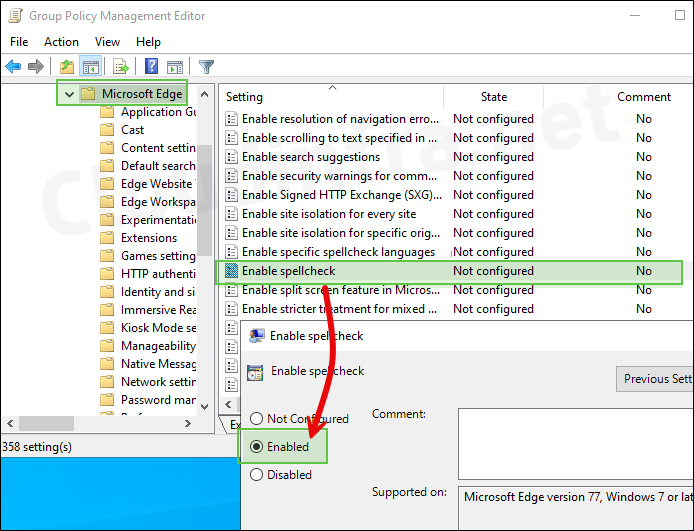
- Navigate to Computer Configuration\Policies\Administrative Templates\Microsoft Edge and on the right-hand side, find Enable spellcheck setting. Open the setting and set it to Enabled to enable it. If you set it to Disabled, Spell check will get disabled in Edge.
- Link this GPO to an OU containing computers.
- Restart of the target computer will be required. You can also open command prompt as administrator and run gpupdate /force to speed up the GPO processing on the client computer.
3. Enable/Disable Spell Check in Edge using Intune
You can also enable or disable Spell Check writing service in Edge browser by using Intune policies. Enable Spell check policy is available in the Settings catalog. Simple create a device configuration profile, add this setting and assign it to the Windows computers. I have created a step-by-step which shows: how to enable or disable Spell check in Edge using Intune.
4. Enable/Disable Spell Check in Edge using Registry
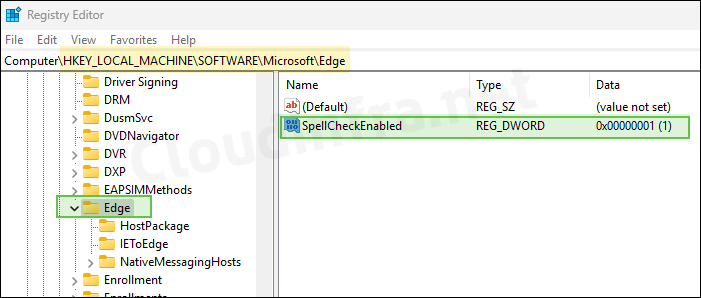
Next option to enable or disable Spell check in Edge browser is by using Windows registry editor. I will be creating a DWORD registry entry on a Windows 11 computer which can enable or disable Spell check. Registry entry will be created under HKEY_LOCAL_MACHINE node, therefore a restart of the machine would be required.
- Sign in to a Windows 11 device as administrator and open the Registry editor.
- Navigate to HKEY_LOCAL_MACHINE\SOFTWARE\Microsoft\Edge. Create a new DWORD registry entry called SpellCheckEnabled. Set it to 0 to disable the Spell check and set it to 1 to enable the Spell check in Edge.