In this blog post, I will show you the steps to Integrate Azure DevOps Pipelines with a Slack Channel. You can seamlessly integrate Azure DevOps pipelines with any Slack channel, allowing you to receive notifications for various pipeline-related activities directly within that Slack channel. This integration enables you to subscribe to builds, releases, and YAML pipelines, and even approve pipeline stages within Slack.
In this blog post, we’ll walk you through setting up Azure DevOps Pipeline integration with a Slack channel.
If you’re interested in receiving notifications for Azure DevOps Repos-related changes in your Slack channel, you can refer to the blog post: Integrate Azure DevOps Repos with a Slack Channel.
Contents
Step 1: Add Azure Pipelines app to Slack Workspace
- Add Azure pipelines apps to Slack using the link: Azure Pipelines Slack app and install it in your Slack workspace.
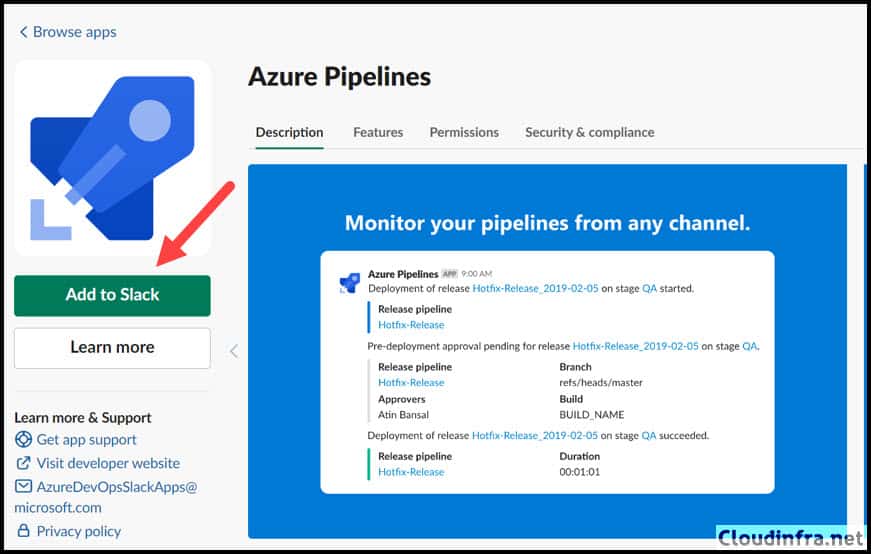
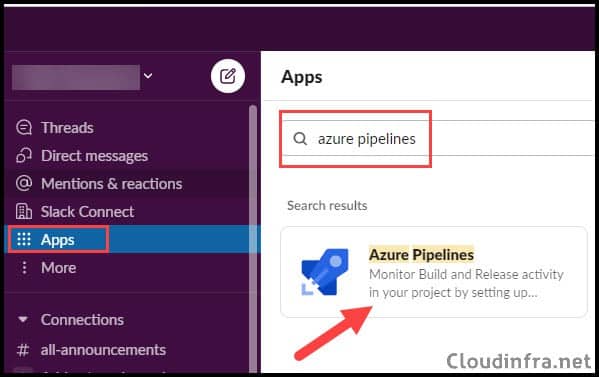
- You can also add this app to your Slack workspace by searching for the Azure Pipelines app within Slack. Click on the Apps link on the left-hand side and then click on Add.
- If the app is installed in your workspace, you won’t see an Add button. However, the Add button allows you to initiate the installation if it’s not installed.
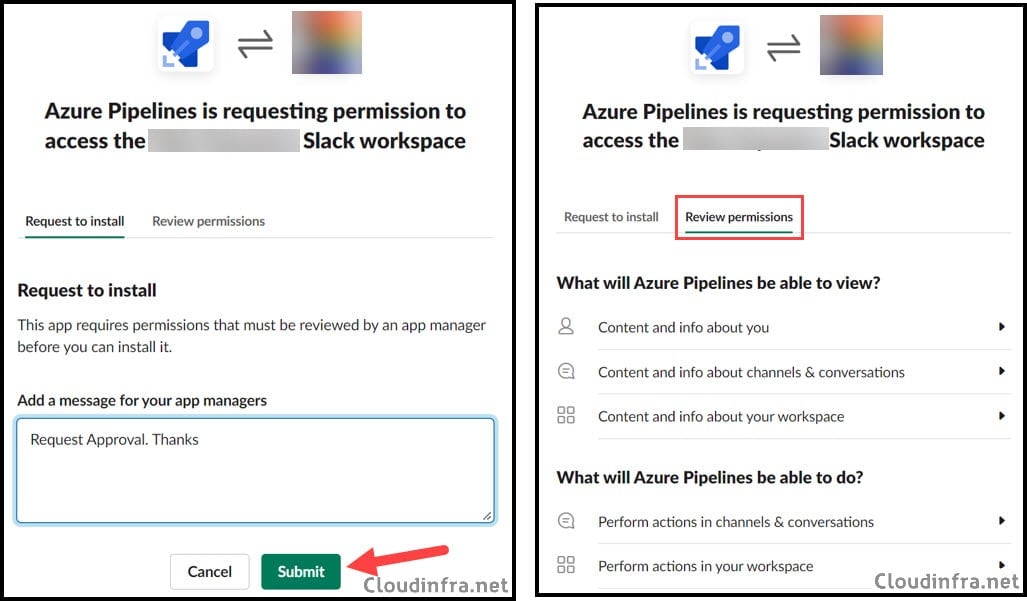
- Upon clicking to add the Azure Pipelines app, you’ll be redirected to a page where the app will request permissions for your Slack workspace. You can review these permissions by clicking the Review Permissions tab.
- If you need approval for app installations in your Slack workspace, add a message in the message box and click Submit to send the installation request to your Slack admin.
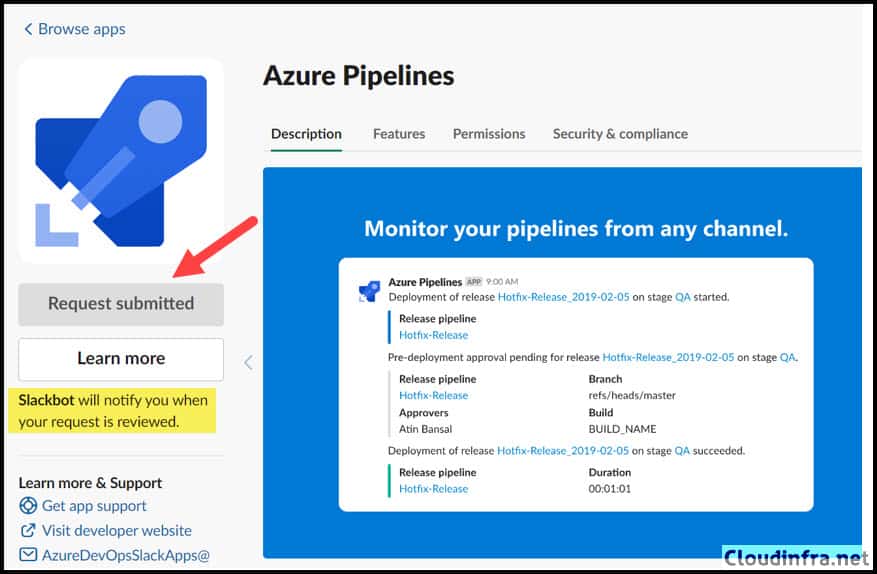
- After submitting the request, you’ll notice that the button’s status changes from Add to Slack to Request submitted. At this point, you can contact your Slack Admin to seek their approval to install Azure Pipelines.
- Once your Slack Admin approves the request, you should receive a confirmation message from the Slack Admin in your workspace, confirming the installation of the Azure Pipelines application.

Step 2: Subscribe to Azure Pipelines Notifications
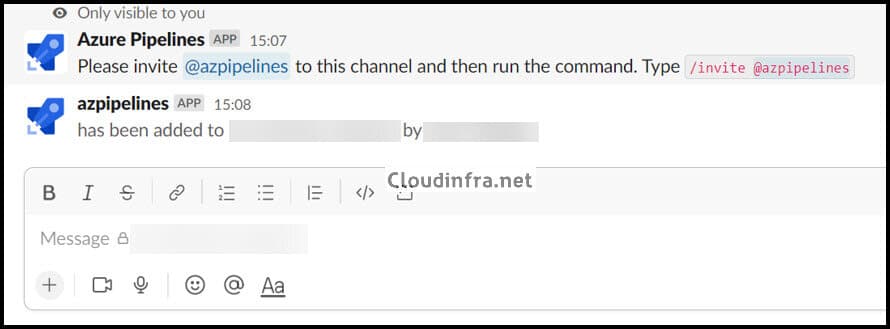
- If configuring notifications for a private Slack channel, you should first invite the bot to your private channel using the
/invite @azurepipelinescommand. You can skip this step for public Slack channels. There is no requirement to invite the app for public channels.

- Once you’ve invited Azure Pipelines to your Slack channel, you’ll receive a confirmation message stating that the user who initiated the invitation has added Azure Pipelines.
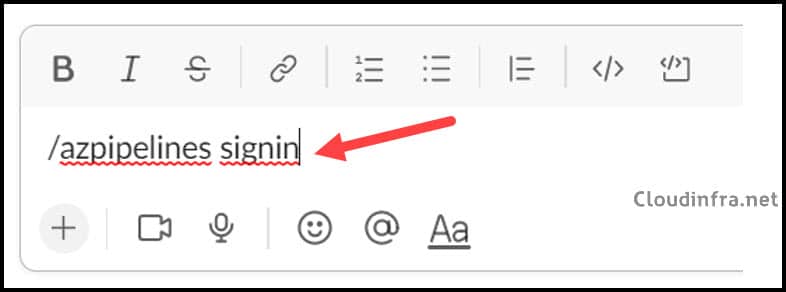
- In the chatbox of the Slack channel where you want to receive notifications, enter the command
/azpipelines signinand press Enter.
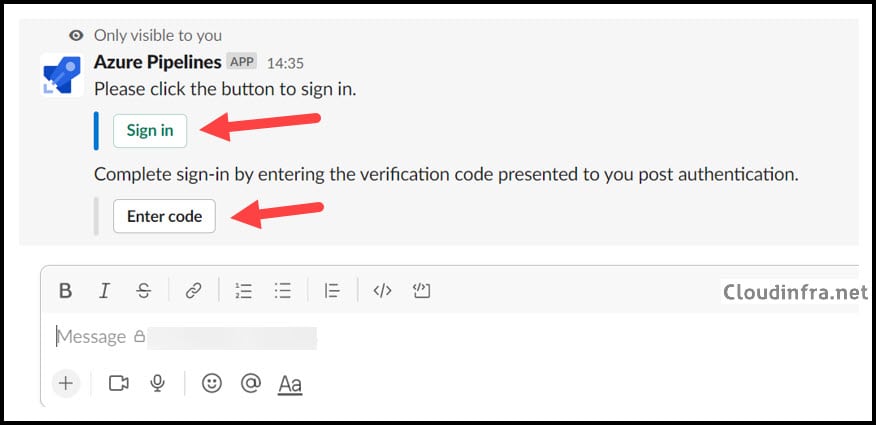
- After entering the
/azpipelines signinyou should see options to Sign in and Enter code. Click on Sign in to start the authentication process.
- Once you successfully authenticate using your administrator account, you will receive a code. Click on Enter code and enter the provided code to complete the sign-in process.
If you click on the Enter code button and do not receive a pop-up box for entering a code, there may be issues with the installation of the Azure Pipelines app in your Slack workspace. In that case, you can remove the Azure Pipelines app from Slack and reinstall it. After the reinstallation, try to sign in and enter the code again to complete the process.
Note
- After successfully signing in, use the command /azpipelines subscribe [project URL] or /azpipelines subscribe [pipeline URL]. Press Enter after typing this command into the Slack channel chatbox. You may need to wait a few seconds to receive a confirmation message.

By default, you will be automatically subscribed to the below notifications:
- Run state changed
- Run stage waiting for approval
- Deployment started
- Deployment completed
- Deployment approval pending

Step 3: Verify Azure DevOps Pipelines Subscription
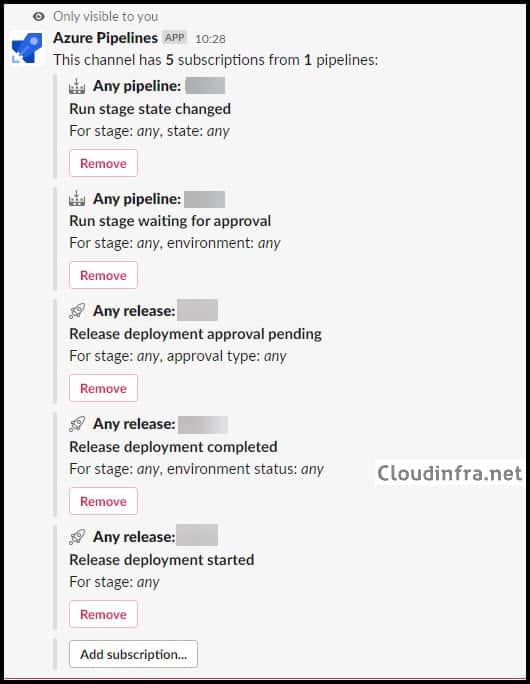
- The first and easiest way to verify the subscription is by using the command
/azpipelines subscriptions. This will list your subscriptions for a Slack channel. Go to the channel subscribed to the notifications and enter this command in the chatbox.
- The second option is to verify the subscriptions using Service Hooks under Project Settings from the Azure DevOps portal. Below are the steps for checking configured notifications from Azure DevOps Service hooks:
- Login to Azure DevOps Portal Organization. For example: https://dev.azure.com/<your org name>
- Click on the Project that you integrated with Slack Channel.
- Click on Project settings.
- Click on Service hooks.
- When you subscribe to the Azure DevOps Project URL from a Slack channel, the below default notifications will be configured.

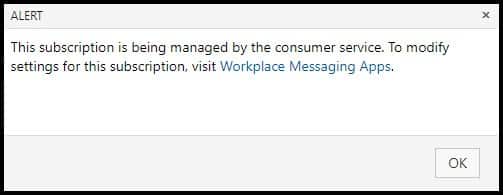
- If you attempt to edit any subscribed notifications from Service Hooks, you will receive an alert, The consumer service is managing this subscription. To modify settings for this subscription, visit Workspace Message Apps.
- This means that Slack manages subscription notifications. To unsubscribe, you must go to that Slack channel and use the command /azpipelines unsubscribe all [project URL] or
/azpipelines subscriptions
Step 4: Subscribe to Azure Pipelines notifications for specific Pipeline
You may not want notifications from all pipelines in a particular Slack channel. It’s possible to receive notifications from just one pipeline by following these steps:
- Go to Azure DevOps > Pipelines and then Under pipelines on Pipelines again.
- You will be able to see three tabs on the top of the page: Recent, All, and Runs.
- Find your pipeline in any of the tabs and click on it.
- Now, copy this Pipeline’s URL from the browser’s Address bar.
- Go to Slack channel and type /azpipelines subscribe <pipeline URL>
When you specify the URL of a specific pipeline in the /azpipelines subscribe command, it will configure notifications only for that particular pipeline, excluding any others.
