In this blog post, we will look into 4 ways to rename a Windows 365 Cloud PC. After you provision a Cloud PC for a user, Windows 365 service will automatically assign a random computer name.
There is an option to streamline Cloud PC names by using Provisioning policies in Windows 365. When you are creating a provisioning policy, there is an option for Cloud PC naming: Creating Provisioning policy#configuration tab.
Please note that there is a difference between Cloud PC computer name and Cloud PC display name. The computer name is visible on the Intune admin center and Entra ID, while the display name appears on the Windows 365 web client homepage. We will understand about this a bit more in the next section.
Contents
Cloud PC Display Name vs. Cloud PC Computer Name
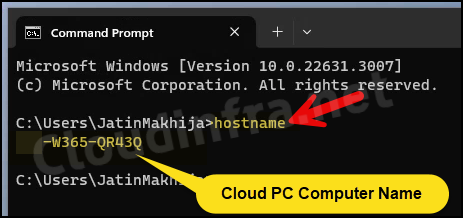
Cloud PC computer name also known as hostname will show on Entra ID, Intune admin center, SCCM etc. To check and confirm computer hostname, follow below steps:
- Press the Windows key + R to open the Run dialog box.
- Type
cmd, Press enter to open the command prompt. - Type
hostname, Press Enter to get the name of the computer in the cloud PC.
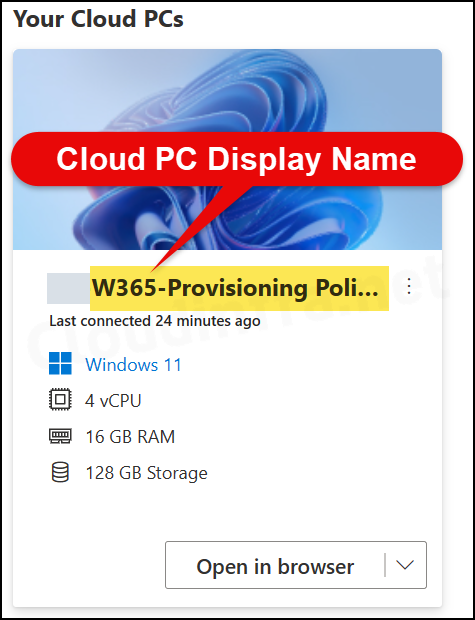
Cloud PC Display name appears on Windows 365 Home page. It typically starts with the <name of the provisioning policy> – < user name>.
- Sign in to Windows 365 Web client Home Page.
- After you are logged in, you will find your assigned Cloud PCs where you can find its display name (refer to below screenshot).
Guidelines to Rename Cloud PC Display Name
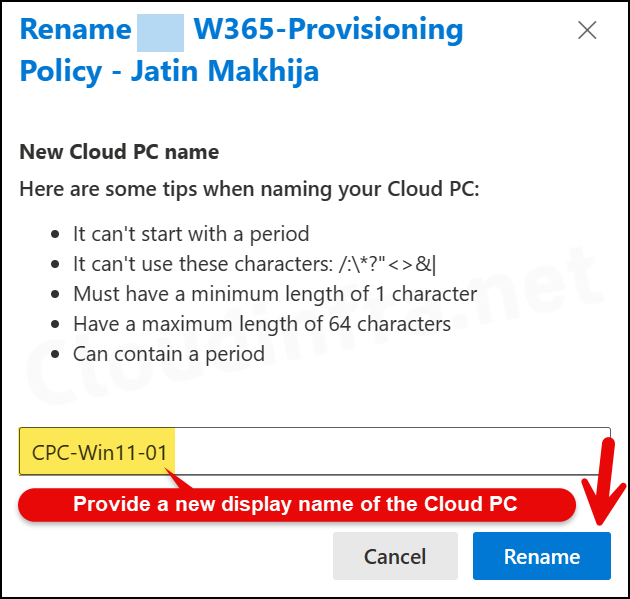
- Cloud PC name cannot start with a period.
- The PC name cannot include these characters: /:*?”<>&|
- It must have a minimum length of 1 character.
- Have a maximum length of 64 characters.
- It can contain a period.
1. Rename Windows 365 Cloud PC Display Name
- Launch Microsoft Edge or any other supported browser and browse to https://windows365.microsoft.com.
- Sign in with your organization’s username and password.
- Once on the Windows 365 Home page, click on three Vertical dots and Select Rename to rename your Cloud PC.
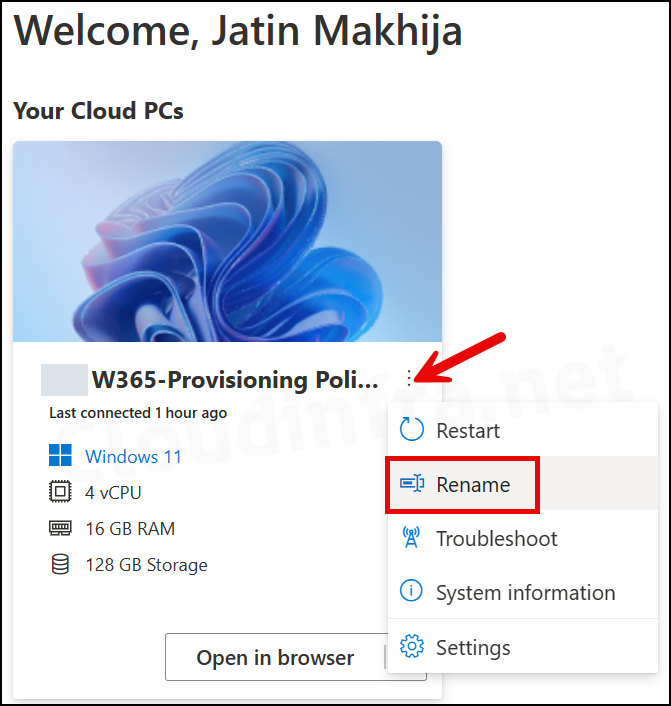
- After you click on the Rename option, A pop-up will appear. You can remove the existing name and provide the new name of the Cloud PC here. Click on Rename to complete this change.
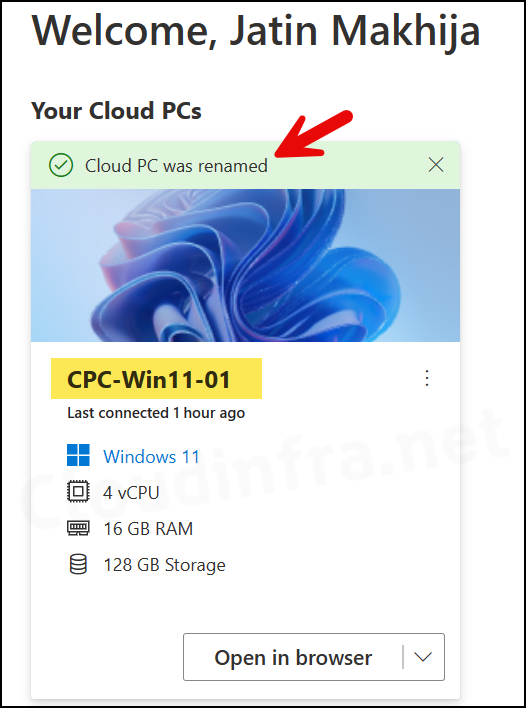
- The Cloud PC display name undergoes an instant change, and you’ll receive a confirmation message at the top of your Cloud PC. The message will read: Cloud PC was renamed.
Note that this name refers to the display name of the Cloud PC, visible when connecting via a browser. The computer name, as seen in the Intune admin center and Entra ID, remains unaffected by this change.
Important Note
Rename Windows 365 Cloud PC Computer Name
We have learnt the steps to change the display name of a Windows 365 Cloud PC in the previous section. Now, let’s check the steps to rename the computer name or device name of a Windows 365 Cloud PC.
Unlike Windows 365 Cloud PC display name, changing the computer name impacts the device objects existing in Entra ID and Intune.
There are several ways to rename Cloud PC computer name. You can use the Settings App, System properties, PowerShell, etc. Currently, we do not have a Rename remote cloud action available for Windows 365 Cloud PCs. Rename remote action is available for Intune-managed Windows devices.
2. Rename Cloud PC Computer name using Settings App
- Connect to your Cloud PC and log in using your organization’s credentials.
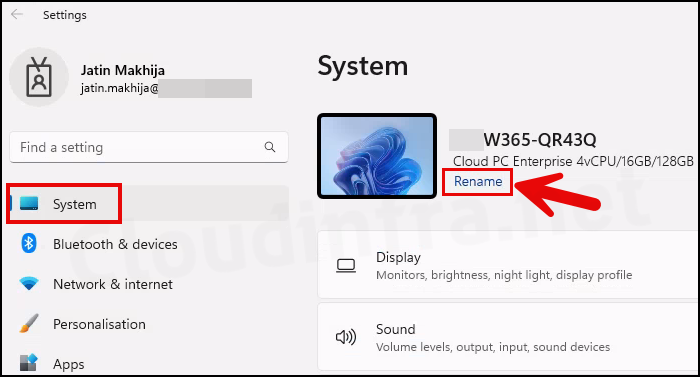
- Press the Windows + I to open the Settings App.
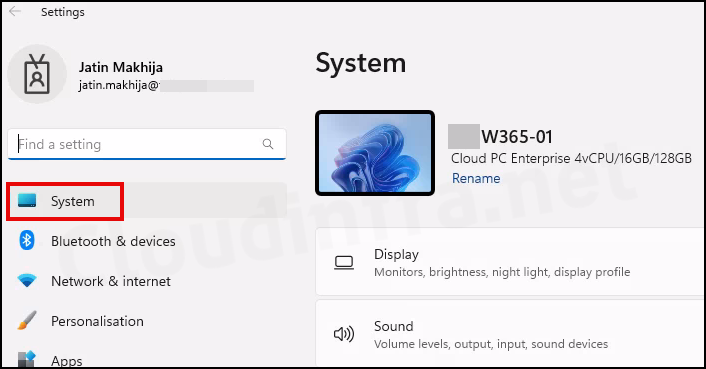
- On the System page, click on the rename option under the device name and details.
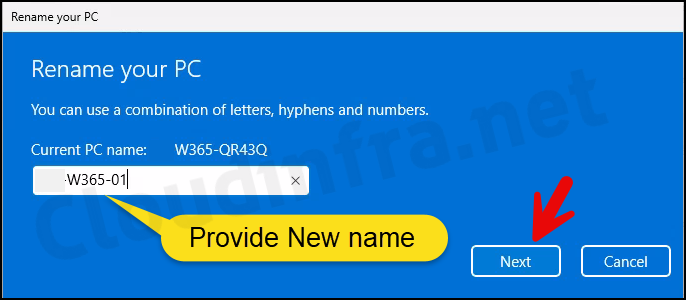
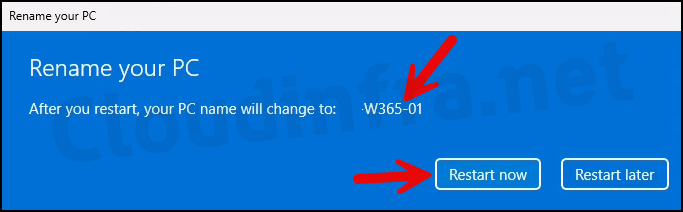
- Provide New name of the computer and click Next.
- Click on the Restart Now button.
- After the restart, reopen the Settings app and verify the new Cloud PC name.
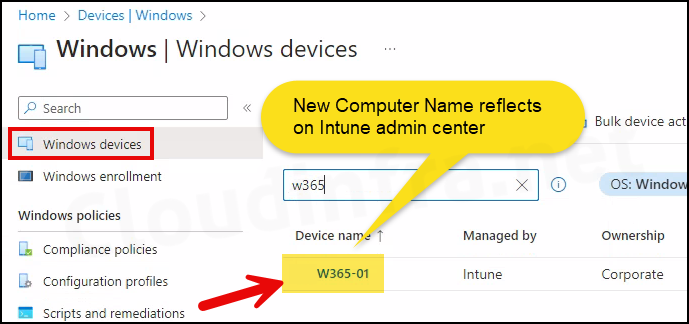
- Verify that the new computer name is reflected in the Intune admin center. To check, sign in to the Intune admin center, navigate to Devices > Windows > Windows devices, and search for the Cloud PC using its new name.
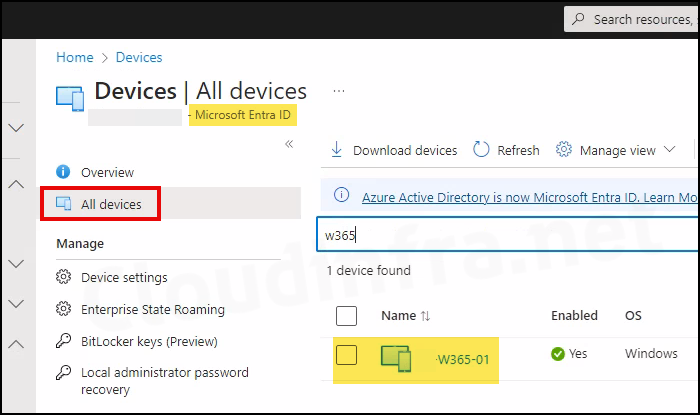
- Verify new computer name in Entra admin center. To do so, sign in to the Entra admin center, Go to Devices > All devices, and search for the Cloud PC using its new name.
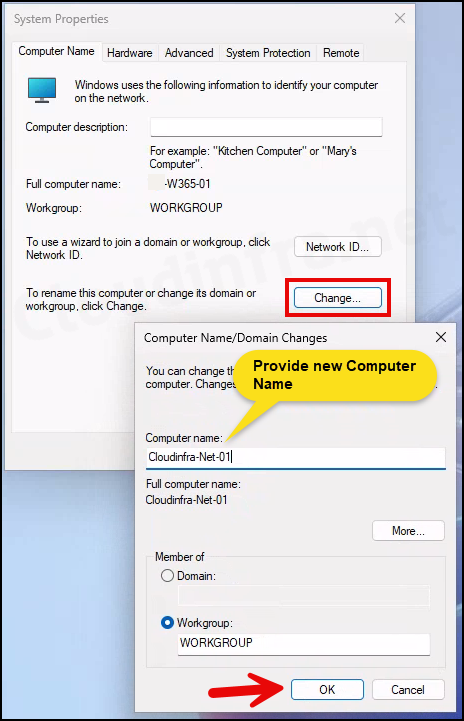
3. Rename Cloud PC Computer name using System Properties
- Connect to your Cloud PC and log in using your organization’s credentials.
- Press the Windows + R to open the Run dialog box.
- Type
sysdm.cpland press Enter to open System properties.
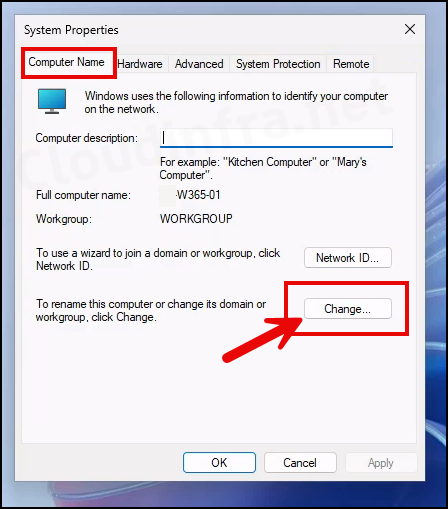
- Enter a new computer name and click OK. Restart your Cloud PC to apply the updated computer name.
4. Rename Cloud PC Computer name using PowerShell
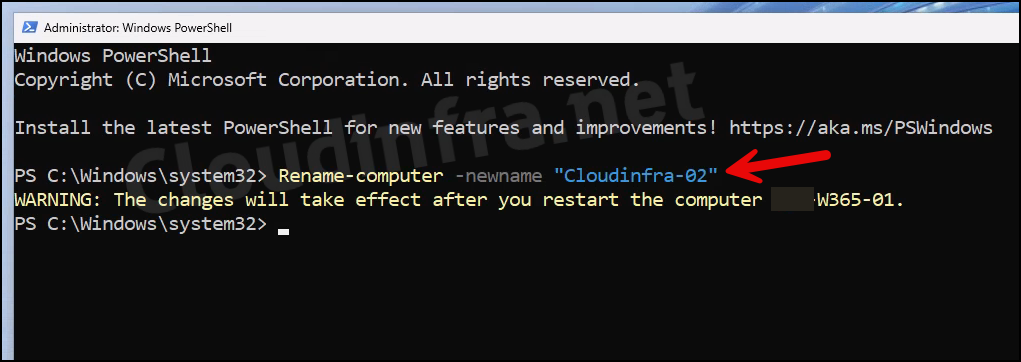
- Launch the PowerShell console as an administrator.
- Type the following command and press Enter to rename it. Please note that the system will require a restart to complete the rename process.
PowerShell command:
Rename-Computer -NewName "New Computer Name"Example:
Rename-Computer -NewName "Cloudinfra-02"