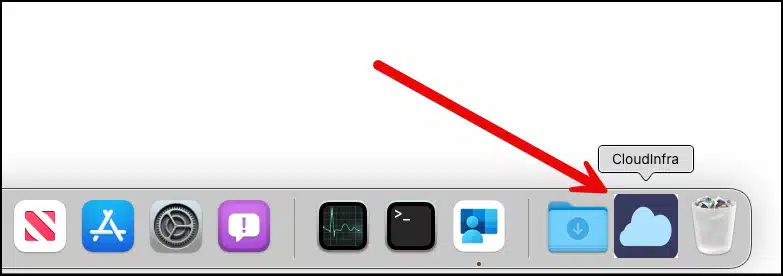
In this blog post, I will show yo the steps to deploy Web clip app on macOS using Intune. Web clips provide a faster way of accessing your favorite website. They’re like web link shortcuts that you can create on Mac devices. When you create a Web clip on Mac, it will be pinned to the dock for easy access. For more information on Web clip app, visit this website here.
We will create a macOS web clip app and deploy it on a Mac device to check End user experience. This feature was introduced in Intune Service Release 2308. To target this deployment, macOS devices must be enrolled in Intune.
Contents
Add Web Clip App on Intune
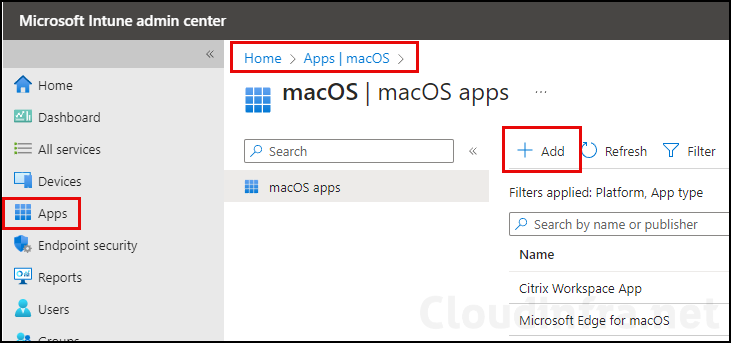
- Sign in to the Intune admin center > Apps > macOS.
- Click the +Add button.
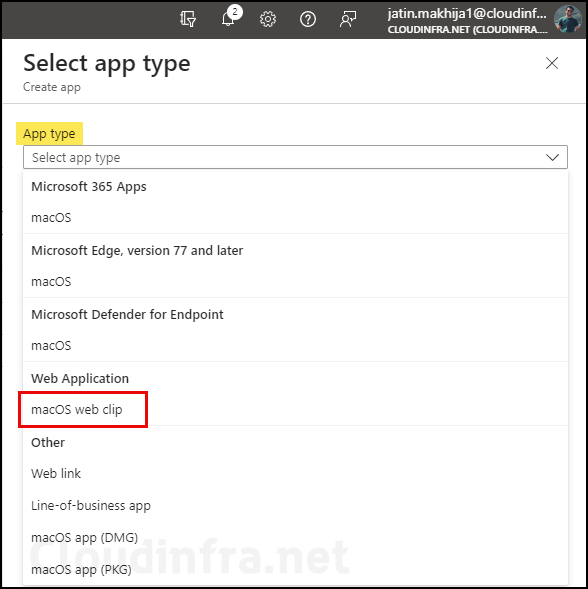
- Using the App type drop-down, Select macOS web clip. Click on Select.
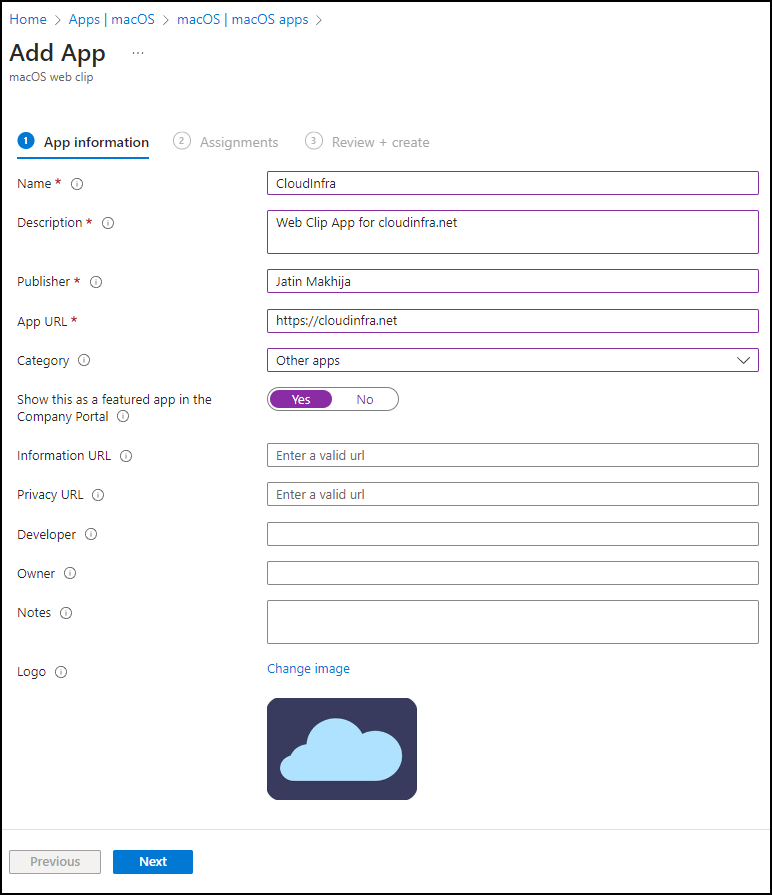
App Information
- Name: Provide the name of the app.
- Description: Provide a helpful description of this app.
- Publisher: Enter the name of the Publisher.
- App URL: Enter the Website URL you want to launch using this app.
- Category: Select a category
- Logo: Select a Logo for this Web Clip App.
Assign Web Clip App to macOS devices
Assign the policy to Entra security groups that contain the target users or devices. As a best practice, pilot with a small set first; once validated, roll it out more broadly. For guidance on assignment strategy, see Intune assignments: User groups vs. Device groups.
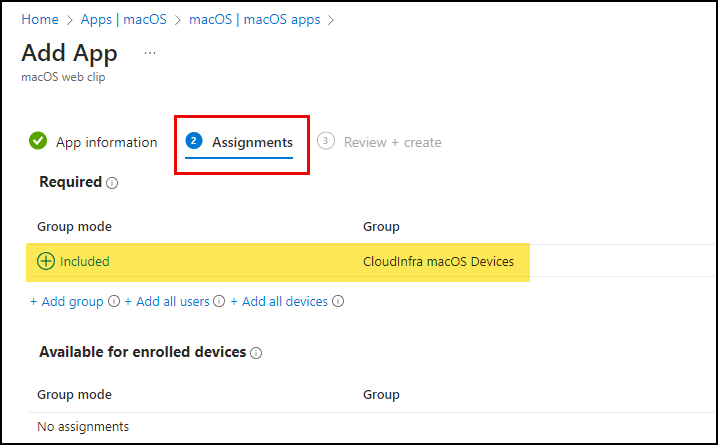
- Click the Create button on the Review + create page to start the deployment process.
Monitor Web Clip app deployment
Intune Device check-in may take some time. You can either wait for the check-in process to initiate or force Intune Sync on the device to speed up the download process.
You can monitor the deployment process from Intune admin center > Apps > macOS. Click on the app deployment for the Web clip app you created and go to the Overview page. You can also click on Device Install status and User Install status to find out which devices or users have received this deployment.
End User Experience
After the deployment process is completed successfully, you can check a Web clip app pinned to the dock. This is the app we deployed using Intune. Click on the Icon that should launch a website as configured.
