In this blog post, we will learn the steps to enroll Personal/BYOD macOS device in Intune. For device enrollment, we would be using the company portal app that needs to be downloaded and installed on the Mac first, before proceeding with the enrollment steps.
Once the device is enrolled, you can manage it from Intune admin center. For example, you can deploy PKG apps, DMG apps or perform any config changes on the Mac using a device configuration profile. Below are some of the blog posts to get started on app deployment and device configuration profile for Intune-managed macOS devices.
Contents
Prerequisites
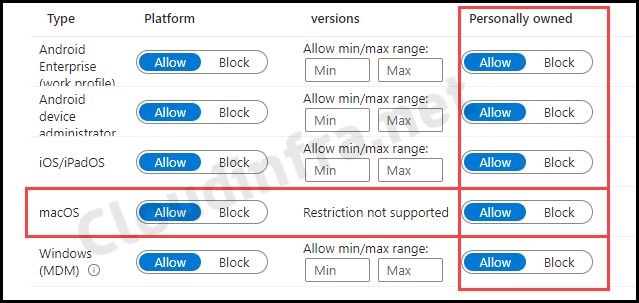
To enroll a personal Mac device in Intune, you must Allow Personally owned macOS devices in device platform restriction settings. Sign in to the Intune admin center > Devices > Enrollment > Device type restriction > Click on All Users to open default policy settings. If you have a custom device platform restrictions policy, you need to edit that policy.
Steps to Enroll Personally Owned (BYOD) macOS device
The enrollment process has two steps: First, configuring the Apple MDM push certificate on the Intune, and Second, Installing the Company Portal App on your macOS device.
- Apple MDM Push Certificate.
- Install Company Portal Application.
1. Configure Apple MDM Push Certificate
To configure the Apple MDM Push certificate on the Intune admin center, refer to the link: Create Apple MDM Push Certificate for Intune.
2. Install the Company Portal App
- Login to the Mac device that you want to enroll.
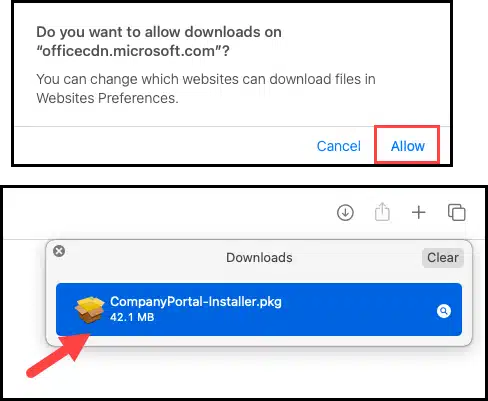
- Click on the link: Install Company Portal Application. [This link will immediately download the CompanyPortal-Installer.pkg file on the device].
- You may get a prompt before the download starts. Click Allow.
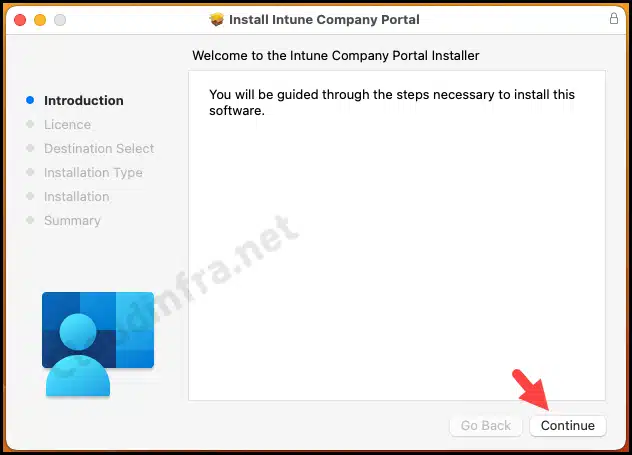
- Launch the CompanyPortal-Installer.pkg file.
- Click on Continue.
- Click on Continue.
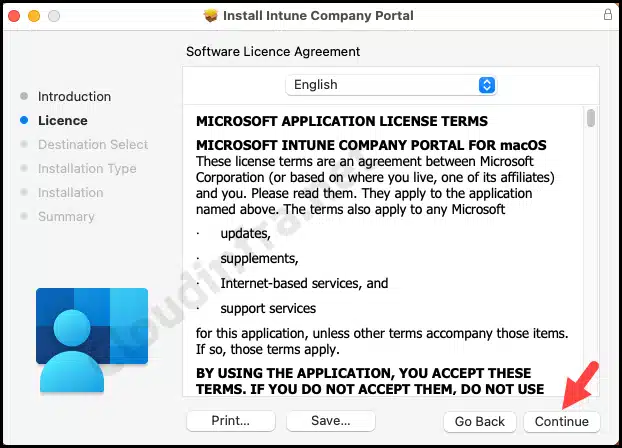
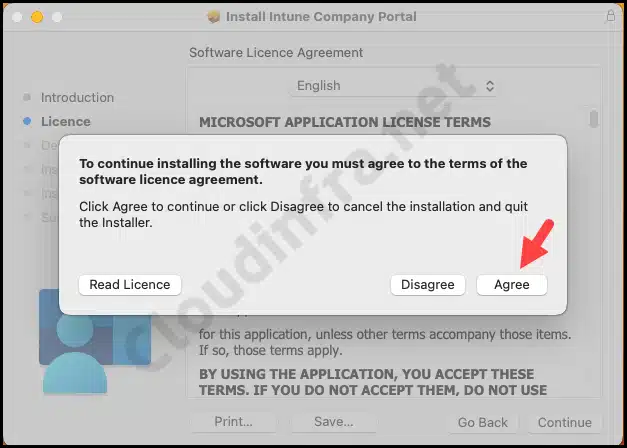
- Click on Agree.
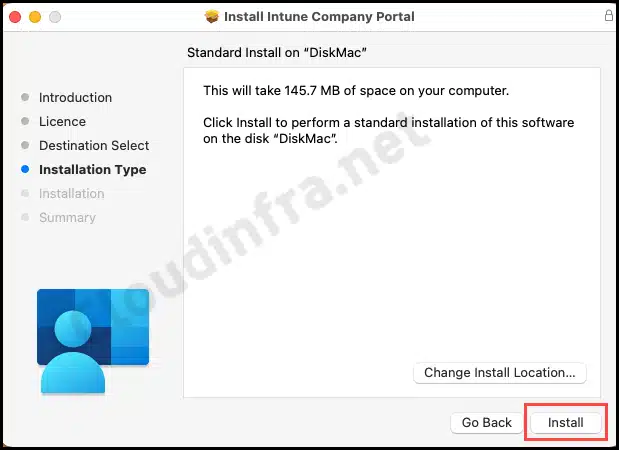
- Click on Install.
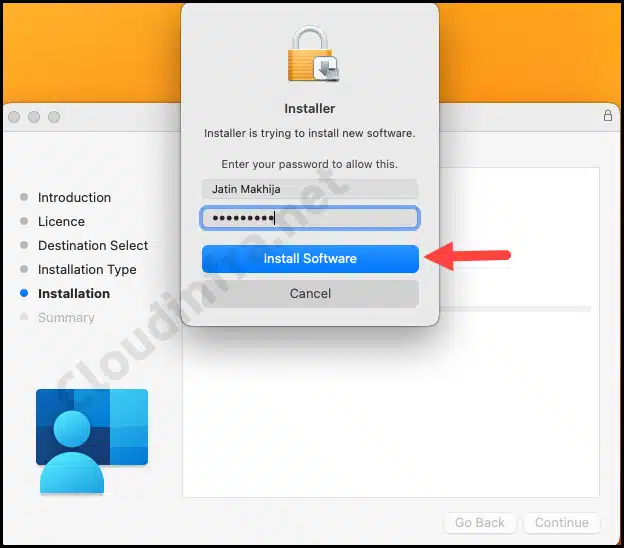
- Provide the administrator password and then click on the Install Software button.
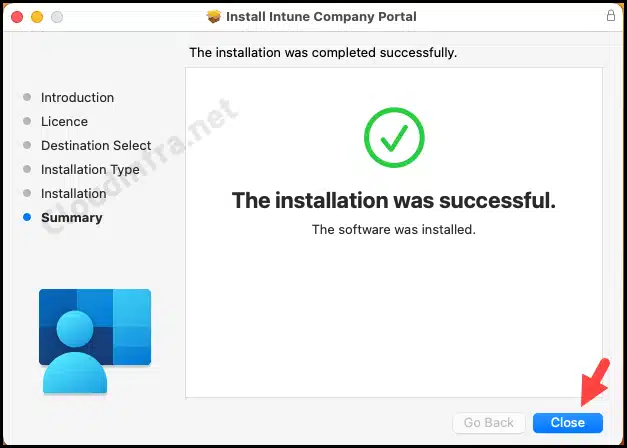
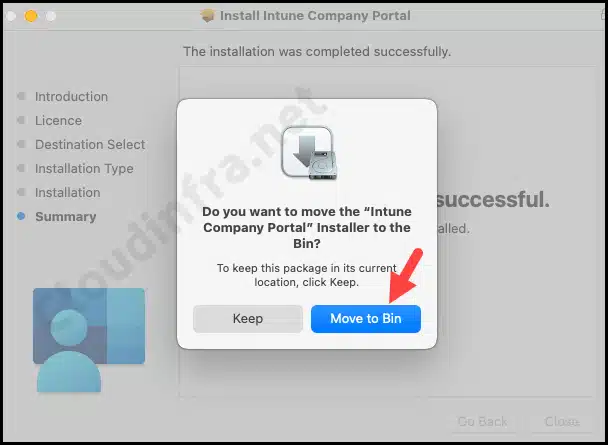
- The installation of the Company Portal app has been completed.
- As we no longer need to keep the Setup Installer file, click the Move to Bin button to remove it.
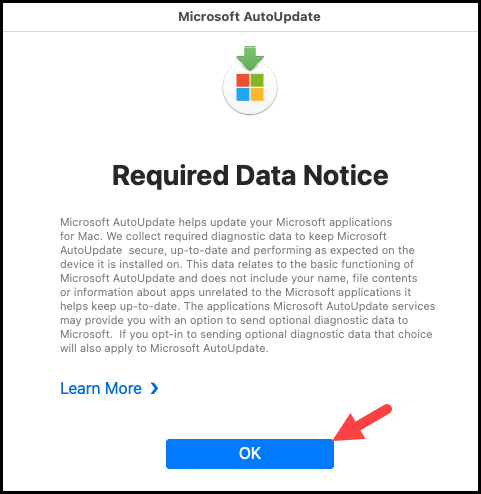
- Microsoft AutoUpdate may launch automatically to check if all Microsoft apps are updated.
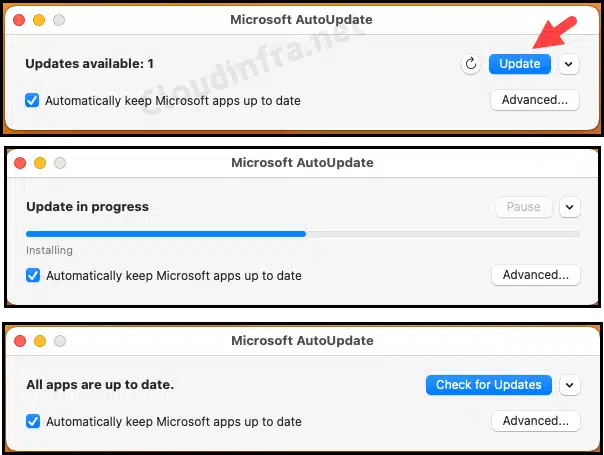
- To update your Microsoft apps, click on the Update button. After all the apps have been updated, you can close the window.
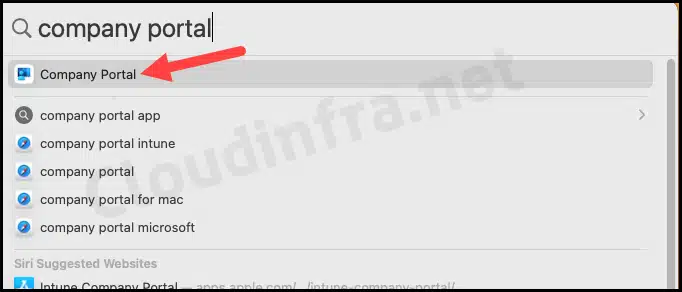
- You can launch the app by typing Company Portal in the Spotlight Search bar and clicking on it when it appears in the search results.
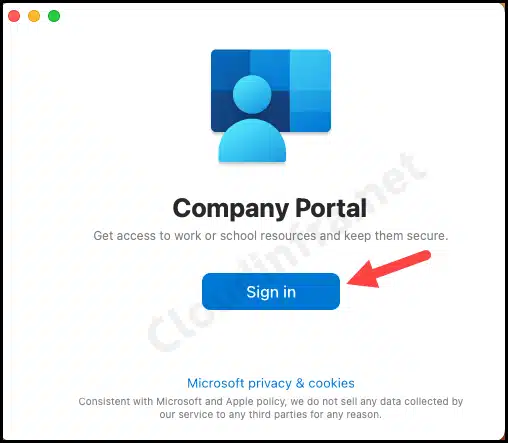
- Once the Company Portal App is launched, click the Sign In button to proceed.
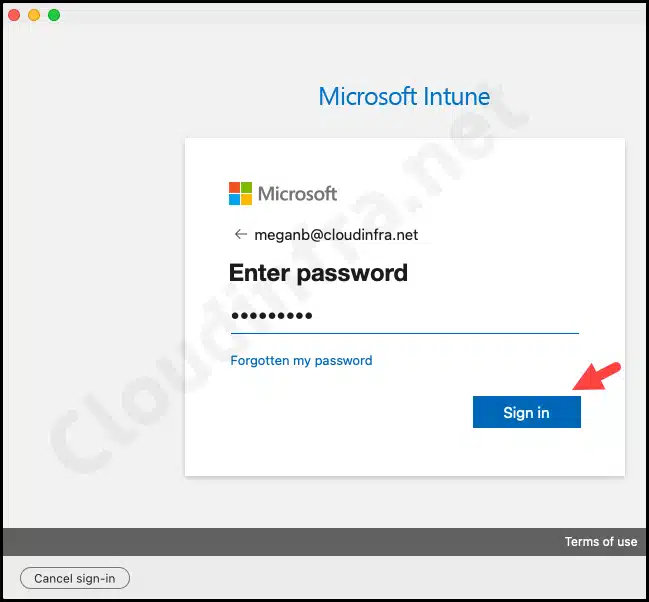
- Please enter the user account details provided by your company or organization, and then click Sign In to continue.
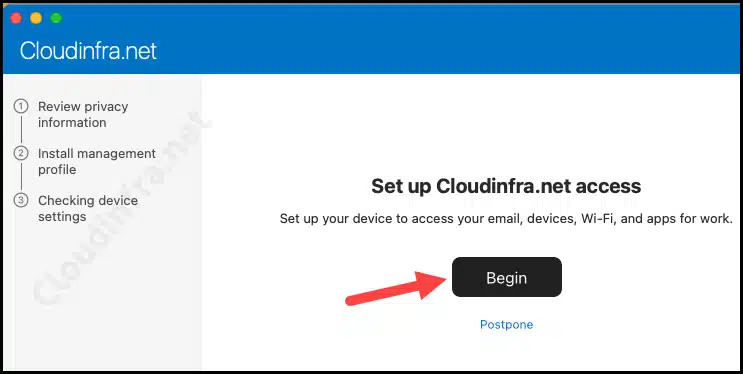
- Click on Begin.
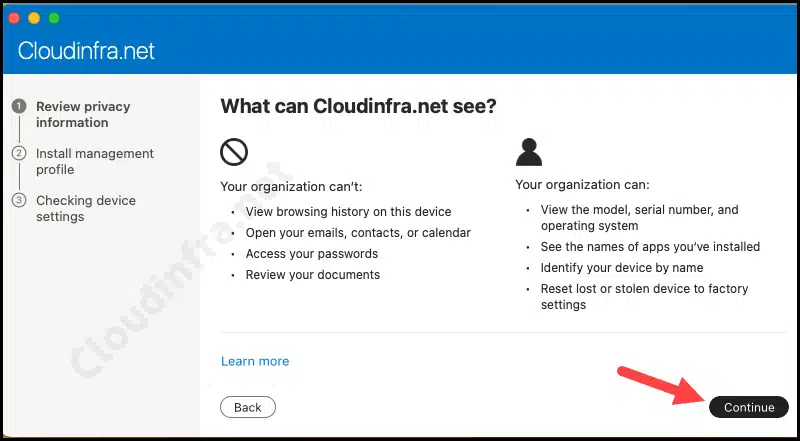
- Click Continue.
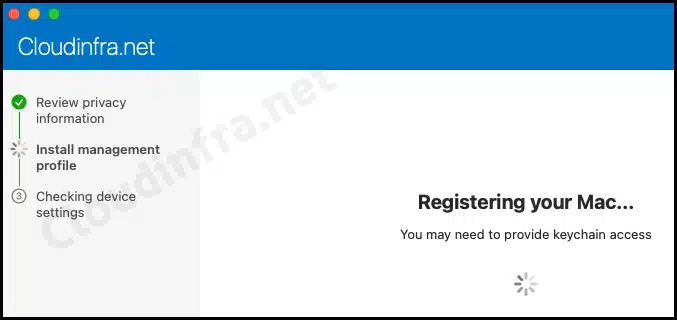
- Registering your Mac…. device with Microsoft Entra ID.
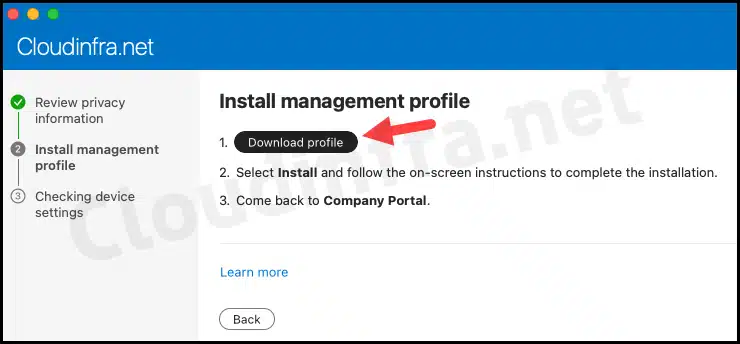
- To download your device’s management profile, click the Download Profile button.
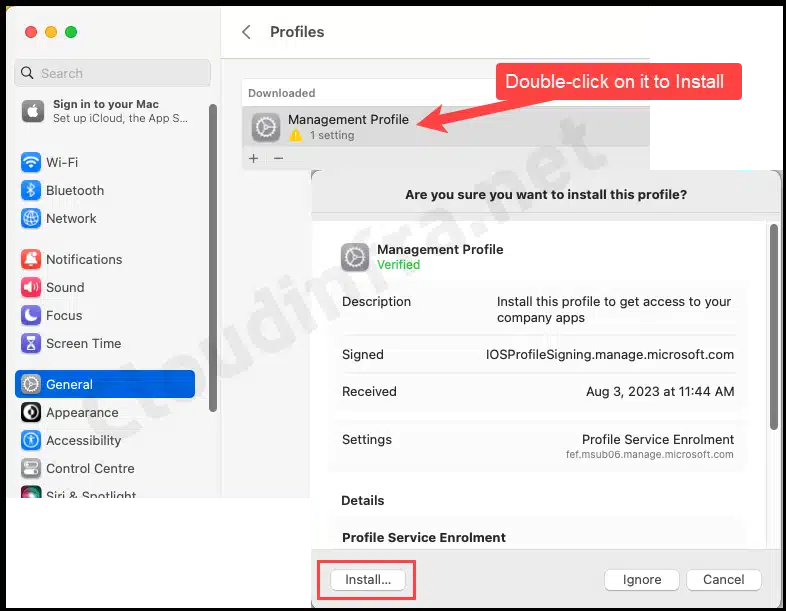
- After downloading the management profile, a pop-up notification will appear in the top right-hand corner to confirm that the profile has been downloaded. Additionally, it should automatically take you to the Management Profile screen, where you can Install it.
- If the Management Profile window does not open automatically, you can manually access it by going to System Settings > General > Profiles. Look for the Management Profile with a warning sign and double-click on it. Then, click the Install button to proceed with the installation.
- That’s It; The macOS device is now Enrolled with Intune.
More Information
If you want more information about the Management Profile, you can navigate back to System Settings > General > Profiles. From there, double-click the Installed/Active Management Profile to access more information and details.
This Management Profile provides below Information:
- Installed date
- Rights / Control it provides to MDM service providers.
- Certificate Details etc.
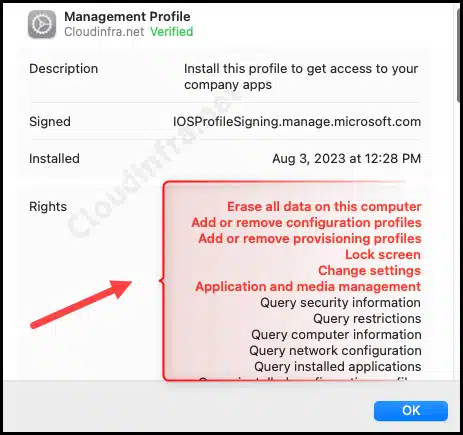
As you can see from the screenshot, Intune has the rights/control to:
- Erase all data on this computer
- Add or remove configuration profiles
- Add or remove provisioning profiles
- Lock Screen
- Change Settings
- Application and media management
- Query security information
- Query restrictions
- Query computer information
- Query network configuration
- Query Installed applications
- Query Installed configuration profiles
- Query Installed provisioning processes
Confirm macOS Registration in Entra Admin Center
Now that the device registration has been completed successfully, we can check its status from the Microsoft Entra admin center. let’s check the steps:
- Sign in to the Entra admin center.
- Click on Devices > All devices under Identity.
- You’ll notice that our MacBook Pro is registered in Entra ID. The MDM column shows that the Microsoft Intune manages it.

Confirm macOS Registration from the Intune admin center
You can also verify the status of your macOS device in the Intune admin center to ensure it’s listed under All devices. Follow these steps to check and confirm the registration of your macOS device:
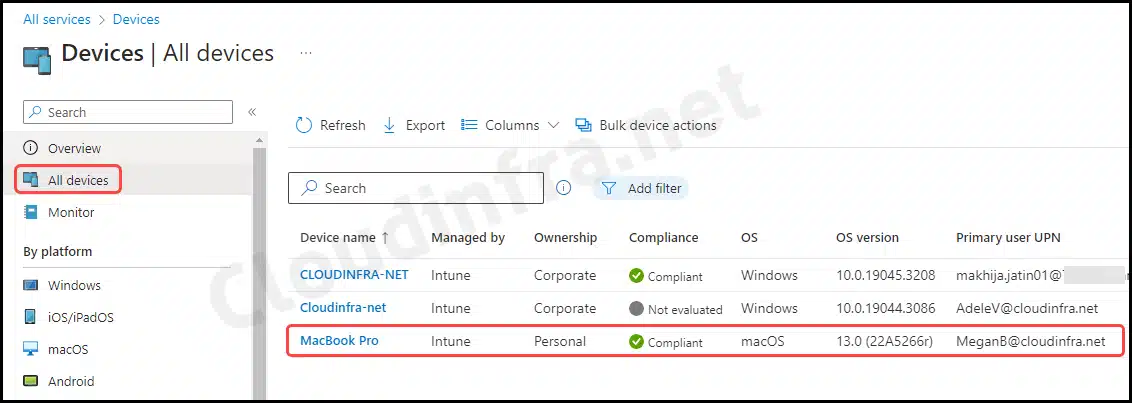
- Sign in to the Intune admin center > Devices > All devices.
- You should be able to locate the newly registered Mac within Intune. Please make sure to take note of the Compliance Status and the Primary User UPN, which, in my case, is MeganB@cloudinfra.net.
If you haven’t already set up Device compliance policies for Mac, creating one that specifically covers the macOS device platform is important. Now that this Mac device is enrolled in Intune, you can manage it, deploy configuration policies, run scripts and deploy applications, and monitor its status from the Intune admin center.
FAQS
1. Fix the Profile Installation Failed Error
You might encounter an error message that reads, Profile Installation Failed: Could not obtain the final profile using the Encrypted Profile Service. The credentials within your profile may have expired. Try downloading a new profile. This error occurs when attempting to install the management profile.
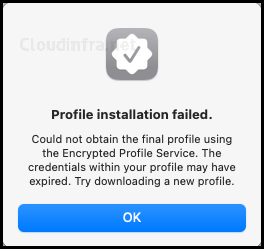
Refer to the blog post provides on how to fix the macOS Profile Installation Failed error during Intune enrollment.
2. Enroll Company-Owned macOS devices
Enrolling a company-owned macOS device into Intune offers greater management capabilities to an Intune administrator than enrolling a device through user-owned BYOD methods. Three methods are available for enrolling a company-owned macOS device.
- Apple Automated Device Enrollment.
- Device enrollment manager (DEM).
- Direct enrollment.
Conclusion
In this blog post, we’ve covered enrolling a BYOD macOS device in Intune. This step-by-step guide includes screenshots for each enrollment step. We’ve also addressed the Profile Installation Failed error message and provided solutions to resolve it. This error typically occurs during the installation of the management profile on a macOS device.