In this blog post, I will show you the steps to generate SSH Key pair and connect to Ubuntu with putty. Initially, we will connect to the server using root as username and password.
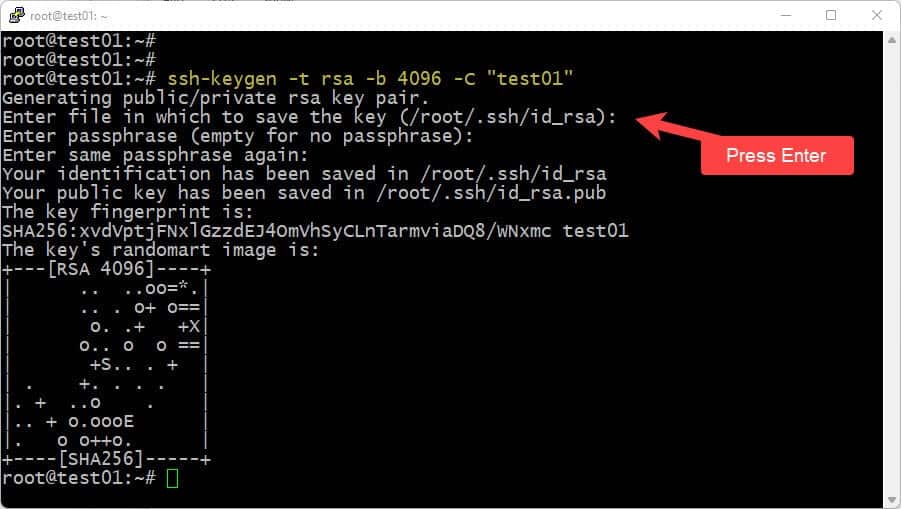
Once connected, use the following command to generate/create an SSH key pair. I’ve included an example command with the comment test01, which you can modify according to your preference. The comment serves as a reference for the key pair.
Generate SSH Key Pair
ssh-keygen -t rsa -b 4096 -C "test01"
After entering this command, Press Enter to keep the same file name as shown, which is id_rsa. You can either enter a passphrase to secure the SSH key pair, or press Enter to skip without a Password.
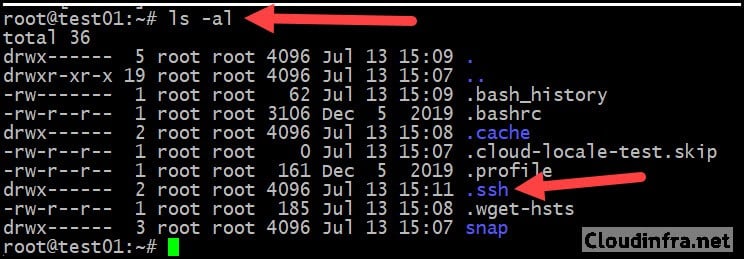
- Type the command ls -al to check the .ssh folder.
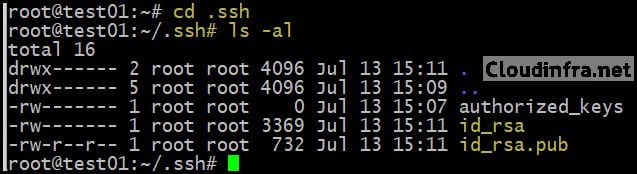
- Change the folder location to .ssh using cd .ssh, and then
ls-alto verify if SSH Key Pair files are created.
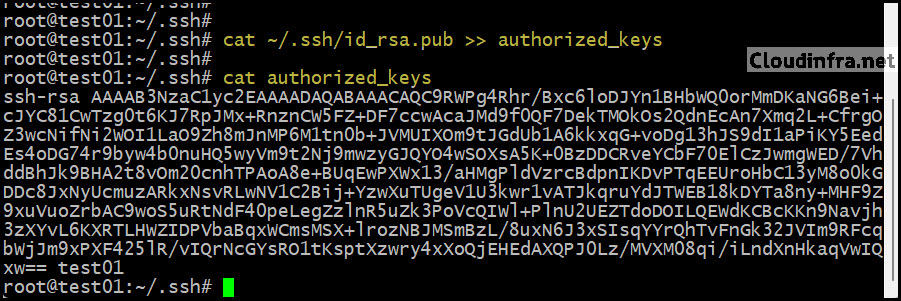
- Next, copy the SSH public key into the authorized_keys file. Run the following command if you don’t see an authorized_keys file in the .ssh folder. This command will create the authorized_keys file and copy the SSH public key.
Copy the Publish key into authorized_keys file
cat ~/.ssh/id_rsa.pub >> authorized_keys
cat authorized_keys
If this command cat ~/.ssh/id_rsa.pub >> authorized_keys does not work, then try cat ~/.ssh/id_rsa.pub > ~/.ssh/authorized_keys
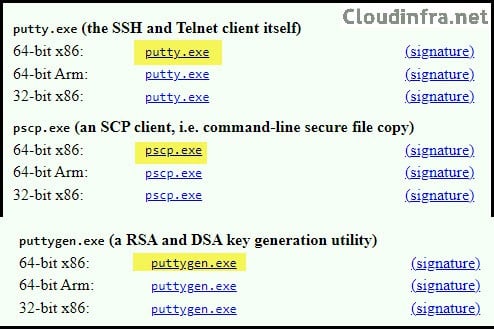
Download Putty.exe, PSCP.exe and PuttyGen.exe
- Download all three programs from https://www.chiark.greenend.org.uk/~sgtatham/putty/latest.html link and save it somewhere on your system, for example, under C:\temp.
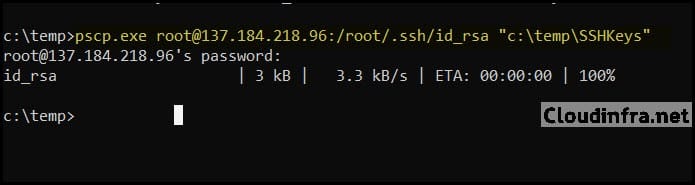
- Once you have downloaded all three executable files and saved them in C:\temp, you must download the public key from the server using the following command.
- Create a folder named SSHKeys or any name you prefer. When you run this command, it will download the id_rsa file to your PC. Make sure to replace the IP address of the server with the IP address of your server.
Download public key
pscp.exe root@137.184.218.96:/root/.ssh/id_rsa "c:\temp\SSHKeys"
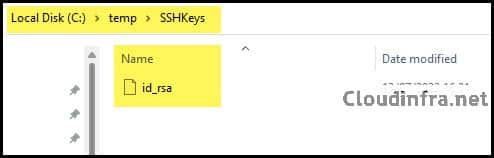
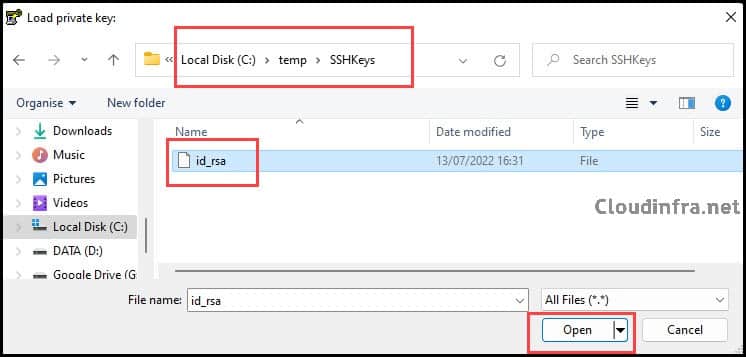
- File id_rsa downloaded under C:\temp\SSHKeys folder.
- If you have saved puttygen.exe in the C:\temp directory, launch the puttygen.exe program from the command prompt by typing puttygen.exe and pressing Enter. Alternatively, you can double-click on the executable file to open it. Once the program opens, click Conversions > Import key.
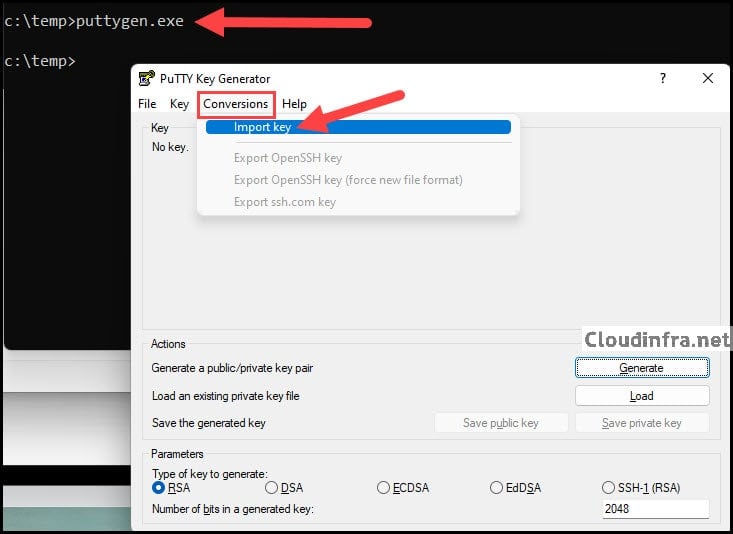
- Select the file id_rsa downloaded in C:\temp\SSHKeys.
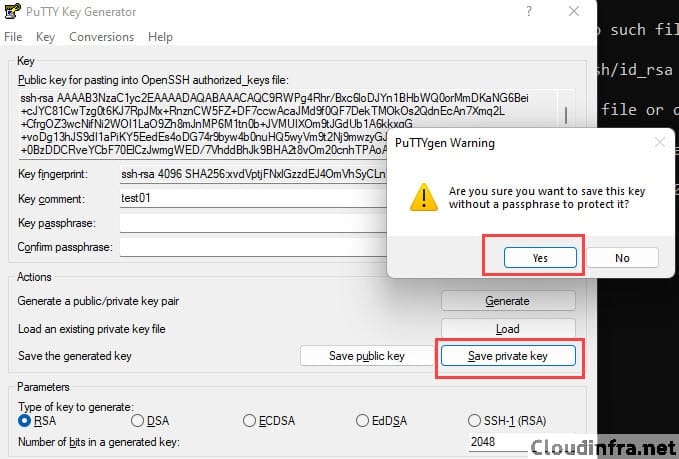
- The next step is to click on Save Private Key. Click on Yes if you want to save this key without a passphrase. Alternatively, you can provide a key passphrase and click Save private key.
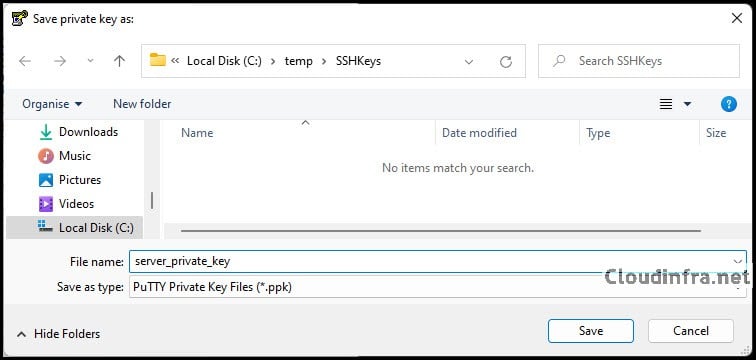
- Provide a name for the private key and save it on your system. It will be saved as a .ppk file, which you will use to connect to the server using the Putty program. For example, you can name it server_private_key.
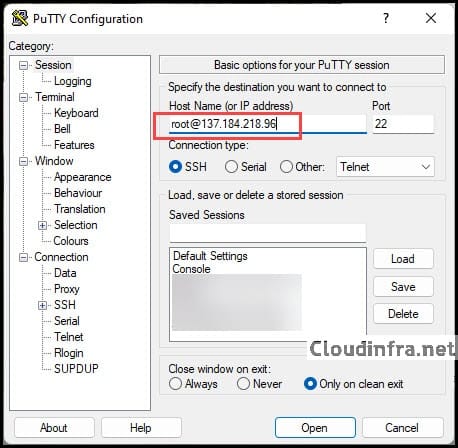
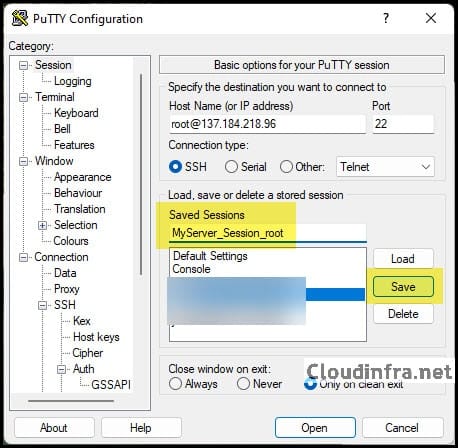
- Launch Putty.exe and then provide the Host Name. In my scenario, it’s root@137.184.218.96. Keep Port 22 as it is. Change the IP address to your server’s IP Address.
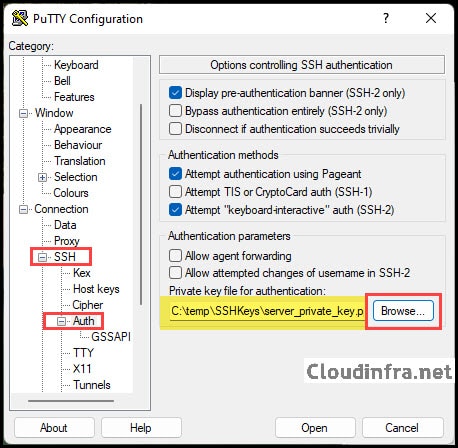
- Click on SSH and then Click on Auth. Browse to the Private Key saved in the previous step. In my scenario, it’s server_private_key.ppk file.
- To save time, you can save this session by giving it a name, for example, MyServer_Session_Host, and then clicking the Save button.
- The next time you launch Putty, you won’t need to provide the private key file each time because it will be saved in this session. You can select the session, click Load, and click Open to connect to your server.
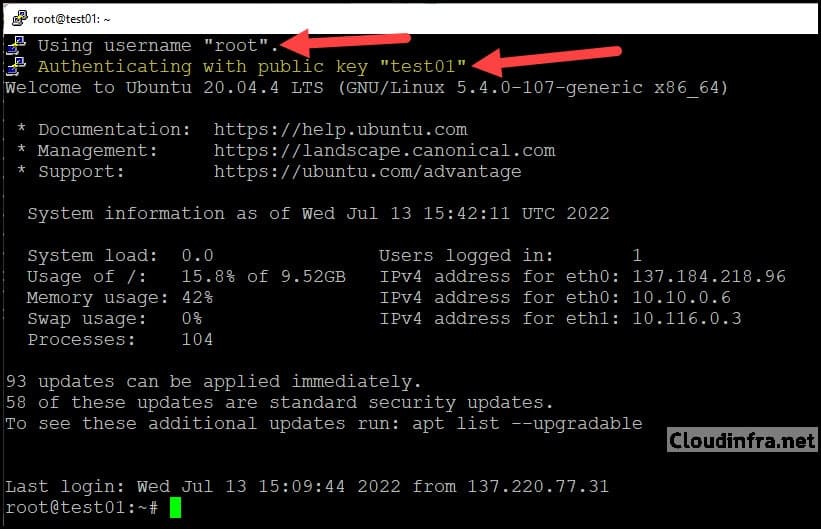
- After clicking the Open button, Putty will connect to the server using the specified username and SSH key. The screenshot below shows that the authentication is completed using the public key test01.
Conclusion
Generating an SSH key pair and using it for server connections is a straightforward process. Once you’ve connected to the server using an SSH key, you can further enhance security by disabling password-based authentication.
If you decide to use a passphrase while creating or saving the private key, ensure it is a strong and complex one for added security. Additionally, store the private key in a secure location to prevent unauthorized access.