Threat campaigns often rely on “living off the land” attachment types (for example, .one, .iso, .img, .lnk, .js). Even if you block these attachments today, you may still need an audit-style report to answer questions like who received them, when they arrived, what the subject was, and whether they were internal or external. This guide shows the most reliable ways to produce that report in Microsoft 365, with Purview Content Search as the baseline method and Defender hunting as the quickest method.
Rapid7 observed threat actors distributing malware using OneNote attachments, where users are socially engineered to click embedded content that leads to execution chains such as scripts and payload downloaders. If your organization does not require OneNote files via email, blocking
.oneat the mail gateway is a reasonable mitigation. Refer to the link for more details: Rapid7 observes use of Microsoft OneNote to spread Redline Infostealer | Rapid7 Blog.If users in your organization do not use Microsoft OneNote, the recommended first step is to block emails containing .one file attachments altogether. If your organization does use Microsoft OneNote, users should be educated not to open .one file attachments from unknown or suspicious senders. They should also be advised not to share OneNote files via email, either internally or externally. A safer approach is to store project-related documents in SharePoint and access them directly from there, reducing the risk of malicious attachments.
If you decide to block emails with .one file attachments, it is also important to identify users who may have received such emails before the block was implemented. These users should be tracked and notified, especially if the messages originated from suspicious senders, which can be easily identified through reporting.
Background
In this blog post, I will show you how to search for emails that contain a specific attachment type. For demonstration purposes, we will search for emails with .one file attachments. The same steps can be used to search for other attachment types, such as .png, .jpg, .exe, or any extension relevant to your investigation. After completing the search, you can export the results as CSV or PST files, depending on your reporting and remediation requirements.
Contents
Requirements
To run searches, preview results, and export reports in the Microsoft Purview portal, the simplest approach is to add the operator to the eDiscovery Manager role group. eDiscovery Manager role has the authority to conduct searches and impose holds on mailboxes, SharePoint Online sites, and OneDrive locations.
Based on my experience, compliance administrators should also be able to execute the steps outlined in the blog post. But if you have a compliance administrator role and encounter any issues, ensure that you are part of the eDiscovery Manager role.
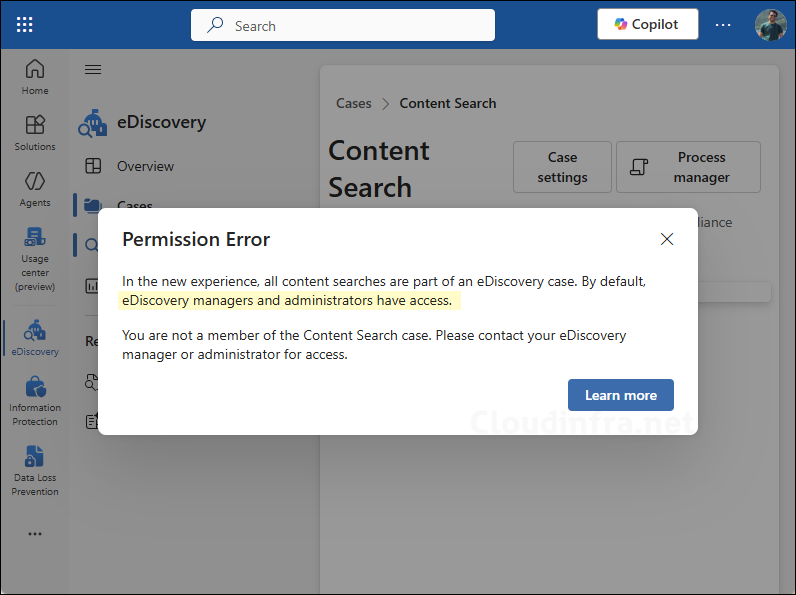
Permission Error
If you do not have the correct permissions, you may see a permission error pop-up as shown in the screenshot below. To resolve this, add your user account to eDiscovery manager role group.
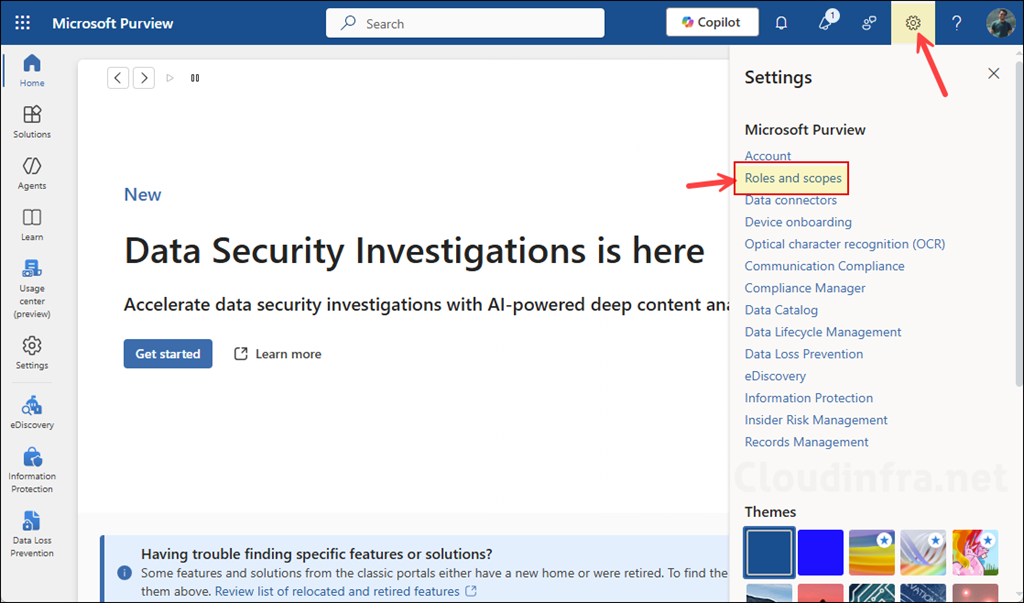
To assign the eDiscovery manager role to a user, go to the Microsoft Purview portal > click on Settings > Roles and Scopes.
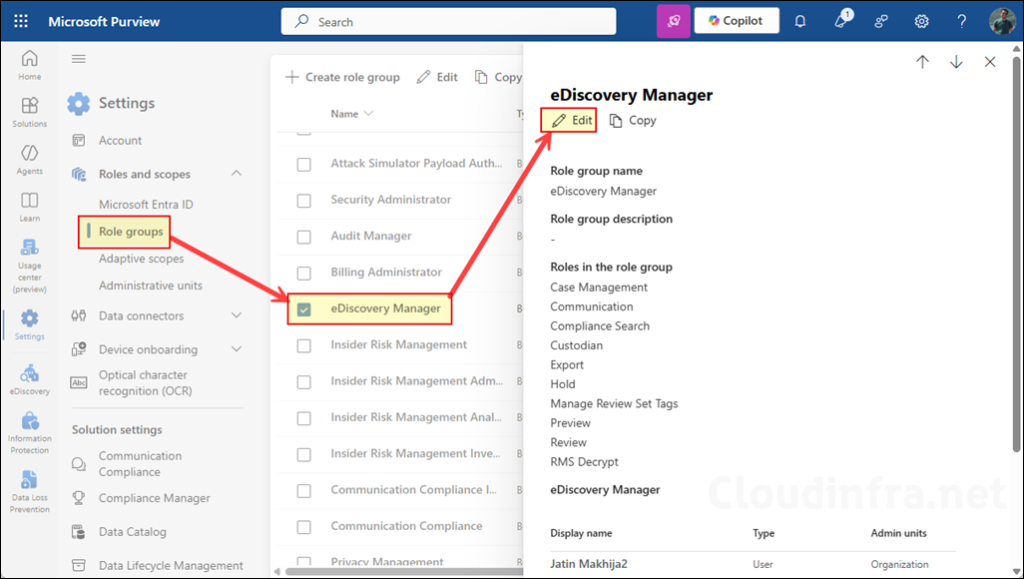
- Click Role groups > eDiscovery Manager > click Edit to edit the role and add your user account to eDiscovery Manager. Optionally, you can also add your account to the eDiscovery administrator group as well.
Method 1: Start Content Search from Microsoft Purview Portal
The first step is to search for all emails internal users received that contain a specific file attachment extension, such as <filename>.one. I will use Content search inside the Microsoft Purview portal. For example, if an email contains a Financereport.one file as an attachment, the report will display the details of that email. To start a content search on the Microsoft Purview portal, follow below steps:
- Open the Microsoft Purview portal > Click on Solutions > eDiscovery.

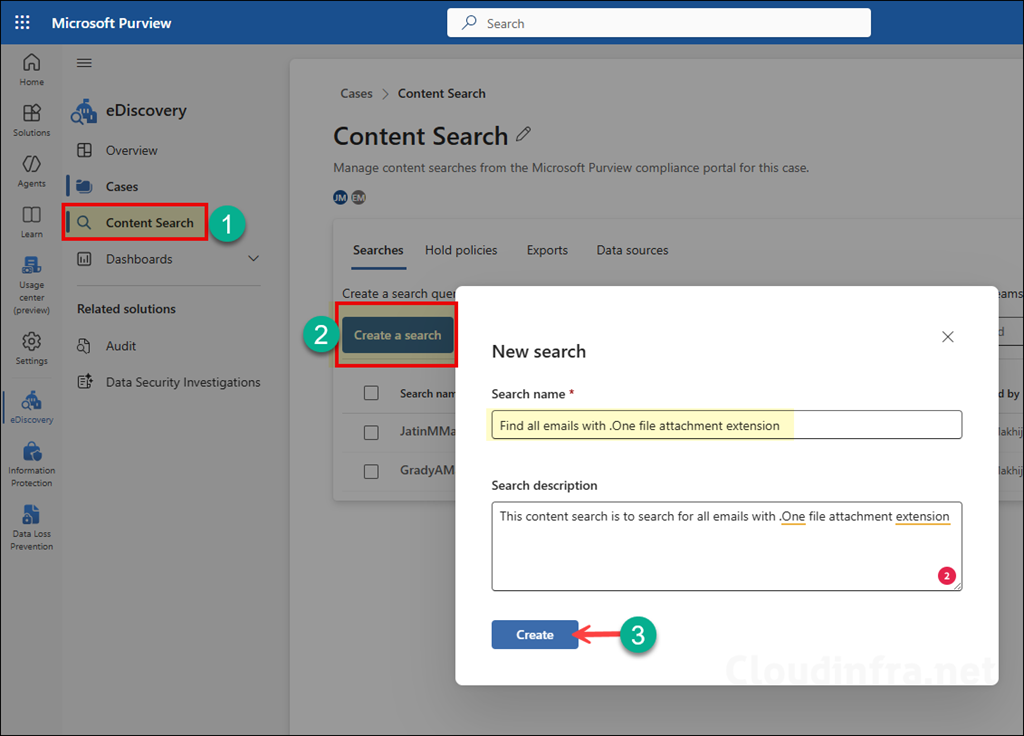
- In the left-hand menu, select Content Search. Under the Searches tab, click Create a search. Provide a search name and description, then click Create to create the search.
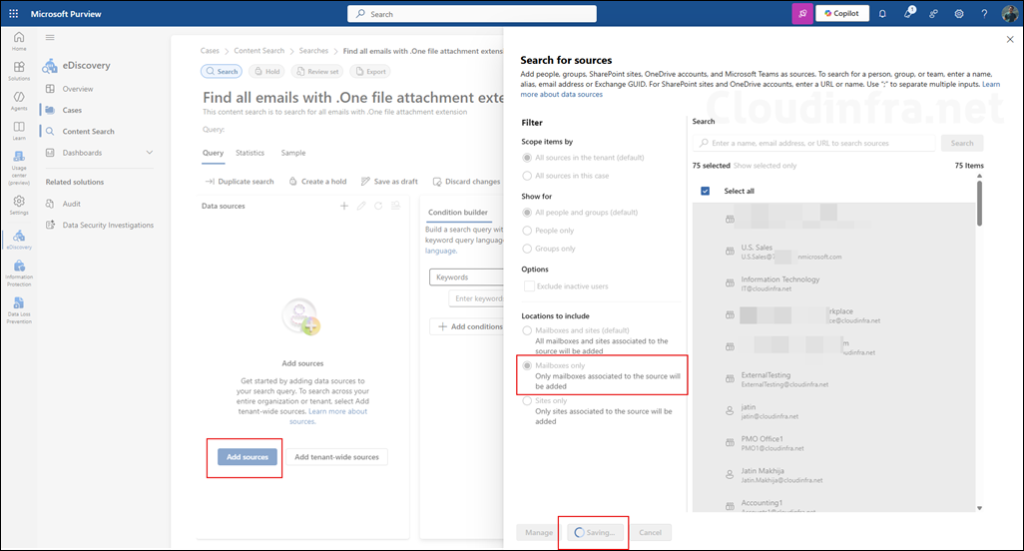
- Click Add sources and select the locations you want to search. In this case, select Mailbox only, choose All mailboxes, and then click Save and close.
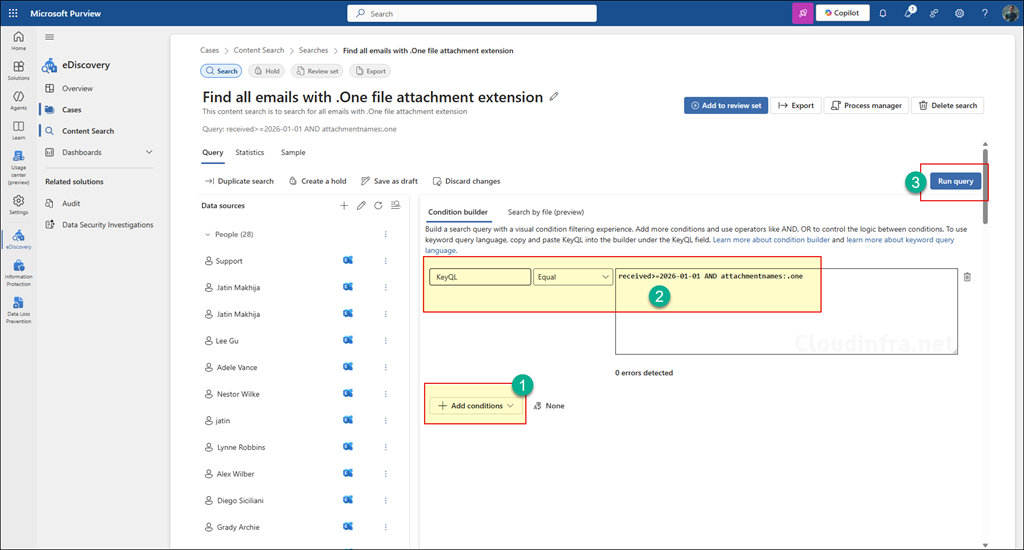
- Click Add conditions and select KeyQL Equal received>=2026-01-01 AND attachmentnames:.one. This query will return items that were received on or after 1 January 2026 that contain the attachment with .one file extension. To understand about all the searchable email properties, refer to the link: Keyword queries and search conditions for eDiscovery | Microsoft Learn.
- Click on Run Query to start the search.
You can customize the search query to meet your specific requirements. For example, you can change the date or search for different file attachment extensions like .jpg, .exe, .png, etc.
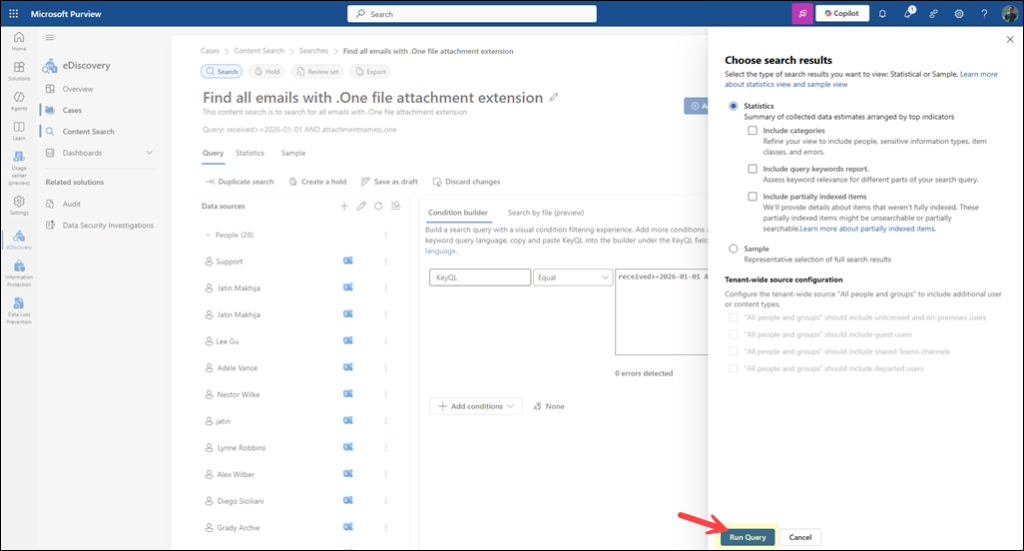
- Select the type of search results you want to view and click Run Query.
Content Search Results
Click the Statistics tab to view the results based on your KQL query.
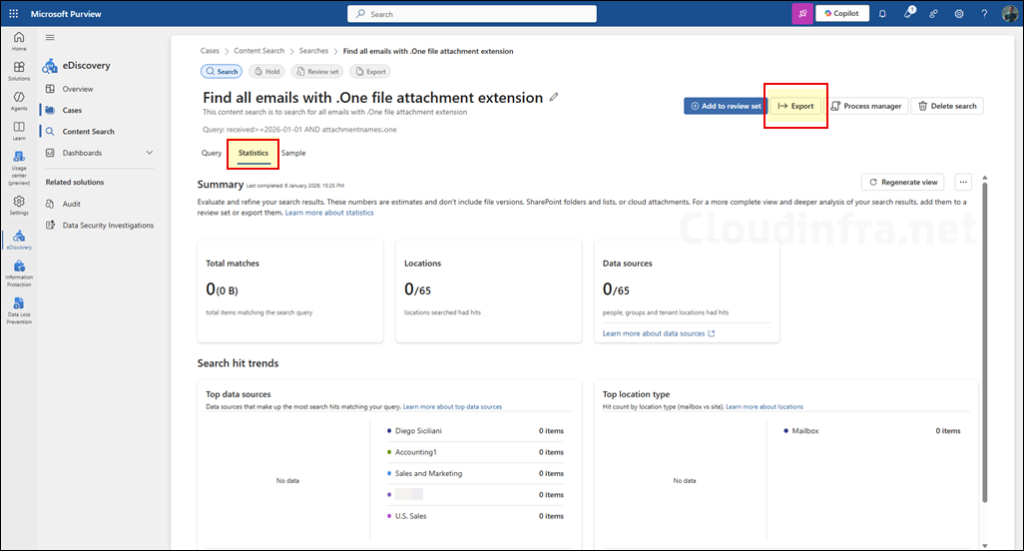
Export Content Search Results
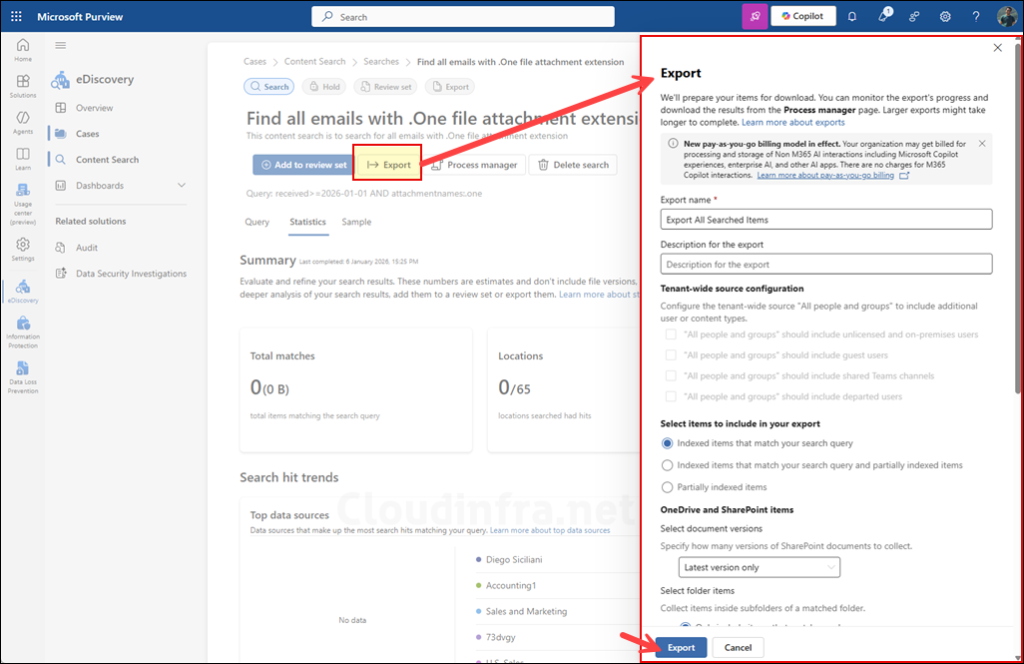
To export the content search results, click Export, provide an export name, and select the appropriate options to define what data you would like to export and the format in which it should be exported. You can choose the export type as Export items report only (for CSV report) or Export items with items report. Then click on the Export button once again to start the process. You can also create a .pst export by selecting the export format to Create .PST for messages where possible.
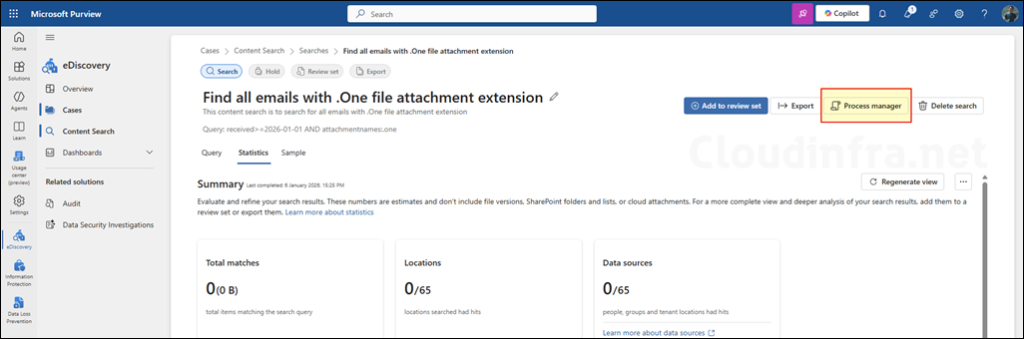
Click the Process manager button to check the export status and download the report.
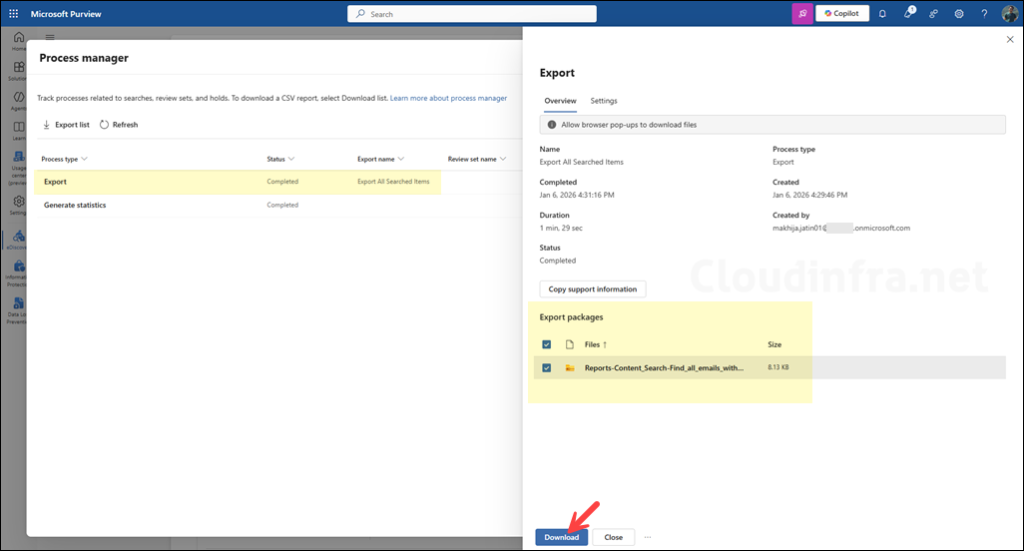
Select your export and click Download to start the download process.
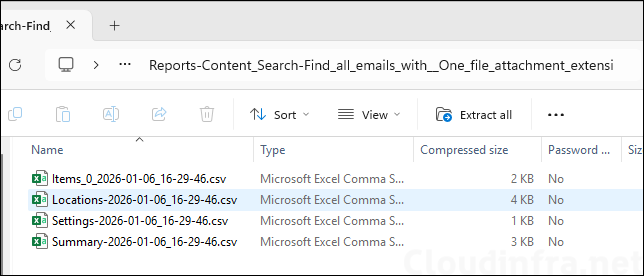
It’s best to use the Microsoft Edge browser to download the report. Once the report is downloaded, extract the zip file contents. The below screenshot shows the extracted zip file.
Method 2: Advanced Hunting (KQL) Queries
If your tenant uses Microsoft Defender for Office 365 integrated into Defender XDR, advanced hunting can produce a near-instant report across large volumes, with far better filtering (file type, hashes, threat verdicts). The EmailAttachmentInfo table includes FileType (file extension) and threat fields, but it is populated by Defender for Office 365.
Example KQL query: all .one attachments in the last 30 days
EmailAttachmentInfo
| where Timestamp > ago(30d)
| where FileType =~ "one"
| project Timestamp, NetworkMessageId, FileName, FileType, SHA1, ThreatTypes, ThreatNames
| order by Timestamp desc
To Export the results:
- Open Microsoft Defender portal > Hunting > Advanced hunting.
- Run the query.
- Export results to CSV from the results pane.
Method 3: Using Explorer in Microsoft Defender
If your goal is operational investigation (who received it, campaign view, sender infrastructure), Explorer is often easier than hunting for day-to-day SOC work. This method depends on your Defender for Office 365 licensing/features, but it is commonly used for “find all messages with attachment X” investigations.
- Go to Microsoft Defender portal.
- Open Explorer (Threat Explorer).
- Filter email events and apply an attachment filter by name or file type (for example
.one). - Export results.
Method 4: Create the Search with PowerShell
You can still automate the creation and execution of compliance searches with PowerShell using the same KeyQL syntax (AttachmentNames, Received).
- Connect to Security and Compliance PowerShell.
- Create a compliance search using
attachmentnames:andreceived>=. - Start the search and check status.
- Export the report from the Purview portal.
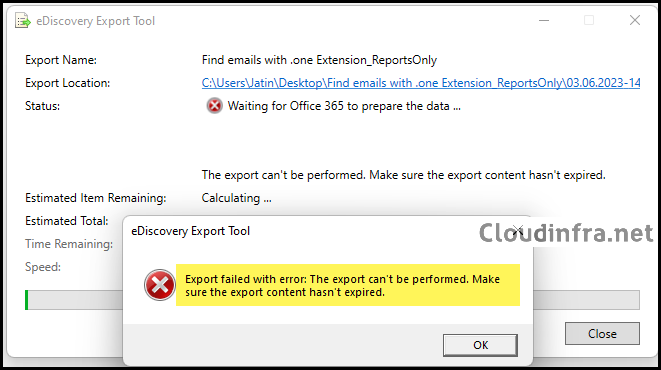
Export failed with error: The export can’t be performed. Make sure the export content hasn’t expired.
While exporting the content search results, you may encounter the error message Export failed with error: The export can’t be performed. Make sure the export content hasn’t expired.
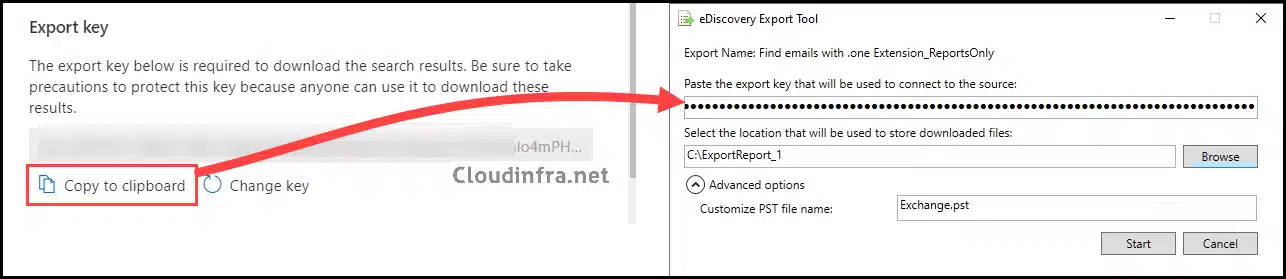
This issue may occur if you have provided an incorrect Export key in the eDiscovery Export Tool. Ensure you accurately copy the Export key generated during the export process and paste it into the eDiscovery Export Tool. Click Start to initiate the eDiscovery Export Process.
- Copy the Export Key and paste it into the eDiscovery Export Tool.