In this blog post, I will show you the steps to create and assign custom security attributes in Entra ID. Custom security attributes extend the default attributes associated with user and group objects. These custom attributes enable you to store additional information about users and groups, which can be used for various purposes, such as access control, reporting, and compliance.
Custom security attributes in Entra ID can be valuable when storing specific information unique to your organization or applications. For example, you may want to include attributes like Cost Center, Employee hire date, Hourly Salary, Weekly Salary, or any other custom information relevant to your business processes.
Custom security attributes allow for various data values, such as strings, booleans, and integers. These attributes can be single or have multiple values. You also have the option to preset a value for an attribute, which helps minimize the risk of errors when assigning the attribute to an Entra ID user.
As of this blog post’s writing, custom security attributes are supported for Entra ID users, Entra ID enterprise applications (Service Principals), and Managed Identities.
Before we proceed with creating a custom security attribute, it’s important to know the permissions necessary for setting up and managing security attributes. To work with custom security attributes, you’ll need an Entra ID Premium P1 or P2 license.
Contents
Permissions Required for Managing Custom Security Attributes
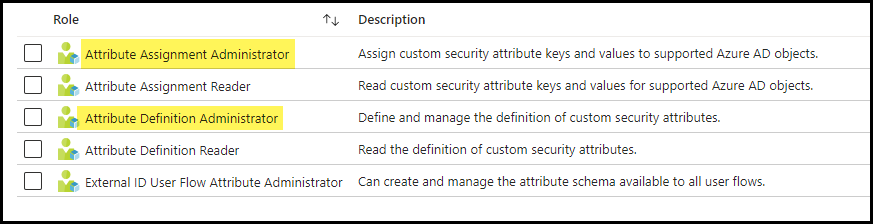
To manage custom security attributes in Entra ID, you would require Attribute Definition Administrator or Attribute Assignment Administrator roles. By default, Global Administrator and any other administrator role do not have permission to read, define, or assign custom security attributes.
A Global Administrator can assign the roles of Attribute Definition Administrator or Attribute Assignment Administrator to a user responsible for managing custom security attributes, and this user could also be another Global Administrator.
- Attribute Definition Administrator: Manage all aspects of attribute sets and manage all aspects of custom security attribute definitions.
- Attribute Assignment Administrator: Read attribute sets, Read custom security attribute definitions, and Read and update custom security attribute keys and values for users and service principals.
To assign these roles to the user, please follow below steps:
- Sign in to the Entra admin center.
- Search for Entra ID roles and Administrators.
- Search for Attribute Assignment Administrator and Attribute Definition Administrator roles.
- Click on each role, select + Add assignments, and choose the user to whom you want to assign this role.
Locating Custom Security Attributes in Entra Admin Center
- Sign in to the Entra admin center.
- Go to Protection > Custom security attributes.
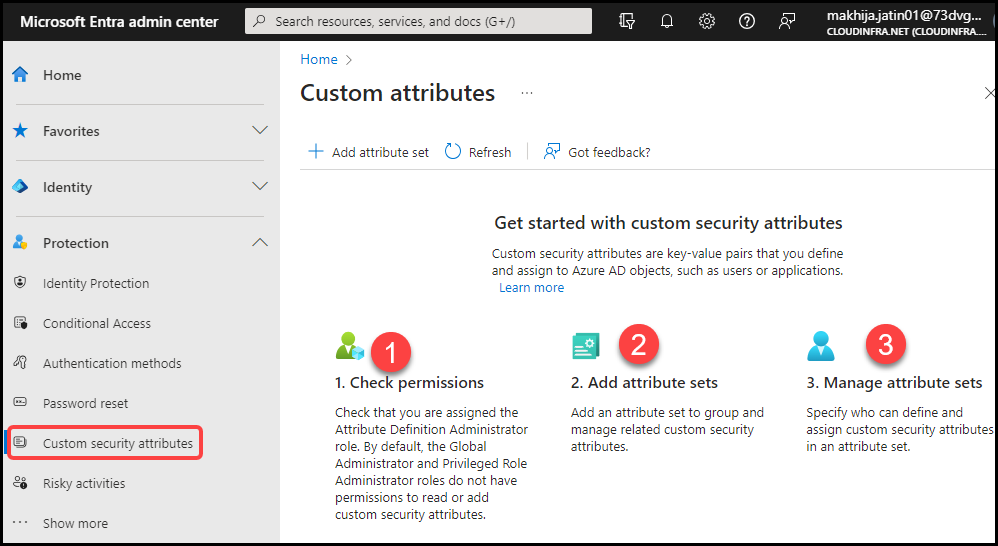
3 Steps for Creating Custom Security Attributes
There are three steps for creating Custom security attributes in Entra ID. Please find below:
- Check permissions: Ensure you are assigned the Attribute Assignment Administrator or the Attribute Definition Administrator role.
- Add attribute sets: Create an Attribute set.
- Manage attribute sets: Control who can assign or define Custom security attributes when it’s operational.
Create a Custom Security Attribute Set
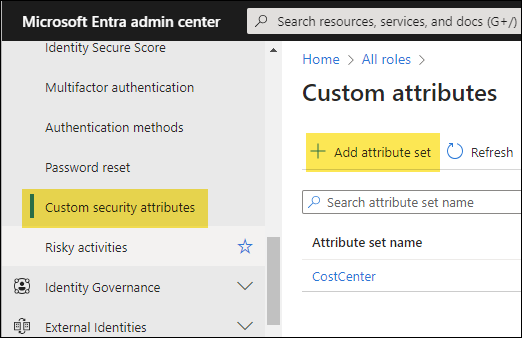
The initial step is to create an attribute set. If you hold the roles of Attribute Assignment Administrator or Attribute Definition Administrator, you’ll notice the Add attribute set button, which allows you to create an attribute set.
Create a New Attribute set
- Sign in to Entra admin center > Protection > Custom security attributes.
- Click on Add attribute set to create a New attribute set.
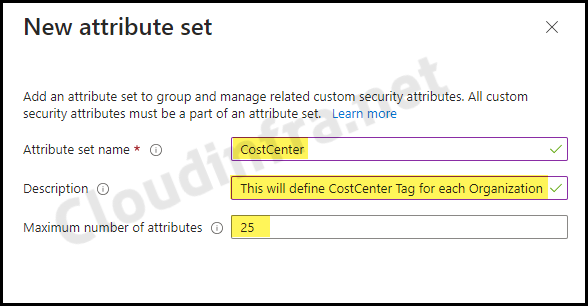
- Attribute set name: This is a required field where you must enter the name of the attribute set. The name can contain a maximum of 32 characters.
- Description: Provide a useful description of the attribute set.
- Maximum number of attributes: The maximum number allowed for the attribute set is 500.
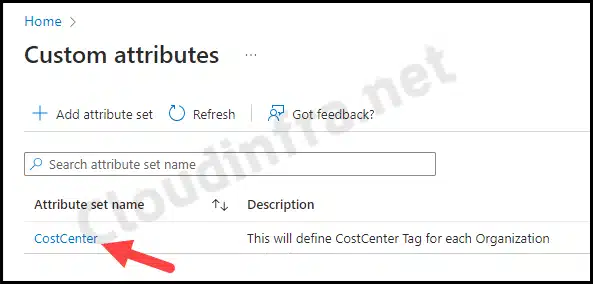
For example, I am adding a CostCenter attribute with distinct values for multiple organizations operating within the same tenant. As a result, I will group all other organizations within the CostCenter attribute set. This approach will become clearer when we create attributes and their values in the following sections of the blog post.
- The screenshot below shows that the CostCenter attribute set has been successfully created. Click on it to open and define the attributes.
Add Attributes
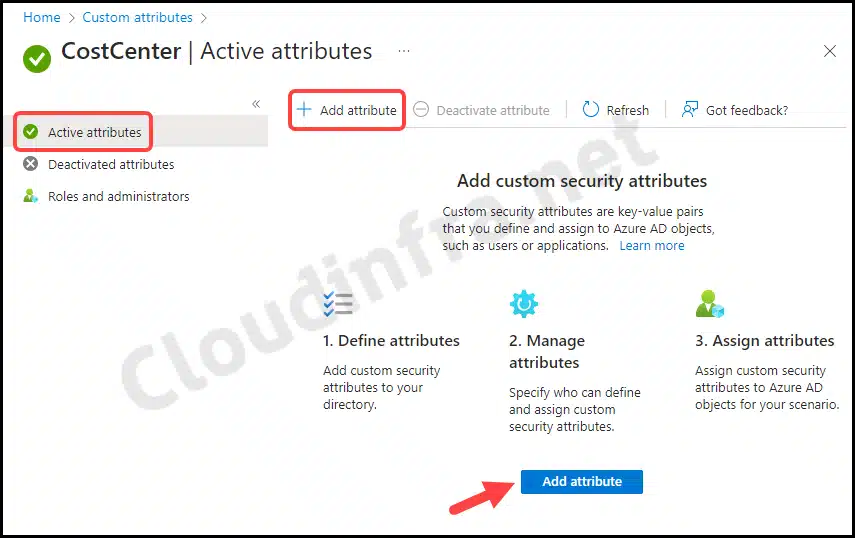
Now that we have created a Custom security attribute set, let’s add an attribute to it.
- Click on the Attribute set and then click on Add attribute.
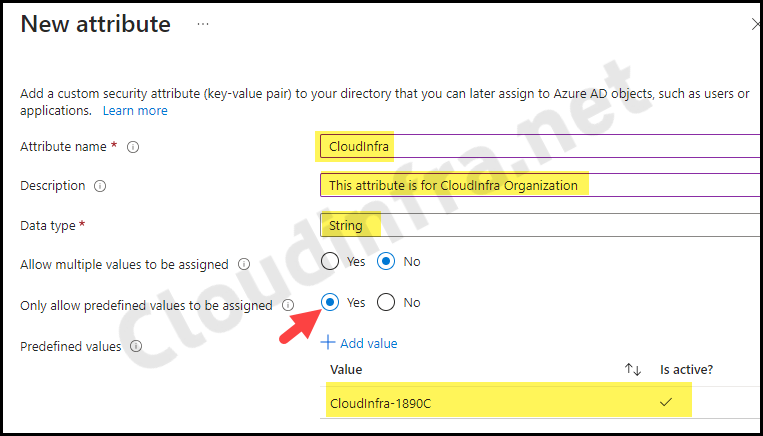
When creating a new attribute, you will be required to provide the following values:
- Attribute name: Provide the attribute’s name; maximum limit: 32 characters.
- Description: Provide a useful description of this attribute.
- Data type: Depending on the data, you can select a data type from String, Boolean, or Integer.
- Allow multiple values to be assigned: Select No if you will provide only a single value to this attribute.
- Only allow predefined values to be assigned: Select Yes to only allow pre-defined values to be assigned.
- Predefined values: Click on + Add value and provide pre-defined values. You can add up to 100 predefined values.
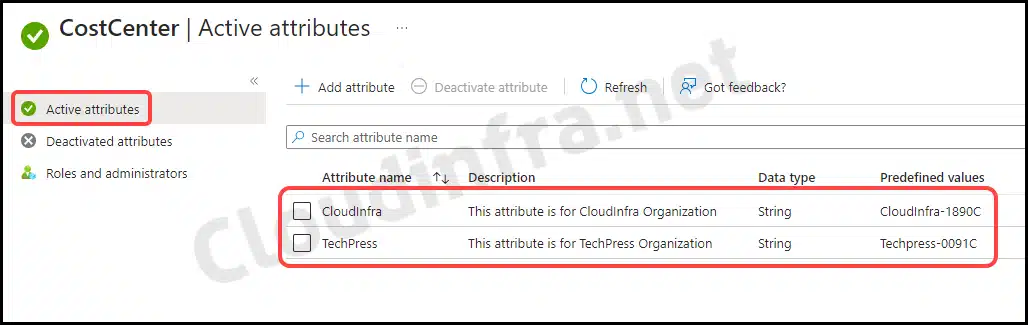
- If necessary, you can add another attribute to the attribute set. Since multiple organizations have different cost center tags, I’ve created another attribute called TechPress.

- Both attributes have been created within the CostCenter attribute set. You can observe the Attribute Name, description, data type, and their predefined values.
Assign Custom security attribute set to Entra ID Users
Once you’ve created the attribute set and added attributes, you can proceed to assign it to users, either manually or through PowerShell. In this blog post, we’ll explore how to assign it to users using the Microsoft Entra Admin Center, while in another blog post, we’ll learn to Assign Custom Security Attributes using Powershell.
- Sign in to the Entra admin center > Identity > All users.
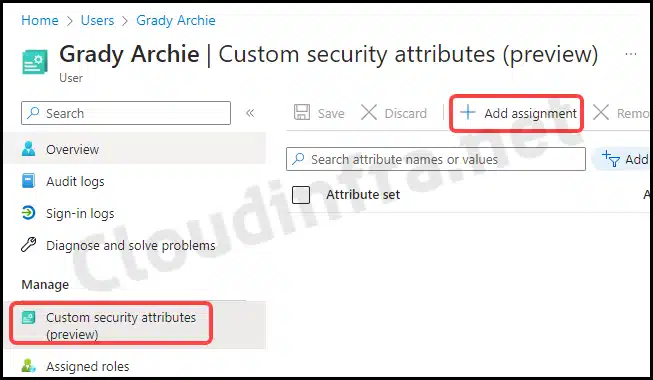
- Click on any user and then click on Custom security attributes under Manage.
- Click on + Add assignment link.
- From the drop-down options, choose the Attribute set, Attribute name, and its assigned values. Then, click on Save.
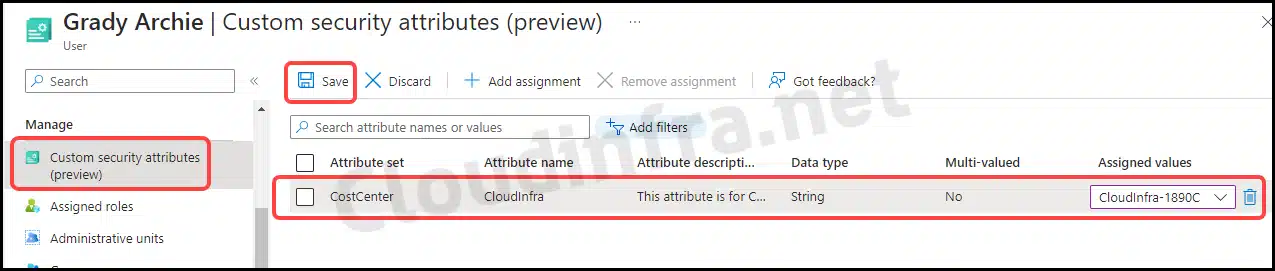
- We’ve successfully assigned the CloudInfra attribute to the user Grady Archie. Similarly, you can assign user attributes based on your created attribute set and definitions. It’s worth noting that one user can also have multiple attribute sets and attributes assigned.
Delete a Custom Security Attribute in Entra ID
As of the time this blog post was written, deleting an attribute set is not currently possible. However, you can deactivate an attribute within an attribute set, which moves it into the Deactivated attributes category.
After deactivating an attribute, you can locate it under Deactivated attributes. You can reactivate a deactivated attribute.

Unassign Custom Security Attribute
Unassign or delete a custom security attribute assigned to any Entra ID user. To achieve this, please follow the steps outlined below:
- Sign in to the Entra admin center > Identity> All users.
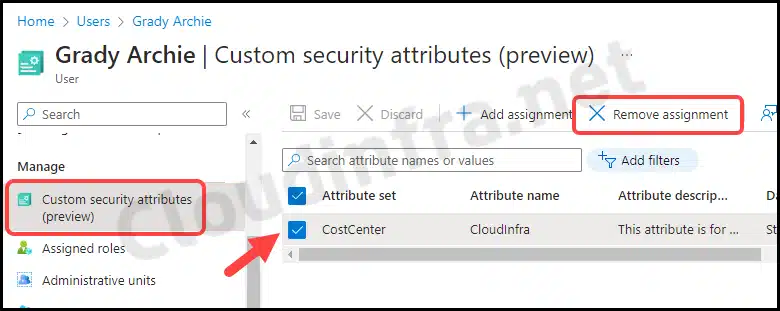
- Click on any user and then click on Custom security attributes under Manage.
- Select the Attribute set and click on Remove assignment.
Filter and Export Users based on Custom security attributes
Once you have assigned custom security attributes to the users in the Entra ID portal, you can leverage this by using filters to sort and filter users based on their custom security attributes.
- Sign in to the Entra admin center > Identity > All users.
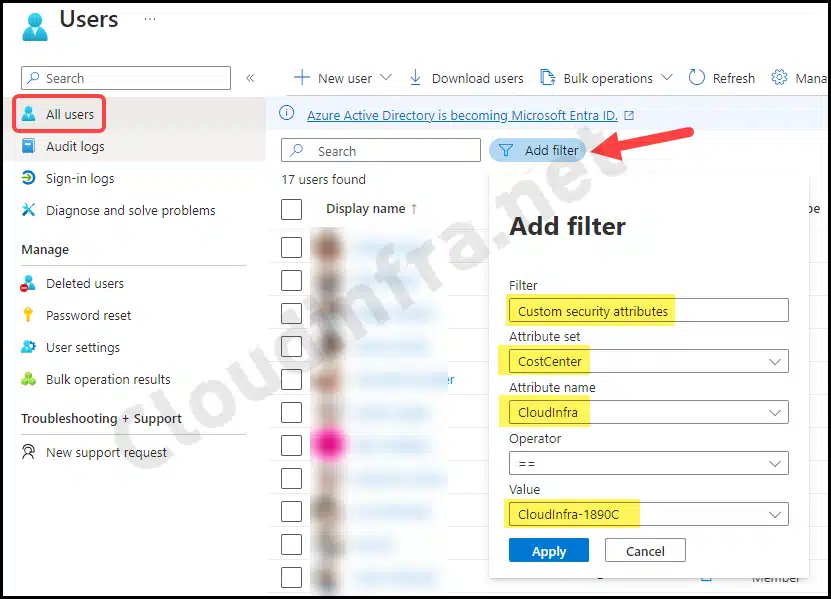
- Click on Add filter and Select Custom Security Attributes filter.
- Select the Attribute Set and Attribute Name and provide a value that matches.
- Click on Apply to Filter the users with matching attributes.
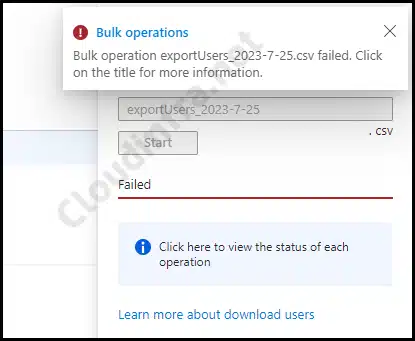
- Additionally, you can click on Download users to download the filtered users based on the custom security attribute. It’s worth noting that this feature may not work correctly.
- I have verified this with Microsoft, who advised that this feature is currently in Preview. It’s recommended that you wait for all the bugs to be addressed, and this issue may be resolved in the future.
- As a workaround of this issue, You can export the list of users with their Custom security attribute value using PowerShell. For Step-by-step instructions and PowerShell script, refer to the post: Export users with Custom security attributes using Powershell.
Conclusion
In this blog post, we’ve learnt the process of Creating and Assigning custom security attributes in Entra ID. This feature is highly beneficial for storing additional user data that can be utilized for authorization purposes.
In a separate blog post, we will explore how to assign custom security attributes using PowerShell. Assigning custom security attributes to users using PowerShell can be a time-saving approach, especially when dealing with many Entra ID users.