In this blog post, we will learn the best way to deploy MSI applications using Intune. You can deploy MSI either using Windows app (Win32) method or line-of-business app method from Intune admin center. However, the recommended and easiest way to deploy MSI is by using line-of-business app method.
The Line-of-Business (LOB) app method supports .msi, .appx, and .appxbundle file extensions. You can also use the Line-of-Business method to deploy .MSIX-based applications. Refer to the step-by-step guide for more details on how to deploy .MSIX applications using Intune.
Contents
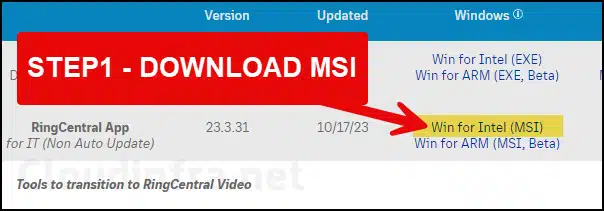
1. Download MSI Installer file
The first step is to download the MSI installer file from the Software vendor’s website. For demonstration purpose, I will use an app called Ring Central. However, the steps will work with any MSI Installer based application.
2. Deploy MSI App using Intune
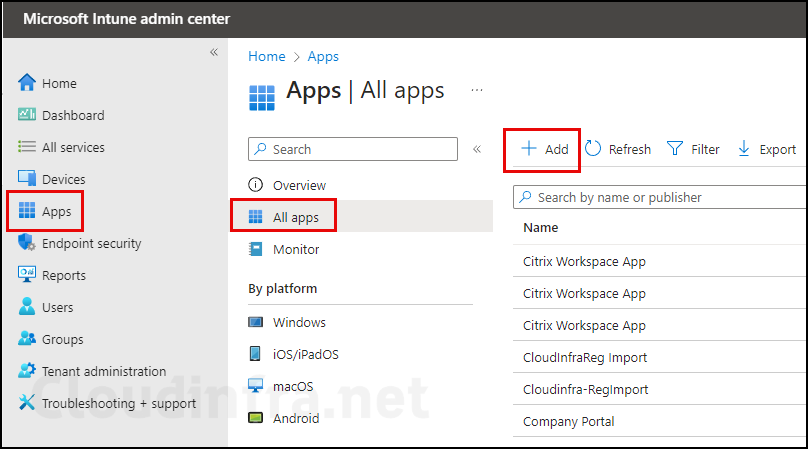
- Sign in to the Intune admin center > Apps > All Apps > Add.
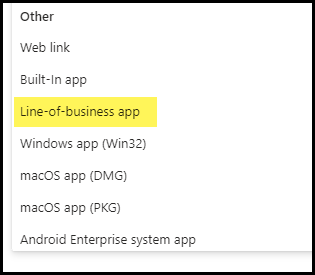
- Using the App type drop-down, Select the Line-of-business app option.
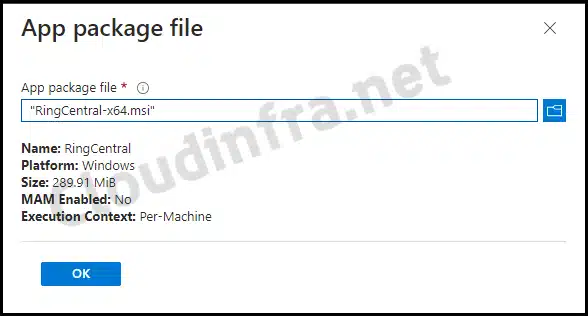
- Browse the downloaded MSI file.
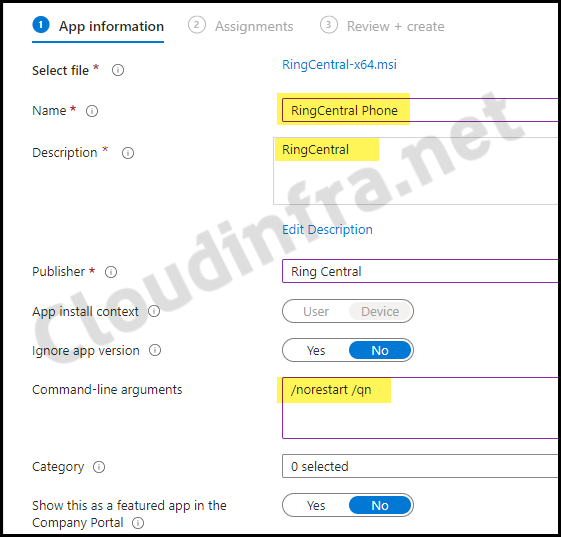
App Information
- Provide Name, Description, and Publisher Information.
- Select App Install Context to either User or Device. If you want to deploy this application in User context, that means to assign/install this app only for selected users, then go with this option. If you want to deploy this app for all users using the device, then go with Device option.
- Ignore App version: Select Ignore app version to Yes or No based on the below criteria:
- Select Ignore app version Yes, if you want the app installed when it’s not found on the target device. If the app is already there, but the version number is different, it will be ignored, and the app will not be deployed.
- Select Ignore app version No if you want the app installed even if it’s not found on the target device or if the app version you are deploying differs from the one already installed on the target device.

- Command-line arguments: Provide the command-line switches for the app installation. For example, when installing the RingCentral application, you can use the switches
/norestartand/qn. This ensures that the device is not restarted after the application is installed, and the installation process runs silently.
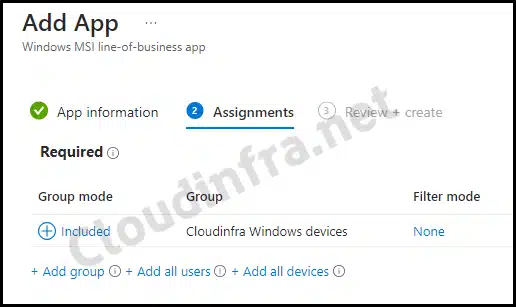
- Assignments: Add an Entra security group containing users or devices to deploy this app.
- Review + create: Review the app deployment summary and click on Create.
Sync Intune Policies
The device check-in process might not begin immediately. If you’re testing this policy on a test device, you can manually kickstart Intune sync from the device itself or remotely through the Intune admin center.
Alternatively, you can use PowerShell to force the Intune sync on Windows devices. Restarting the device is another way to trigger the Intune device check-in process.
Monitoring MSI App deployment
- Sign in to the Intune admin center > Apps > All apps.
- Click on the app deployment and check the Overview tab to find the deployment status.
- Click on Device install status and User install status under monitor to get the status of app deployment per device and user.
End User Experience
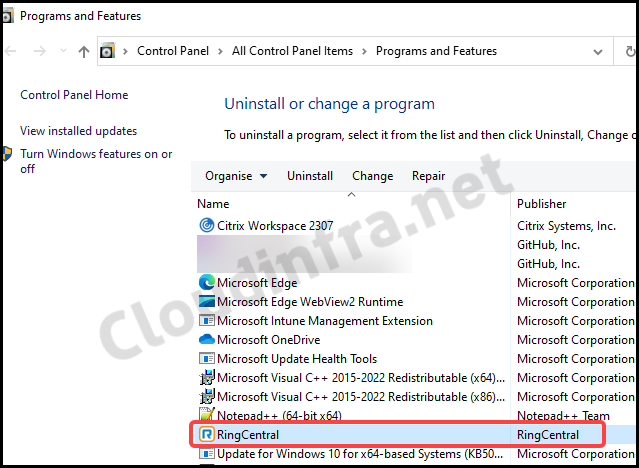
It didn’t take much time to deploy this application on target devices. I waited less than 10 minutes, and the app was installed on my device. It was really quick and easy. Once the app is deployed, you can confirm the installation either by checking desktop shortcuts (if the app has created one) or by using Programs and Features.
The screenshot below is from Programs and Features on a Windows 10 device, which shows that the app has been installed successfully.
FAQs
Is there any other method to deploy the MSI application file using Intune?
Yes, you can use the Win32 app method for deploying MSI files. However, using the line-of-business app option is easier. If you have a complex app deployment, you can use the Win32 app method. Please refer to the link: Deploy MSI using Win32app for more Information.
I want to Uninstall the MSI app deployed via Intune
– Sign in to the Intune admin center >Apps > All Apps > Click on your created app deployment.
– Click on Properties under Manage.
– Click on Edit next to Assignments.
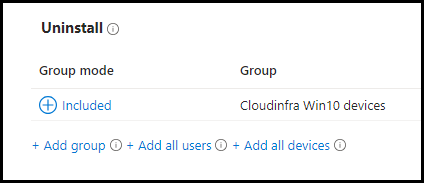
– Target the users or devices under the Uninstall assignment section. [Refer to the screenshot below].
Do not include the same device in both the Uninstall and Required assignments. This could cause the app to install and uninstall, wasting resources repeatedly.
Is there any way to retrieve the uploaded MSI file on Intune
After creating an app deployment package in the Intune admin center and uploading an application MSI Installer or exe Installer file, you can’t download it directly from the Intune admin center.
However, you can retrieve it from the client device. In another blog post, Retrieve MSI/Win32 app setup files uploaded on Intune, I have provided the steps for retrieving the app files from a client device.
How do you find silent switches for any MSI installer?
To find silent installation switches for any MSI installer, download the installer from the vendor’s website and run it with the /? switch from a PowerShell console or the Windows command prompt. This action will display a list of all the available parameters and switches that can be used with this MSI file.
For example:
ZoomInstallerFull.msi /?
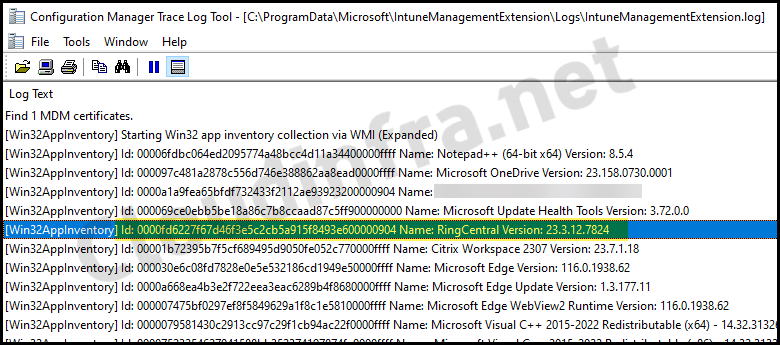
How do you find Intune logs for MSI app deployment?
You will need to check the logs for troubleshooting for any application deployment issues. The app deployment logs are stored in a file called IntuneManagementExtension.log, which is stored at C:\ProgramData\Microsoft\IntuneManagementExtension\Logs location. Please sort the most recent log file using the Date Modified column. The best way to read any .log file is to use CMTrace tool.
How to deploy MSI client package which has configuration settings before deployment like license key, host name entry IP address, token number and other entries while installing please advise how we can wrap the package file using these settings with the MSI file.
Hello Ismail, If you have a complex MSI deployment, you could deploy MSI using Intune Win32 App method which can help with pre- and post-configuration settings for the application. Please refer to the post for more details: https://cloudinfra.net/deploy-msi-using-intune-win32-app-deployment/