In this post, I will show you the steps on how to join a Windows device to Entra ID. Joining a Windows device to Microsoft Entra ID establishes the device as an organizational identity. This enables stronger access controls (conditional access), SSO to organization resources, and cloud-based device management with an MDM such as Intune. Before proceeding, it is important to understand the three common device states:
- Microsoft Entra joined: When a device is joined only to Microsoft Entra ID and not connected to an on-premises Active Directory, users must sign in using an organization-provided Microsoft Entra ID account.
- Microsoft Entra hybrid joined: When a device is already domain-joined to an on-premises Active Directory and is also joined to Microsoft Entra ID, its status in Entra ID is shown as Microsoft Entra hybrid joined.
- Microsoft Entra registered: These are typically personally owned devices that may or may not be enrolled in Intune. Users are not required to sign in to the device with a corporate account. A device is automatically Microsoft Entra registered when a user signs in to an organizational application using their corporate identity, or it can be manually registered through the Settings app on a Windows device.
| Device state | Typical scenario | What it means |
|---|---|---|
| Microsoft Entra registered | Typically BYOD | User adds a work account, but the device is not fully joined to Entra ID. |
| Microsoft Entra joined | Organization-owned | Device is fully joined to Entra ID; primary sign-in is with Entra ID. |
| Microsoft Entra hybrid joined | Common during transition phases | Device is domain joined and also joined to Entra ID (hybrid identity). |
Contents
When should you use Entra join?
Use Microsoft Entra join if your strategy is cloud-first device management (Intune or other MDM), modern access controls (Conditional Access), and simplified provisioning for distributed users. If you still require traditional Group Policy for critical configurations, note that Group Policy is not supported for Entra-joined devices because the devices are not connected to on-prem Active Directory.
Prerequisites
Microsoft Entra join is supported for below operating systems. For more information, refer to the link: Plan your Microsoft Entra join deployment – Microsoft Entra ID | Microsoft Learn.
- Windows 10 and Windows 11 (all editions except Home)
- Windows Enterprise multi-session virtual machines in Azure.
- Windows Server 2019 and later virtual machines in Azure.
Configure Device Settings on Entra Admin Center
Configure who can join devices to Microsoft Entra. You can control this setting from Entra admin center by using the following steps:
- Sign in to the Microsoft Entra admin center, expand Entra ID, select Devices, then open Device settings and configure below settings:
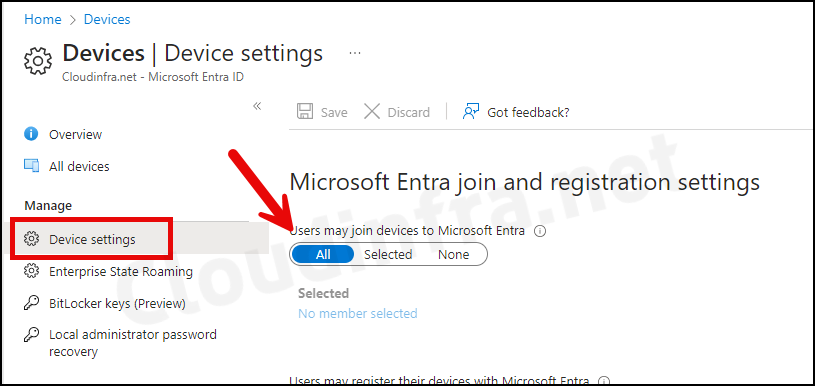
1. Users may join devices to Microsoft Entra
Configure the Users may join devices to Microsoft Entra setting and set it to All. Alternatively, you can select Selected and specify individual users or an Entra group that is allowed to join devices to Microsoft Entra.
Select the users and groups that are allowed to join devices to Microsoft Entra. This setting is only applicable to Microsoft Entra join on Windows 10/11. This setting does not apply to Microsoft Entra hybrid joined devices, Microsoft Entra joined VMs in Azure, and Microsoft Entra joined devices using Windows Autopilot self-deployment mode, as these methods work in a userless context.
About Users may join devices to Microsoft Entra setting
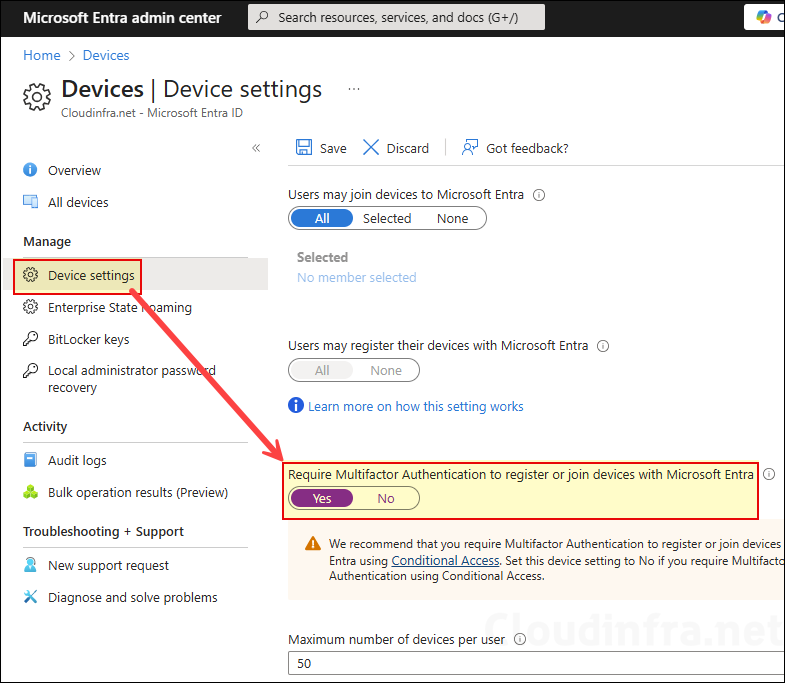
2. Require MFA for Entra Join (Optional)
Optionally, if you want MFA at Entra Join time, set Require Multifactor Authentication to register or join devices with Microsoft Entra setting to Yes.
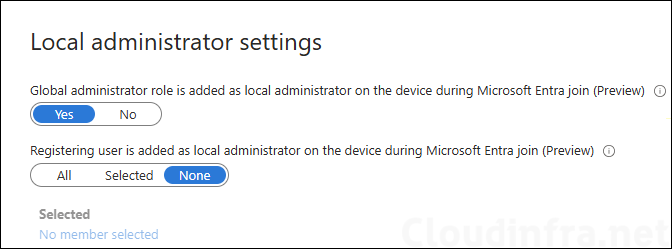
3. Configure local administrator settings (Optional)
Optionally, configure the local administrator settings as per your requirement. You will get the following two options under Device settings:
- Global administrator role is added as local administrator on the device during Microsoft Entra join (Preview).
- Registering user is added as local administrator on the device during Microsoft Entra join (Preview).
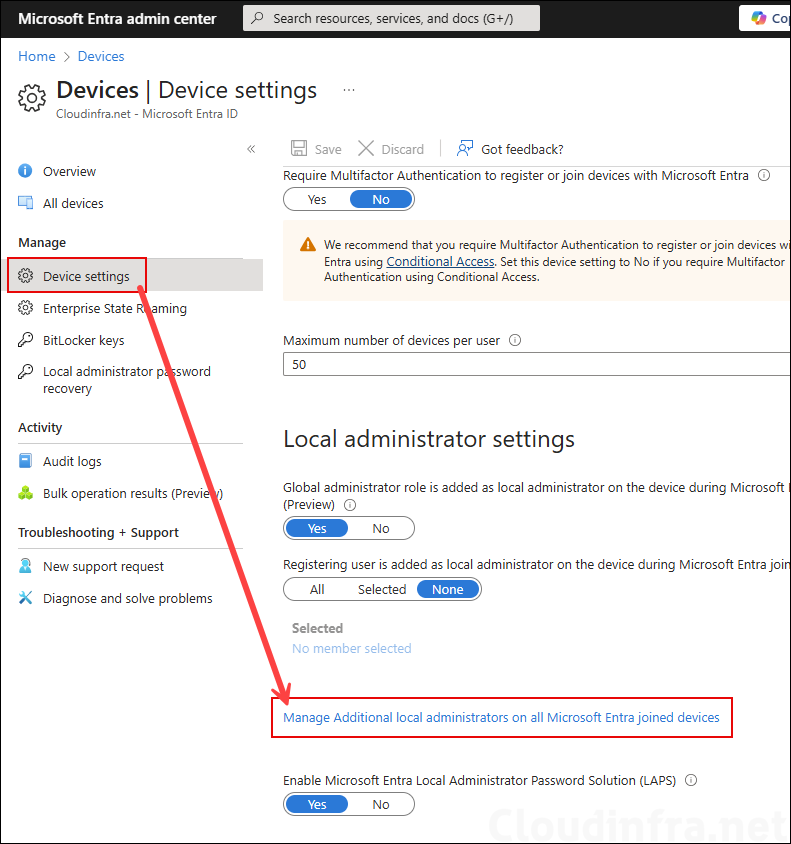
4. Manage Additional Local Administrators (Optional)
Define who becomes a local administrator on Entra joined devices by selecting Manage additional local administrators on all Microsoft Entra joined devices, and then clicking + Add assignments. From there, choose the users or groups that should be added to the local Administrators group on Microsoft Entra–joined devices.
Method 1: Join a Windows Device to Entra ID (via Settings)
Use this method when Windows is already installed, and you want to join without resetting the device.
- Go to Start > Open the Settings App.
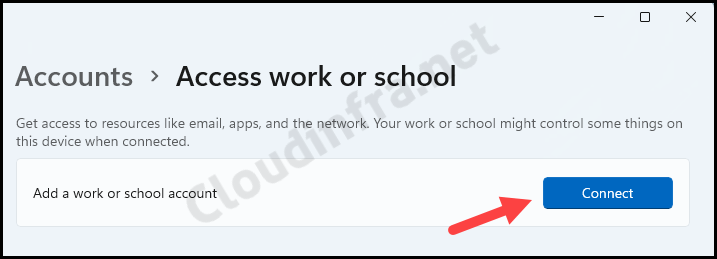
- Go to Accounts > Access work or school.
- Click on Connect next to Add a work or school account.
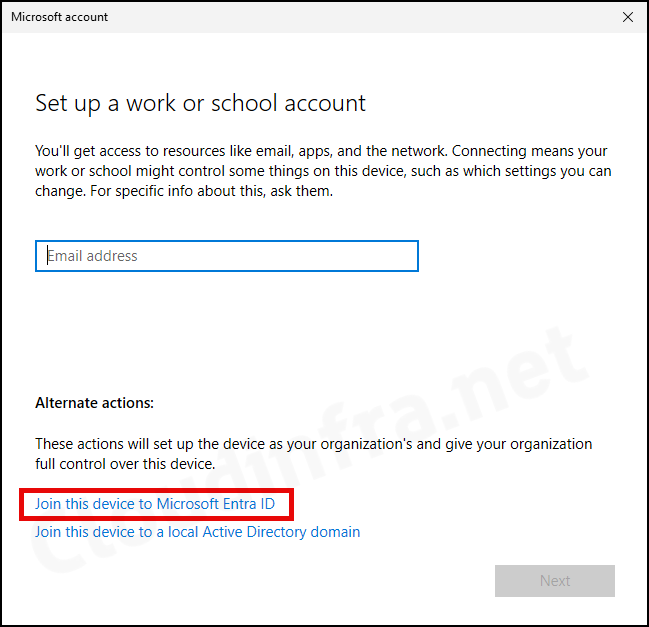
- Click on Join this device to Microsoft Entra ID.
While joining the device to Entra ID, you may see the error code 80180014. This could be because of the device platform restriction settings in Intune. For more details about fixing this error code, please refer to the blog post: Fix Intune Enrollment Error Code 80180014.
Error Code 80180014
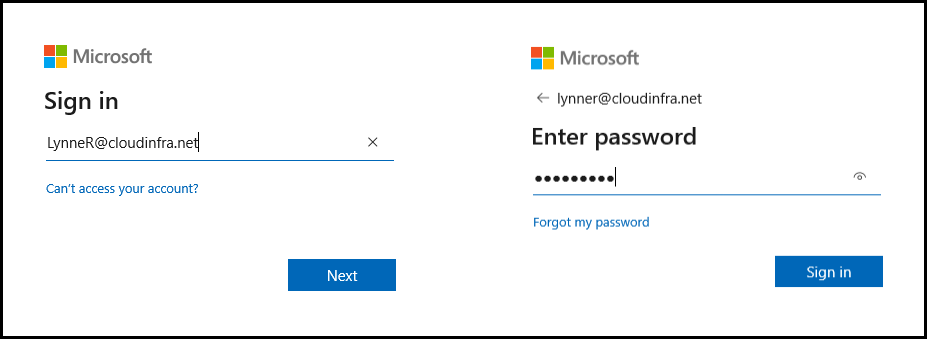
- You will be prompted to enter the organization account credentials. I used a standard user account without any administrator rights to join this device to Microsoft Entra ID. This is possible because the Users may join devices to Microsoft Entra setting in the Entra admin center is configured to All, which allows any entra user to join a device to Microsoft Entra ID.
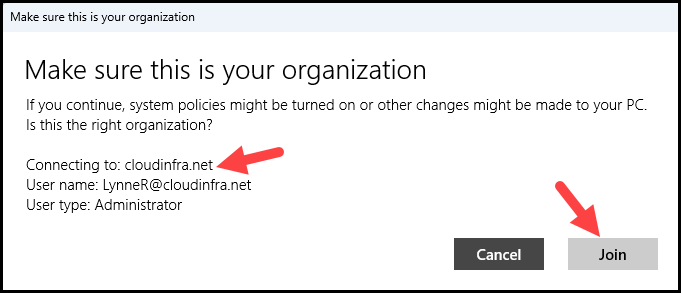
- Once authenticated, you will be prompted to confirm whether you want to join the device to Microsoft Entra ID. The prompt displays the Entra ID organization name, user name, and user type information. Click Join to proceed.
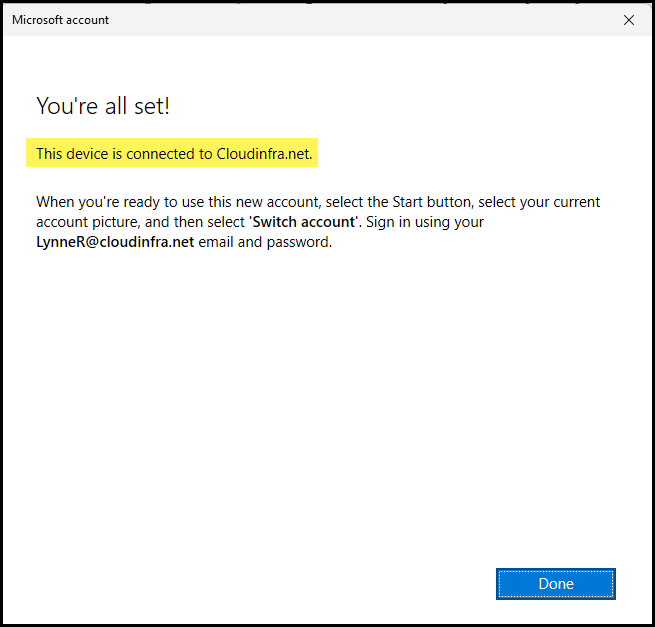
- Once the device is connected to Entra ID, you will get a message on the screen: This device is connected to <Entra ID organization name>.
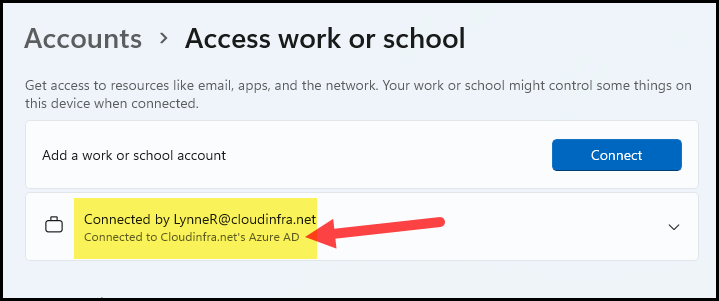
- Go to Settings > Accounts > Find Access work or school to confirm the connection.
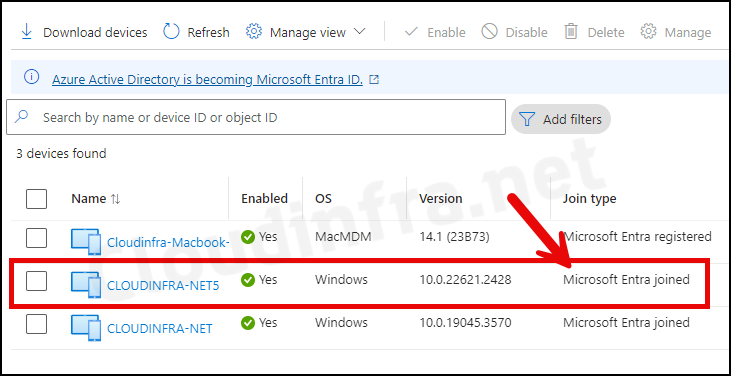
- Go to Entra Admin Center > Expand Entra ID > Devices > All Devices. Search for the device you just joined to Entra ID to confirm if the Join type is showing as Microsoft Entra joined.
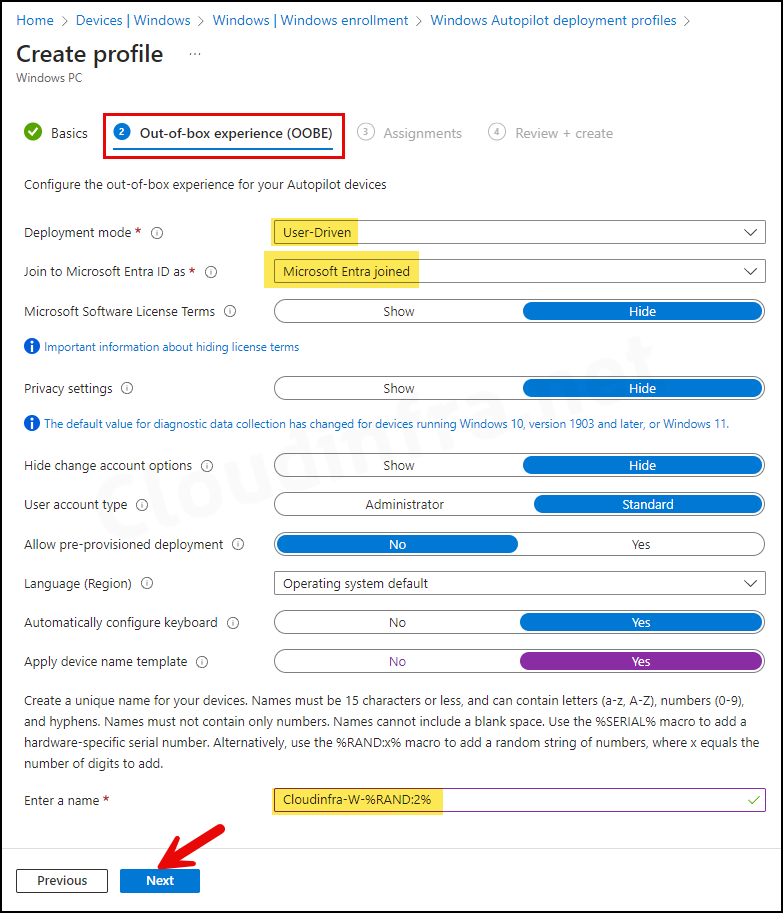
Method 2: Microsoft Entra Join During Autopilot
Windows Autopilot preconfigures the join experience and improves consistency during OOBE. Devices can Entra Join as part of the Autopilot device provisioning process. When you create an Autopilot deployment profile, you can choose whether the device should be Microsoft Entra joined. Devices assigned to this deployment profile will then be automatically joined to Microsoft Entra ID. For more information and detailed steps, refer to the post: Windows Autopilot Setup Guide [Step-by-Step].
Method 3: Microsoft Entra Join with Bulk Enrollment Method
Use the bulk provisioning tool to provision and Microsoft Entra join devices in bulk. For more information, refer to the Microsoft Learn documentation: Bulk enrollment for Windows devices – Microsoft Intune | Microsoft Learn.
Verify Device Entra Join Status
After you join a Windows device to Microsoft Entra ID, you can use any of the following methods to verify and confirm the connection.
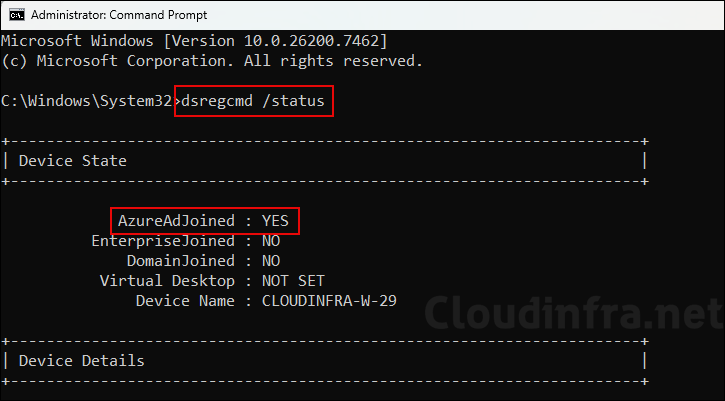
Option 1: Using dsregcmd
- Open the command prompt as an administrator.
- Run
dsregcmd /statuscommand and under the Device State check AzureAdJoined value. If it’s set to Yes, then the device is joined to Entra ID.
Option 2: Using Entra admin center
Go to Entra Admin Center > Expand Entra ID > Devices > All Devices. Search for the device you just joined to Entra ID to confirm if the Join type is showing as Microsoft Entra joined.
Option 3: Using Settings App
- Go to Settings > Accounts > Find Access work or school to confirm the Entra join connection.
Conclusion
In this post, I have covered the steps for joining a Windows device to Microsoft Entra ID. It is important to note that, depending on the automatic enrollment settings configured in the Entra admin center, the device may also be automatically enrolled in Intune. To learn more about automatic enrollment, refer to the post Initial setup of Microsoft Intune MAM/MDM and scroll to the Enable Automatic Enrollment section.
Hi!
I have a free Entra ID account with a Microsoft Hotmail account (private) and I am not allowed to join Entra ID. I thought it should be possible since it is all private. How can it be done?
I am getting the error that private accounts cannot join Entra ID.
Thanks
Hello Moderator.
I have joined a laptop that was previously local AAD joined to Entra ID/
I noticed it created a new profile as though it is a fresh Build.
Now i have 2 user profile of firstname lastname within my C:\Users
How do I consolidate.
Program files are stuck on the LoacalAAd join profile
Hi Jatin.
I’m trying to determine what user accounts are in the Local Administrators group on all laptops in my organisation.
I’m able to run the following script on my own laptop:
Get-LocalGroupMember -Group “Administrators”
However, this only lists the users in the Administrators group as an output within PowerShell.
Do you think this will work if I deploy it from Intune?
Kind regards,
John D.
Hola
es posible crear un proceso de union hibrida de dominio On-premise y en entra ID, incluido autopilot o en diferente ejercicio.
PS,. La explicación de tus directivas es son excelentes, muy buen trabajo.